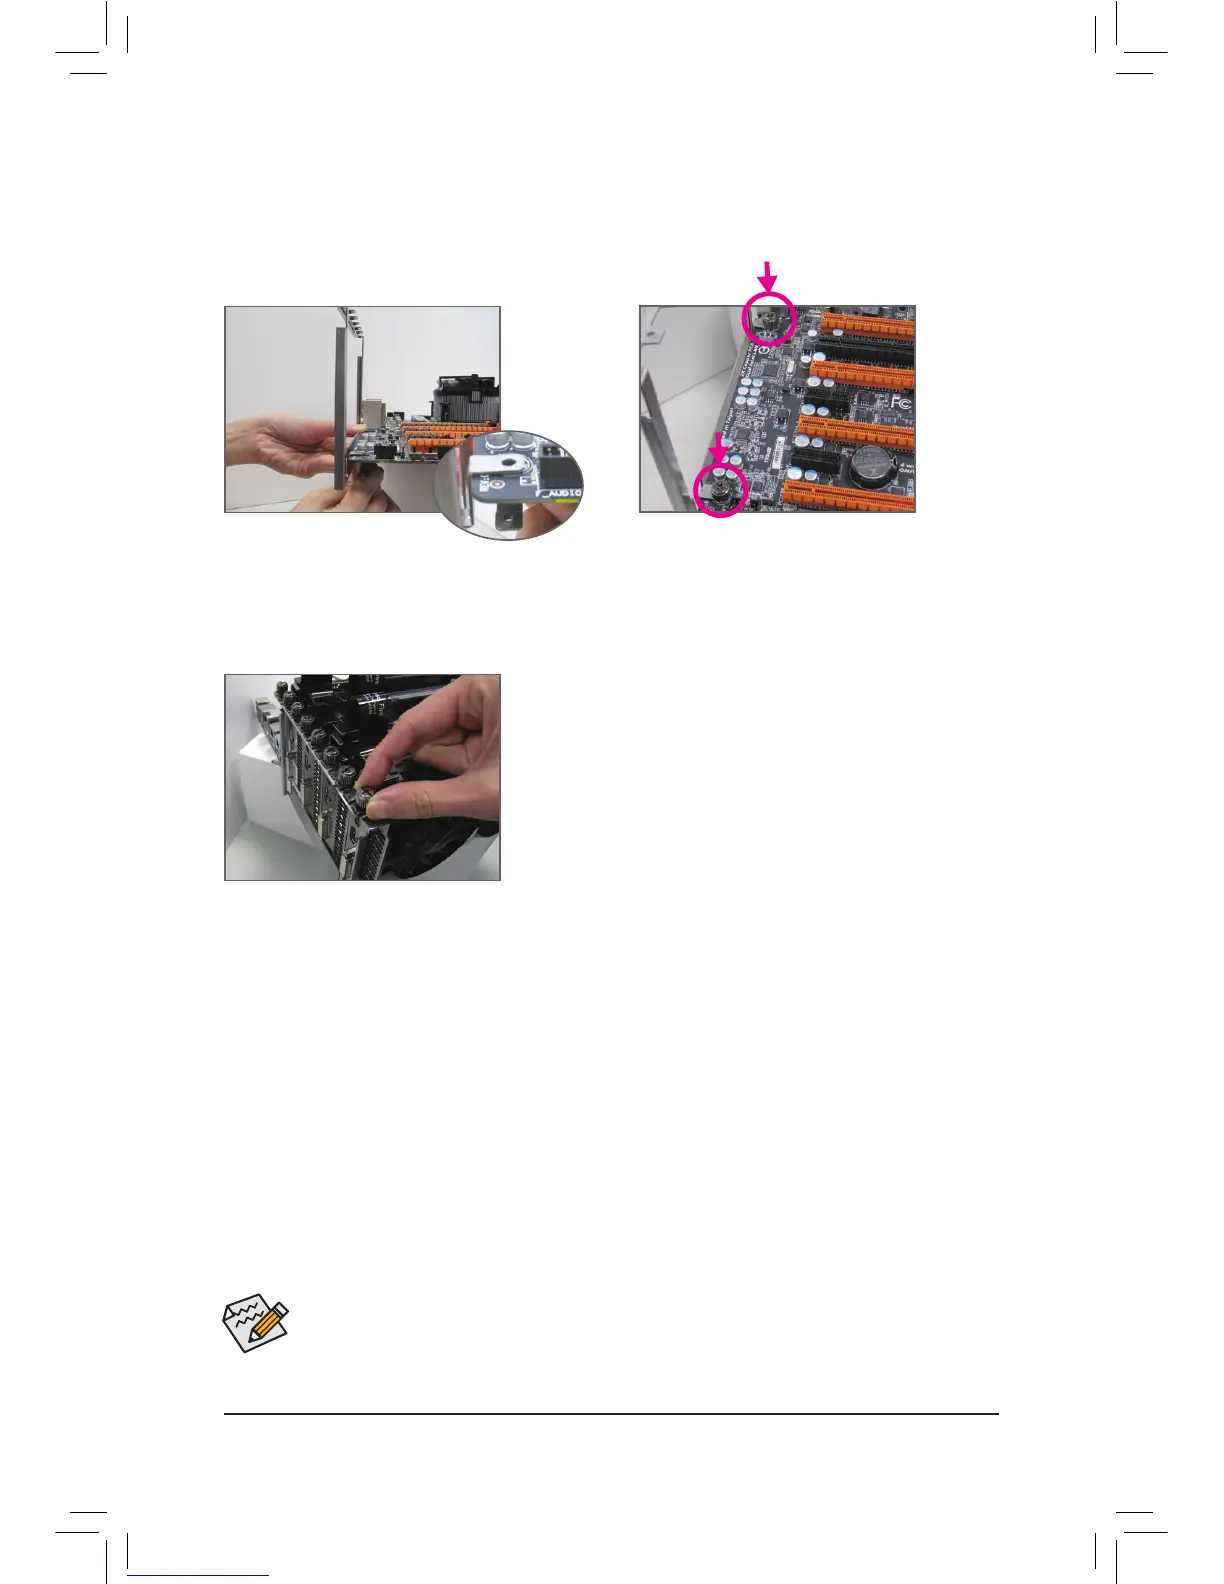
D.InstallingtheOCBrace
(Note 3)
OC Brace allows extreme overclockers and system testers to safely install up to four graphics cards in an open
case or test bed without risking PCIe slot damage or preventing cards not showing up in the OS due to poor
contact with PCIe slot. Refer to the following installation instructions:
Step 1:
As shown, align the screw holes on the OC Brace
and back plate with the screw holes near the PCIe
slots on the motherboard.
Step 2:
Fasten two of the included thumb screws (starting
from the screw hole near the back panel audio
connectors) to hold the OC Brace in place.
Step 3:
After installing the graphics cards, use the included
thumb screws to secure the metal brackets of the
graphics cards to the OC Brace.
Procedure and driver screen for enabling CrossFire/SLI technology may differ by graphics cards and
driver version. Refer to the manual that came with your graphics cards for more information about
enabling CrossFire/SLI technology.
(Note 1) The bridge connectors may be needed or not depending on your graphics cards.
(Note 2) When two or more graphics cards are installed, we recommend that you connect the power cable
from the power supply to the OC_PEG connetctor to ensure system stability.
(Note 3) The components received may vary in appearance from the products illustrated.
 Loading...