MONITOR PROGRAMMING
P
rogramming the Tekna Plus monitorsSE .
RE :MEMBER Monitors must be programmed only in case of installed
parallel units or if there are general door panels.
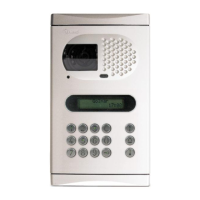
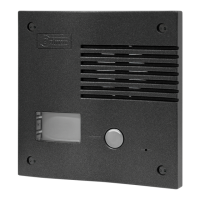
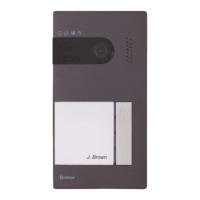
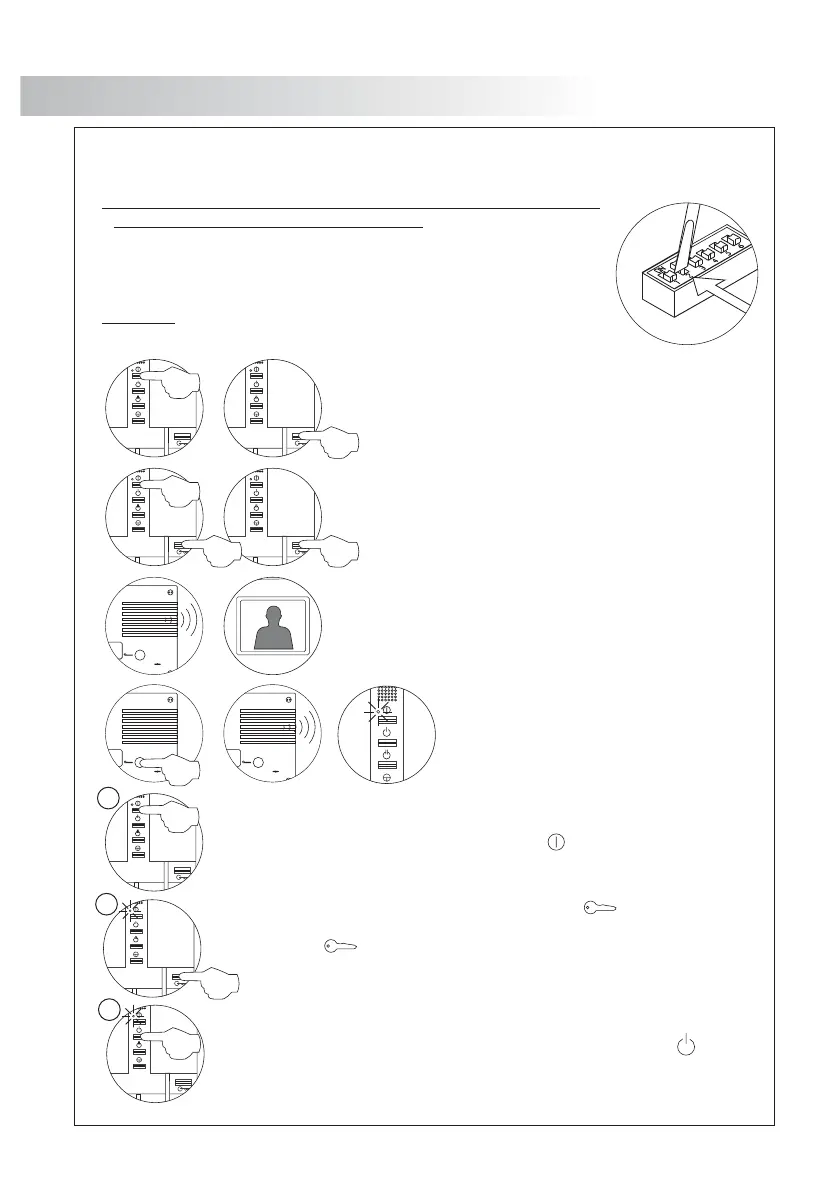
Find the configuration switch located in the rear part of the and setdoor panel
number to The will produce a tone, indicating that it has2 ON. door panel
entered mode. In systems with more than one thisprogram door panel,
operation must be carried out only in the main of each building.door panel
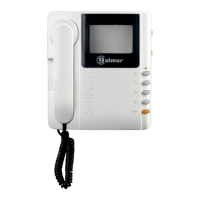
Important: To perform this programming, the monitor's SW2 DIP switches be set
to .OFF
52
Switch off the monitor to be programmed.
Once the monitor is off, press the door release push button.
With the door release push button pressed switch on the
monitor.
To show that the system is ready for programming, the door
panel will reproduce a tone and the picture will appears
on the monitor. At this moment, the door release push
button can be released. Lift the handset to establish audio
communication with the door panel.
Press the door panel push button.
At this moment the door panel will
reproduce a tone and the monitor led's
will blink .red
Each apartment must have one master unit only; in case of parallel units configure them as slaves,
both monitors or telephones.
Make a call to check that the monitor has been succesfully programmed.
Repeat these steps to program the rest of monitors.
Once the programming has been finished, set to OFF the programming
switch. If you don't, the door panel will reproduce a tone to advise that the
system is still into programming mode.
MONITOR PROGRAMMING
51
D
escription of the SW2 DIP switch (quick programming mode).
The SW2 DIP switch is located on the left-hand side of the back of the
monitor.
It enables the monitor to be configured as master / slave and an address
to be assigned.
*Factory default
Dip3 Dip10: .to To set the monitor address
This kit video SV-801 SE, . Themust be set the monitor only with address "106"
switches set to have a zero value.OFF .
The values of the switches set to are shown in the table below.ON
The monitor code is the sum of the values of the switches set to ON.
Dip1 Dip2: Dip1 Dip2and To set the the monitor as master / slave. and to
OFF , Dip1 ON Dip2 OFF s 1, Dip1 OFF Dip2master to and to lave to and
to lave and to laveON s 2, Dip1 Dip2 ON s 3.
Remind: Up to two monitors and one phone in each house without extra
power supply.
E : 64+ + + + +2+ =xample 0+ 32 0 8 0 0 106
Switch umbern :
en ON:Value wh
4
64
5
32
6
16
7
8
8
4
9
2
10
1
3
128
Important: This type of programming cannot be performed on a general
door panel.
To programme the monitor as ress button and the status, pSlave without video
LED will blink green once. If button , the monitor will return to
is pressed again
being programmed as , and the status LED will blink greenSlave with video
twice. The door panel video will be displayed during a call depending on whether
the monitor has been programmed as: Slave with video or Slave without video.
Coming from previous page
SV
To programme the monitor as ress button once, and the statusSlave 1 p
LED will blink green once. Continue successively to , pressingSlave 4
button four times, with the status LED blinking green four times.
Remind: Up to two monitors and one phone in each house without extra
power supply.
To programme the monitor as , press button and theSlave with intercom
status LED will blink green once.
To programme the monitor as , press button for 3 sec.Master
M
S
SI
Continue
 Loading...