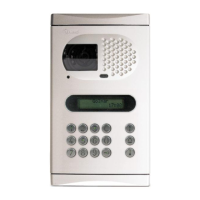
I
ntercom function.
During call reception and communication progresses
allows the lock release activation, by using an external
push button.
With the monitor / telephone in standby, it makes a panic
call to the porter's exchanges configured to receive this
type of call.
IMPORTANT: The T- 40 Plus telephone must be configured with SW1 dip switch in "Intercom" mode5
function (see page ).61
*
Tekna Plus monitor and (*) T- 40Plus telephone have intercom facility between two units of theSE 5
same apartment. To enable this function check the following conditions:
- One of the units has been configurated as master and the other unit as slave with intercom, as
described on pages and . In case to intercom one monitor with one telephone, configure51 63
the monitor as master.
- Link the INT terminal of the units, as it is shown on the enclosed diagram.
To use the intercom function to call all of the monitors in the apartment, lift the handset/ telephones
and press the button until a confirmation tone can be heard.
To establish an intercom
communication lift the handset and press the intercom push button,with T-540Plus telephone,
acoustic tones will be reproduced on the handset confirming the call is in progress.
To call
individual devices, press the button once to call the master monitor, twice to call slave 1 , 3" " " "
times to call slave 2 , 4 times to call slave 3 and 5 times to call slave 4 . This selective intercom" " " " " "
call mode is only available with the Tekna Plus SE monitor. This only functions if no call or
communication is in progress. A number of audible tones emitted by the handset will confirm that
the call is being made or that the unit being called is in communication with the door panel. To
establish communication, lift the handset of the unit being called. If a call is received from the
door panel during an intercom process, the handset of the master unit will emit a number of
audible tones and an image will appear. To establish communication with the door panel, press
button on the unit configured as master or press the door release push button to simply open
the door.
Remind: Up to two monitors and one phone in each house without extra power supply.
The ringtones vary depending on where the call is made from to enable the user to identify its origin.
Note: If the apartment also has Tekna Plus monitor , the Tekna Plus SEs or T-540Plus telephones
monitors must be configured as Intercom with Tekna Plus monitors (see page ). This" " 54
configuration mode does not allow selective intercom calls to different monitors in/ telephones
the apartment; when the intercom button is pressed, all of the monitors in the/ telephones
apartment will receive the call.
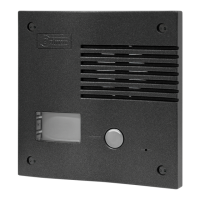
E
xternal lock release activation with Tekna Plus SE
monitor and 5T- 40Plus telephone.
A
ctivation of a second camera.
A
_
+
D
Malla
V
in
V
out
CN4
SAR-12/24
IN IN
NC NA C
Tekna Plus SE
2C
2 Camera
nd
The use of a SAR-12/24 relay will be required to activate a second camera and set the monitor
push button function , as it's described on page with the "second camera activation 2C" s 46
and 54 " " set the push. This facility disables the intercom function. If both functions are required,
button with the "second camera activation 2C" and 2C function use terminal to activate the
second camera as it's described on page ., s 46 and 54
To activate this function, press monitor push button when the monitor is displaying the video from
door panel with no dependence of the handset position.
If this device is shared for all Tekna Plus monitors, link their 2C terminal and use just one relaySE
unit. In case that each monitor has its own camera use a SAR-12/24 relay unit for each monitor
and don't link the 2C monitor terminals.
This push button can be used to activate other auxiliary devices, as the 2C terminal is used.
Usual applications are the surveillance of the elevator entrance, reception hall, ...
OPTIONAL CONNECTIONS
_
+
AP+
Tekna Plus SE
Al
_
T- 40 Plus5
71
72
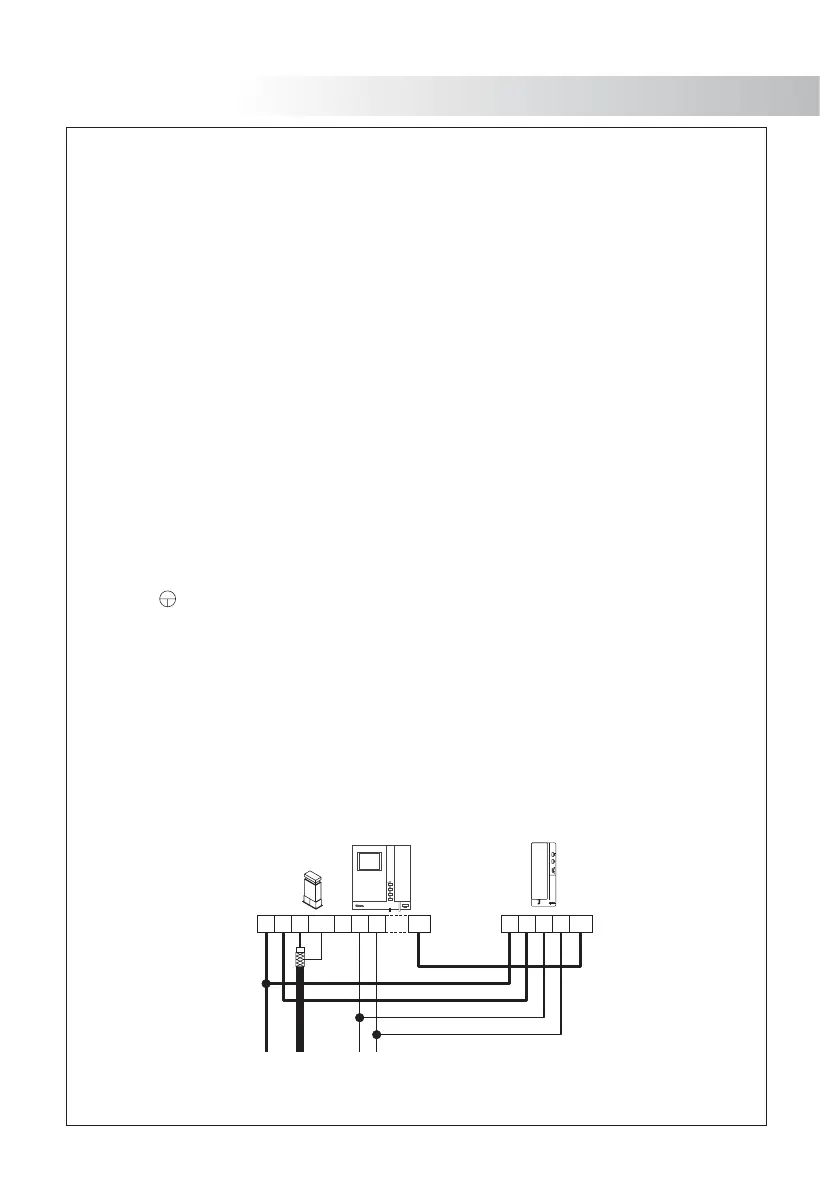
OPTIONAL CONNECTIONS
A
+
_
D INTA
_
+
D INT
Malla
V
in
V
out
CN4
Tekna Plus SE
T-540 Plus
 Loading...