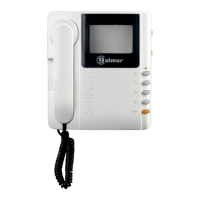
P
rogramming the T- 40 Plus telephones.5
To show that the system is ready for programming,
the door panel and the telephone will's handset
reproduce a tone (the telephone led will light).
Audio communication can be established.
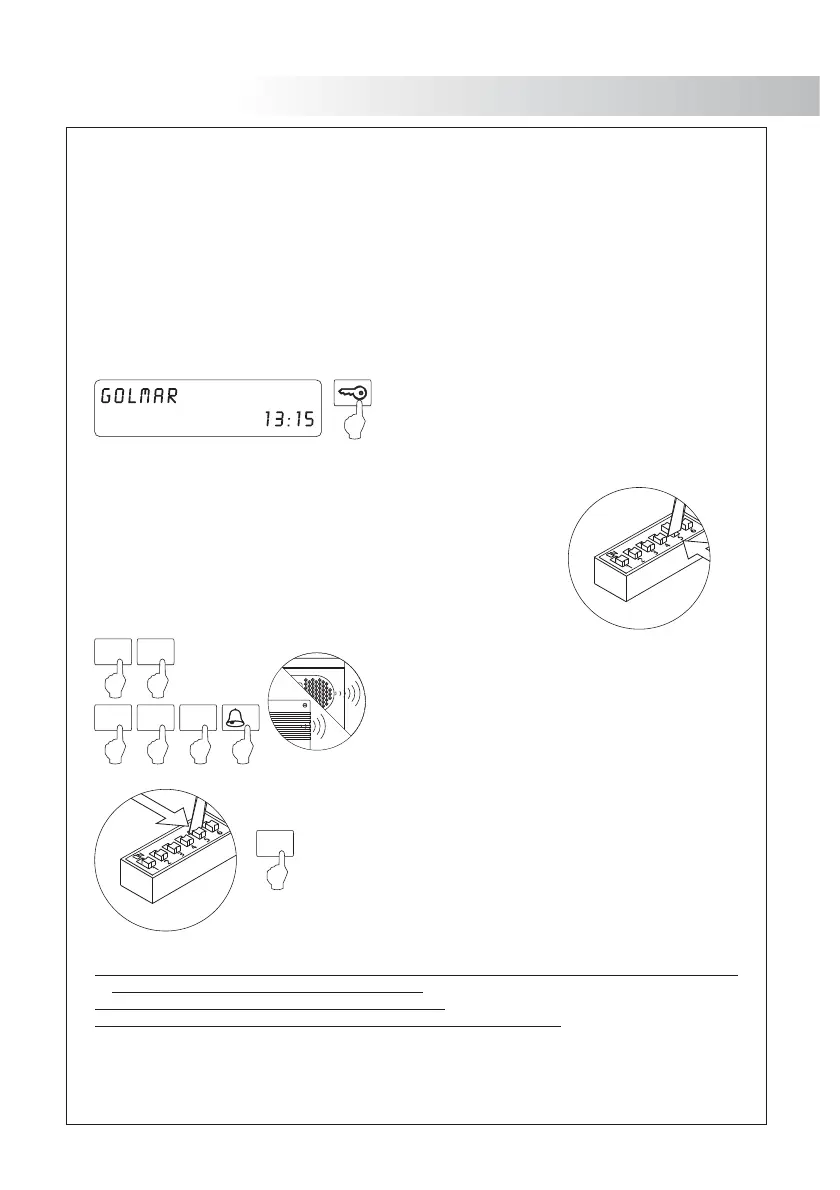
Press the door panel push button:
At this moment both door panel and handset
will reproduce tones (the telephone led will
slow blink).
To programm the telephone as , press theMaster
h (the telephone led will off).
ook switch
Close the telephone.
Each apartment must have one master unit only; in case of parallel units configure them as slaves,
both monitors or telephones.
Make a call to check that the telephone has been succesfully programmed. Repeat
these steps to program the rest of telephones.
Once the programming has been finished, set to OFF the programming switch. If
you don't, the door panel will reproduce a tone to advise that the system is still
into programming mode.
To programm the telephone as , press theSlave
P1 door release push button (the telephone
led will quick blink) and later press the hook
switch (the led will off).
Close the telephone.
Open the telephone to programming (see page
62). Select in the SW1 dip switch the fuction
mode for the auxiliary
function push button
(see page ) and later press the P361
programming push-button.
To programm the telephone as Slave +
Intercom., press the P2 auxiliary function
push button (the led will quick blink) and later
press the hook switch (the led will off).
Close the telephone.
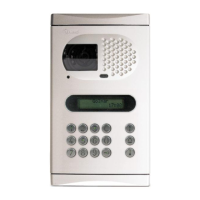
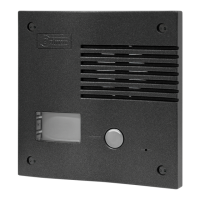
Find the configuration switch located in the rear part of the anddoor panel
set number 2 to ON.
The will produce a tone, indicating that it has entereddoor panel program
mode. In systems with more than one this operation must bedoor panel,
carried out only in the main of each building.door panel
TELEPHONE PROGRAMMING
64
63
M
S
SI
B
ackbone code programming.
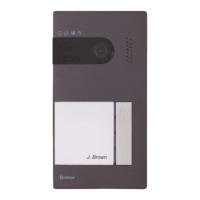
Find the configuration switch located in the rear part of the detached
house and set number to Both willdoor panel door panels5 ON.
produce tones to indicate that mode is enabled. Theprogram
coded will display the "PROGRAM" message.door panel
In order to exit program mode, set microswitch number 5 of the
detached house to OFF and press “C” button ofdoor panel
the general door panel.
Insert the code of the backbone to be programmed
( 1 250), 001between and then code and press the bell
button Both will produce tones to indicate. door panels
that programming has been succesfully carried out.
The general enters programming mode afterdoor panel
pressing the key button and inserting the installer secret
code factory value( 1315). With Code Nexa door
panel 3 timespressing the key button and inserting the
installer secret code ( )default setting 2718 .
REMEMBER: It is necessary to program the backbone code only if the door panel is part of a system
equipped with general s (see note).door panel/
01
O.K.
00 1
NOT :E Golmar.For this type of installation, please contact the technical trade department of
ANCEL
C
After programming the backbone, program monitors and telephones following the
instructions shown on page , and51-52 59 63.
Program all the other in the same waydoor panels .
Do NOT program more than one house at the same timedoor panel .
BACKBONE CODE PROGRAMMING
This device can work as a partial in building complexes with shared entrances. In this kinddoor panel
of systems, each partial must be programmed with a different backbone code so thatdoor panel
shared entrances recognize which is the partial they have to call.door panel
To carry out this operation, do as follows.
 Loading...