1650
1850
1450
P
ositioning of the boxembedding
DOOR PANEL INSTALLATION
I
nstallation of the boxembedding
42
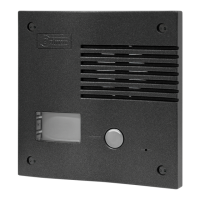
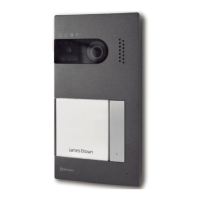
Drill one hole in the wall so that the upper part of the is installed at a height ofdoorpanel 1,65m.
Drill dimensions are Width Height Depth: 131( ) x 131( ) x 45( ) mm.
The has been designed to resist several environmental conditions. However, it is better todoor panel
take additional precautions to ensure a long life for it ( rain shields, covered places...). To obtain
image maximum quality in video door entry systems, avoid back lighting caused by light sources
(sun, lamps,...).
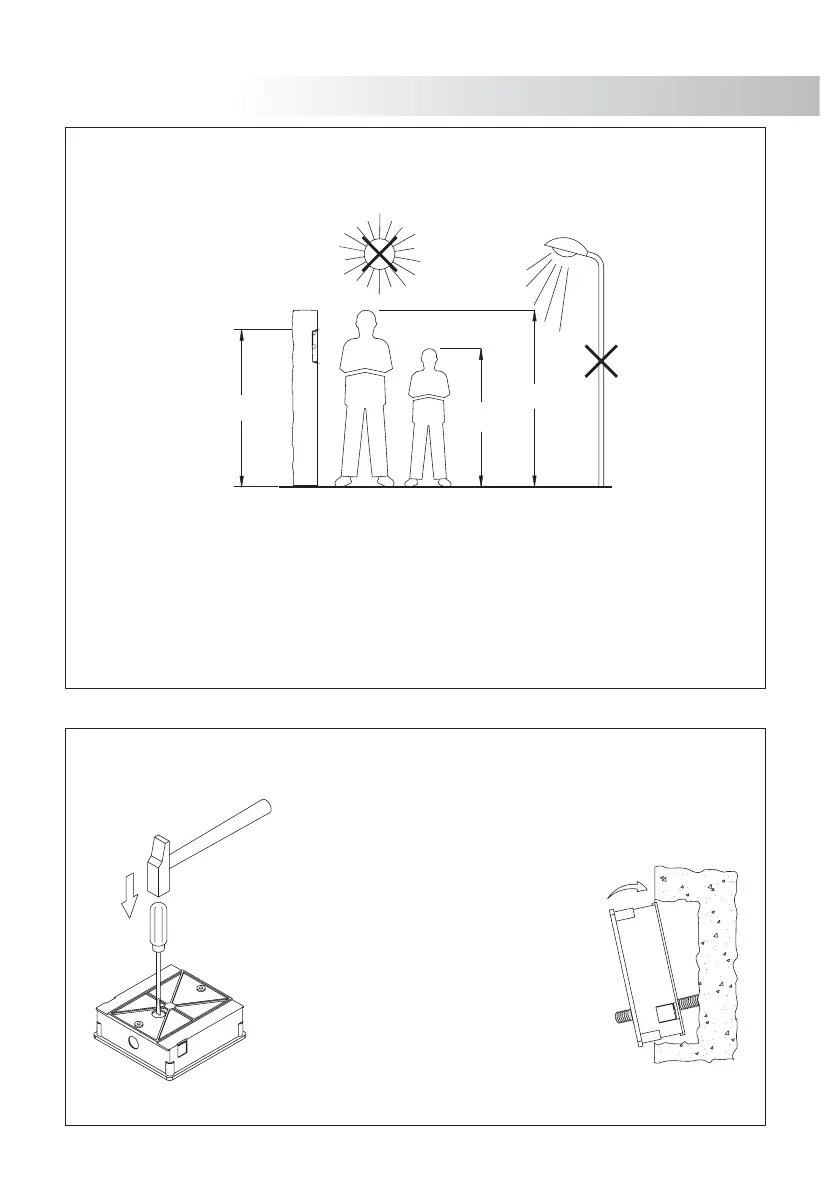
Break the partition wall to enter cables.
Pass the wiring through the hole made in the
bottom part of the embedding box. Fix the box
in the wall, adjust and level it.
After the box has been installed,embedding
remove the protective stickers from the fixing
holes.
SYSTEM CHARACTERISTICS
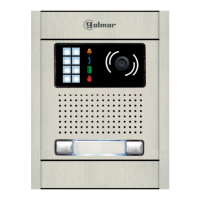
O To make a call, the visitor will have to push the button: some acoustic tones will indicatedoor panel
that the call has been done. In this moment, the monitor (phone) of the house receives the call.
O In devices with several entry doors, the other (s) will be automatically disconnected: ifdoor panel
another visitor needs to call, some phone tones will indicate that the is busy.channel
O The call lasts for seconds; the shows the image after45 master monitorTekna Plus SE 2 seconds
receiving the call; while the visitor does not perceive it and master monitor's status LED will illuminate
(green) master monitor's status LED will illuminate. 45If the call is not answered before seconds, the
(red) and the channel will be free.
O To communicate, lift the handset from the monitor (phone) and the monitor's status LED will illuminate (green).
O Communication will last for one minute and a half or until the handset is hung up. After the
communication, the monitor's status LED will iluminate (red) and the channel will be free.
O To open the door, press the door opener button during the call or communication: one touch
activates the door opener for three seconds.
O Pages and contain the description of the function buttons, .46 57 61
VERY IMPORTANT NOTE
This device is delivered fully programmed, so that it can be used with its monitor; if
an additional monitor or phone is needed, it must be programmed ages ,(p 51-52
59 63and ).
If this device is part of a system with general s, the and thedoor panel door panel
monitor must be programmed as shown on page .64
SYSTEM OPERATION
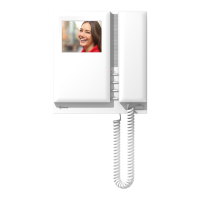
OWith T- 40 Plus telephones:5
wPrivacy on audio communications.
wThree-position control for call volume: maximum, medium and off.
wInput for external door bell push button.
wInput for external door release push button.
wNegative o (maximum current 250mA)utput for additional call repeater .
wCall to a master porter's exchange.
wPanic call to the porter's exchange.
wAllows ones of these functions at once,configuration with dip switch Sw1 (see page ):61
w"Autoswitch-on" function.
wNegative o (maximum current 400mA)utput for auxiliary relay activation .
wCall to a slave porter s exchange.'
wIntercommunication function with other monitor or telephone of the same apartment.
wDifferent call reception tones depending where the call is comming from: main or slave door
panels, door bell push button, intercom.and porter's exchange.
OWith T- 40 Uno telephones:5 SE
wPrivacy on audio communications.
wInput for external door bell push button.
wCall to a master porter's exchange.
wD main or slave ,ifferent call reception tones depending where the call is comming from: door panel
porter's exchange and door bell push button.
Coming from previous page
41
 Loading...