To help prevent injury from solvents and heated
fluids, wear gloves when using solvents and/or if the
fluid temperature exceeds 110 °F (43 °C).
Dispensing and Spraying
3A0590R 23
Flushing
• Ensure flushing fluid is compatible with dispense
fluid and the equipment wetted parts.
• Use a solvent that dissolves the material you are
mixin
g
• Solvent may channel through viscous fluids and
le
ave a coating of mixed fluid on the inner tube of
your hose. Make sure all fluid is thoroughly flushed
from the hose after each use.
• Remove spray tip for more thor
ough cleaning of the
whip hose and static mixers.
• Always leave equipment filled with fluid to avoid
d
rying and scaling.
• Frequently remove, clean and replace the static
mixe
r elements.
1. Follow the Pressure Relief Procedure on page 21.
2. Remove the spray tip and soak in solvent.
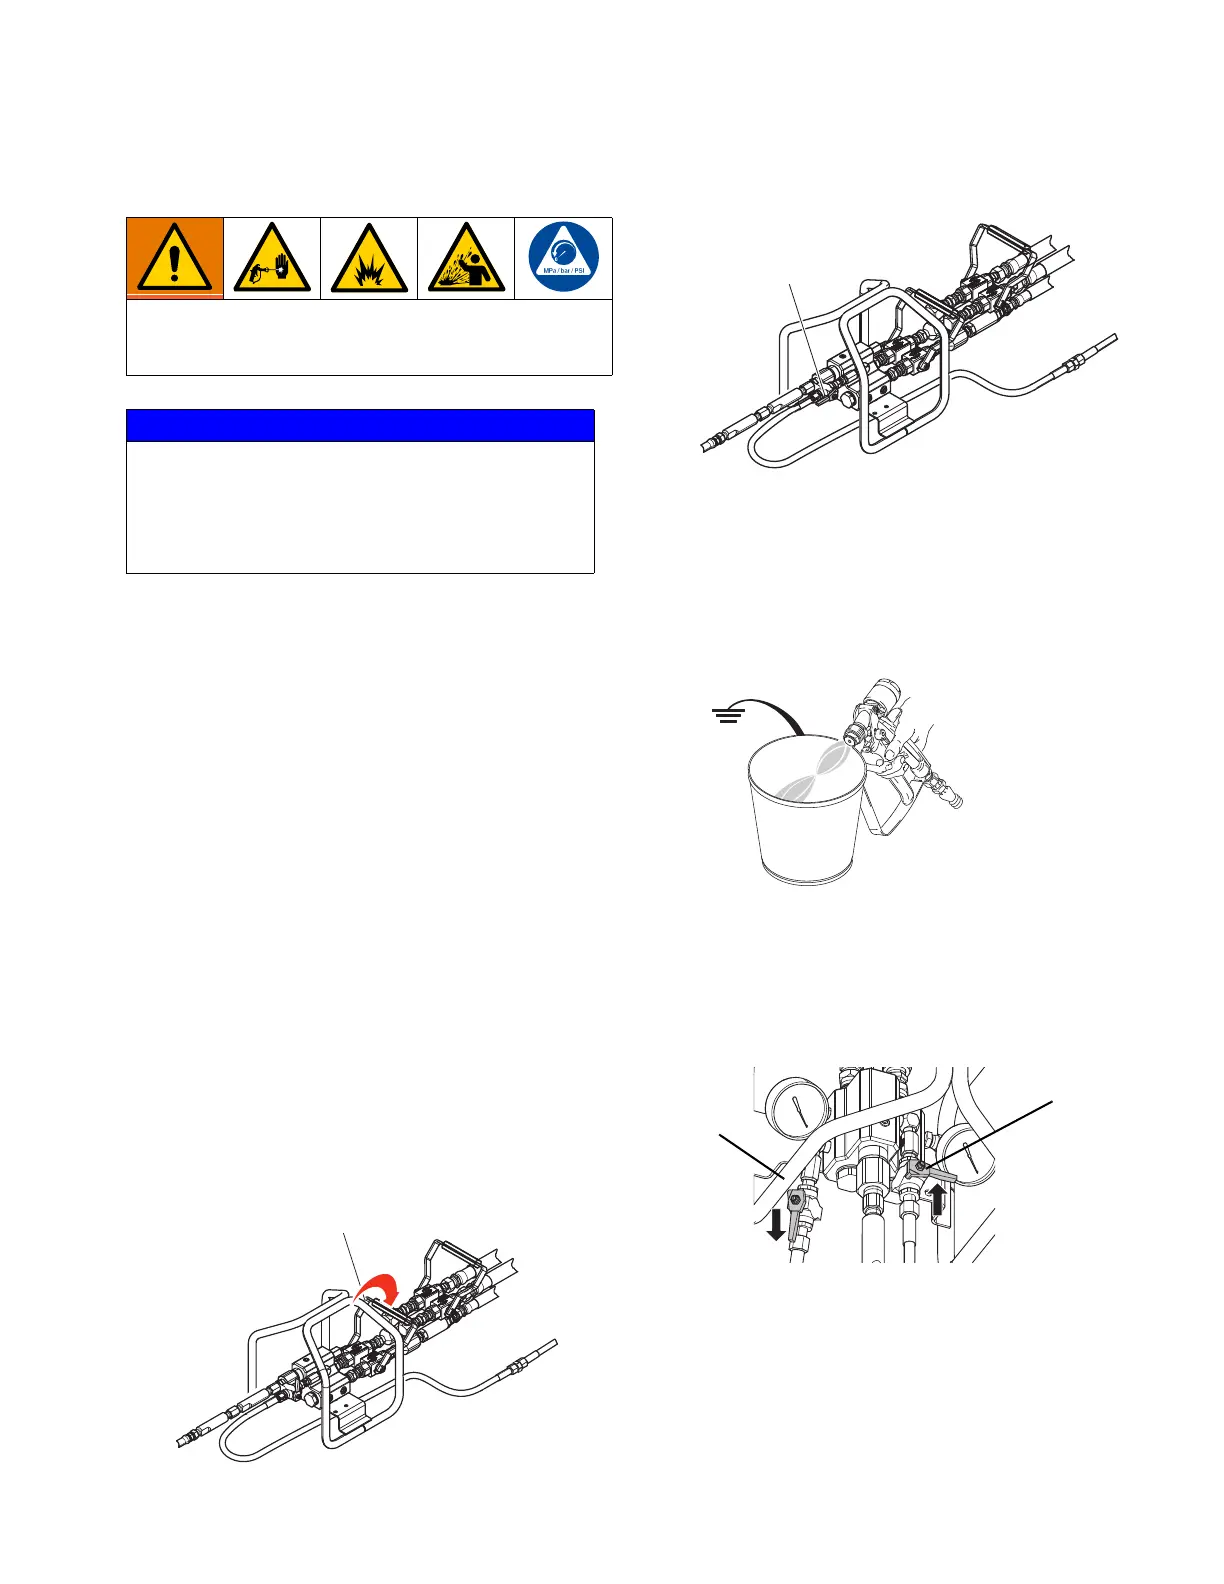
3. Close the dual shutoff handle (AE).
4. Open the shutoff valve (AG). For the Quickset
ma
nifold, close the A side flush valve (DE).
5. Turn on solvent flush pump.
6.
Disengage spray gun trigger lock.
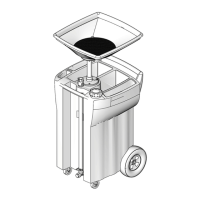
7. Trigger the gun into a grounded metal pail with lid.
Use a lid with a hole to dispense through to avoid
splashing. Trigger the gun until clean solvent
dispenses.
a. For the standard mix manifold, proceed to step
8.
b.
For the Quickset mix manifold, after briefly
flushing with the B side valve, close the B side
flush valve (DC) and open the A side flush valve
(DE). Repeat step 7 until clean.
8. Turn off the solvent pump air assembly.
9. Hold the metal part of the gun firmly to a grounded
metal pail with the lid in place. Trigger the gun until
all fluid pressure is relieved.
NOTICE
To prevent damage to the valve balls and seats,
always fully open or fully close the dual shutoff
handle. Also increase the fluid pressure after
opening the ball valves to allow valves to last
longer.