Service
4 3A6584A
Service
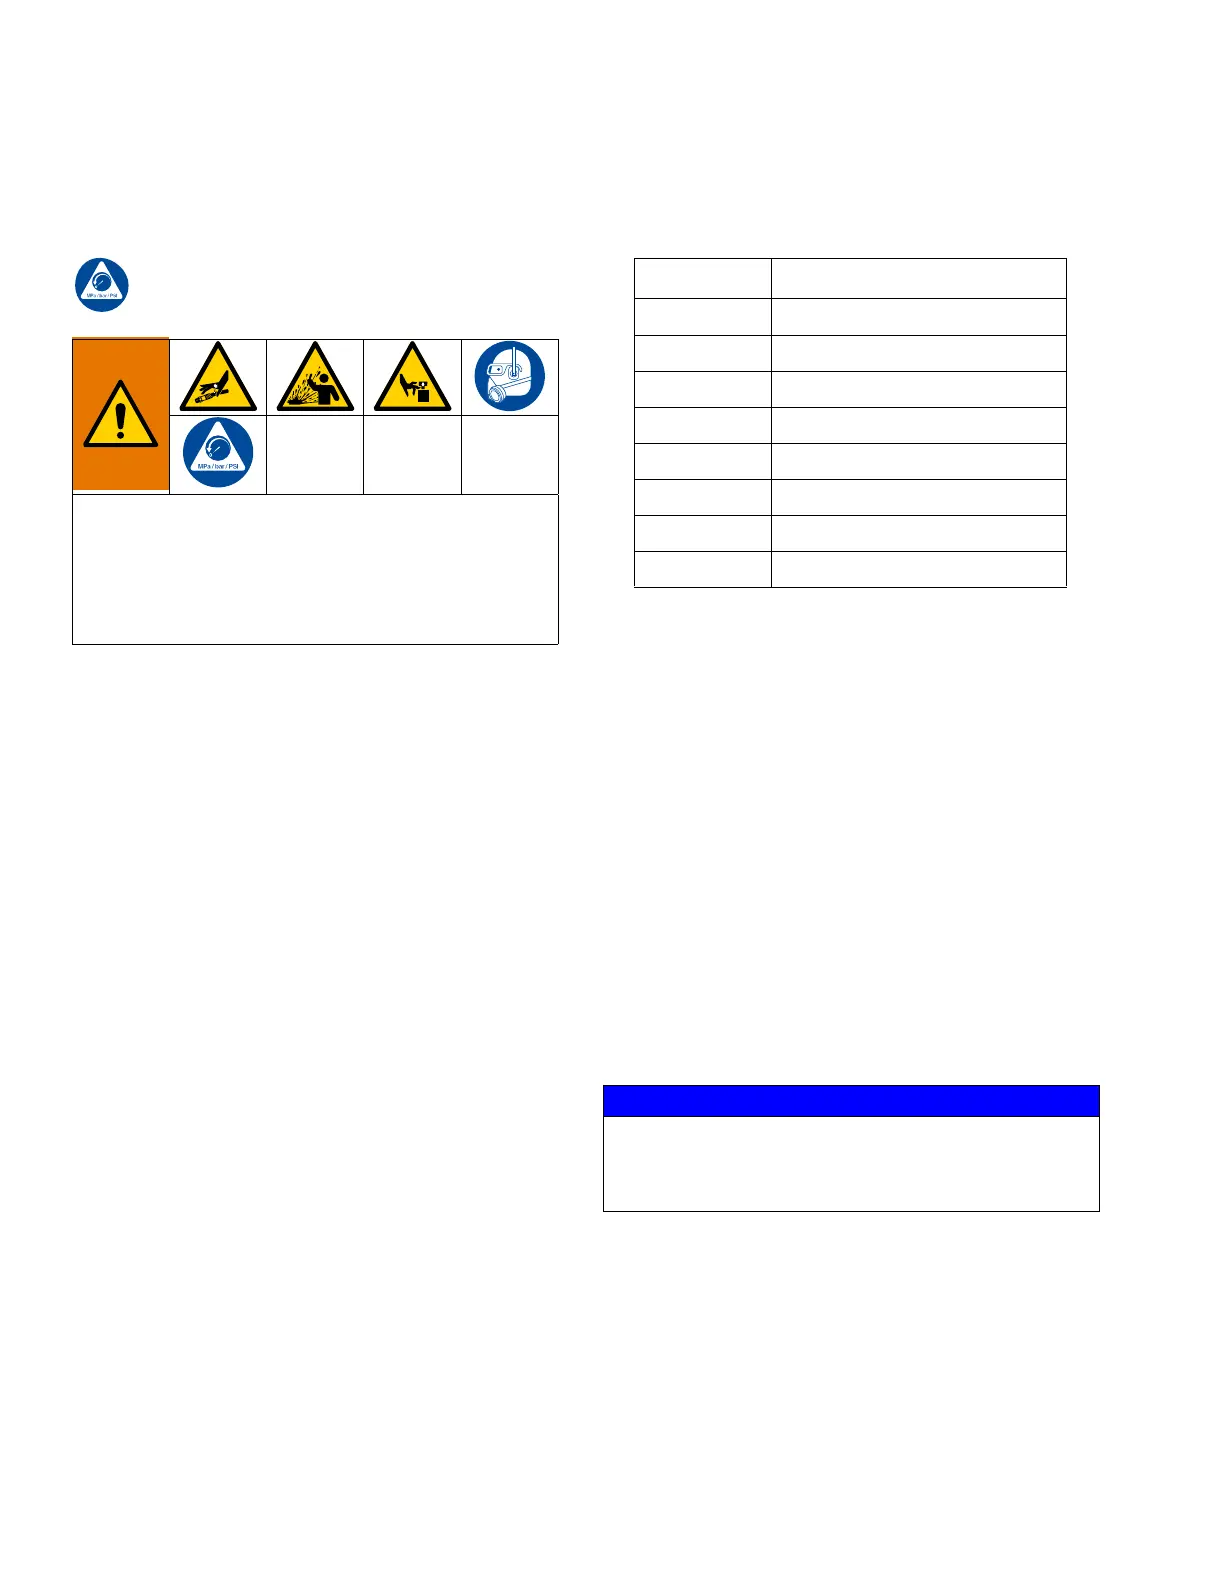
Pressure Relief Procedure
Follow the Pressure Relief Procedure whenever
you see this symbol.
1. Engage trigger lock.
2. Turn ON/OFF switch to OFF. Unplug power cord on
electric units.
3. Disengage the trigger lock.
4. Hold a metal part of the gun firmly to a grounded
metal pail. Trigger the gun to relieve pressure.
5. Engage the trigger lock.
6. Turn prime valve down until ready to spray again.
7. If you suspect the spray tip or hose is clogged or
that pressure has not been fully relieved after
following the steps above:
a. VERY SLOWLY loosen tip guard retaining nut
or hose end coupling to relieve pressure
gradually.
b. Loosen the nut or the coupling completely.
c. Clear the obstruction int he hose or tip.
Pump Repair Kits
Tools Needed
•Vise
• 12 in. adjustable, open-end wrench (2)
• Hammer (20 oz maximum)
• Small screwdriver
• Throat Seal Liquid
• Pick or long small screwdriver
Cleaning and Inspecting Parts
Clean and inspect parts. Pay particular attention to the ball
seats in the intake valve and piston, which must have no nicks
or wear, and to the inside of the sleeve and the outside of the
piston rod, which must not be worn or scratched. Replace worn
or damaged parts.
NOTE:
Remove and clean sleeve when repacking pump.
This equipment stays pressurized until pressure is
manually relieved. To help prevent serious injury from
pressurized fluid, such as skin injection, splashing
fluid and moving parts, follow the Pressure Relief
Procedure when you stop spraying and before
cleaning, checking, or servicing the equipment.
Pump Repair Kit
16Y598 17H838
16Y706 17H839
16X423 17H840
17H831 17H848 (Ceramic check balls)
17H828 17H845 (Ceramic check balls)
17H829 17H846 (Ceramic check balls)
17H830 17H847
25E689 17H852 (Ceramic check balls)
NOTICE
To reduce the risk of damaging sealing surfaces, never use
sharp or pointed tools to remove sleeve. If the sleeve cannot
be removed easily, return the sleeve and cylinder to a Graco
distributor for removal.
 Loading...


