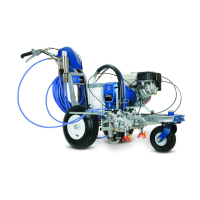
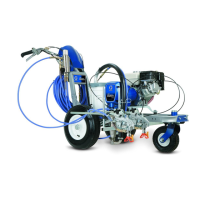
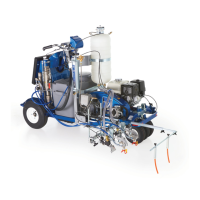
31102112
Digital Tracking System
ON/OFF Switch
Removal
1. Relieve pressure; page 7.
2. Fig. 2. Remove two screws (103) and
cover ( 31).
3. Pull display connector wings (A) open on PC board
and pull display connector out.
4. Disconnect ON/OFF switch connector (B) from PC
board.
5. Press in on two retaining tabs on each side of
ON/OFF switch (15g) and remove switch.
Installation
1. Fig. 2. Install new ON/OFF switch (15g) so tabs of
switch snap into place on inside of pressure con-
trol housing.
2. Connect ON/OFF switch connector (B) to PC
board.
3. Push display connector into PC board and close
display connector wings (A) on PC board.
4. Install cover (31) with two screws (103).
PC Board
Removal
1. Relieve pressure; page 7.
2. Fig. 2. Remove two screws (103) and
cover ( 31).
3. Pull display connector wings (A) open on PC board
and pull display connector out.
4. Note on paper, lead connections to the control
board. Disconnect leads from control board (15d).
5. Remove four screws (15k) from control board.
Installation
1. Fig. 2. Install control board (15d) and four screws
(15k). Torque to 105--115 in--lb.
2. Connect leads to control board. (Refer to note on
lead connections.)
3. Push display connector into PC board close dis-
play connector wings (A) on PC board.
4. Install cover (31) with two screws (103).
Pressure Control Transducer
Removal
1. Relieve pressure; page 7.
2. Fig. 2. Remove two screws (103) and
cover ( 31).
3. Disconnect transducer lead (C) from control board
(15d).
4. Remove pressure control transducer (259) and
o-ring (124) from filter housing.
Installation
1. Fig. 2. Install o-ring (124) and pressure control
transducer (259) in filter housing. Torque to 35--45
ft-lb.
2. Connect transducer lead (C) to motor control
board (15d).
3. Install cover (31) with two screws (103).
 Loading...