94 95
b i o l ine
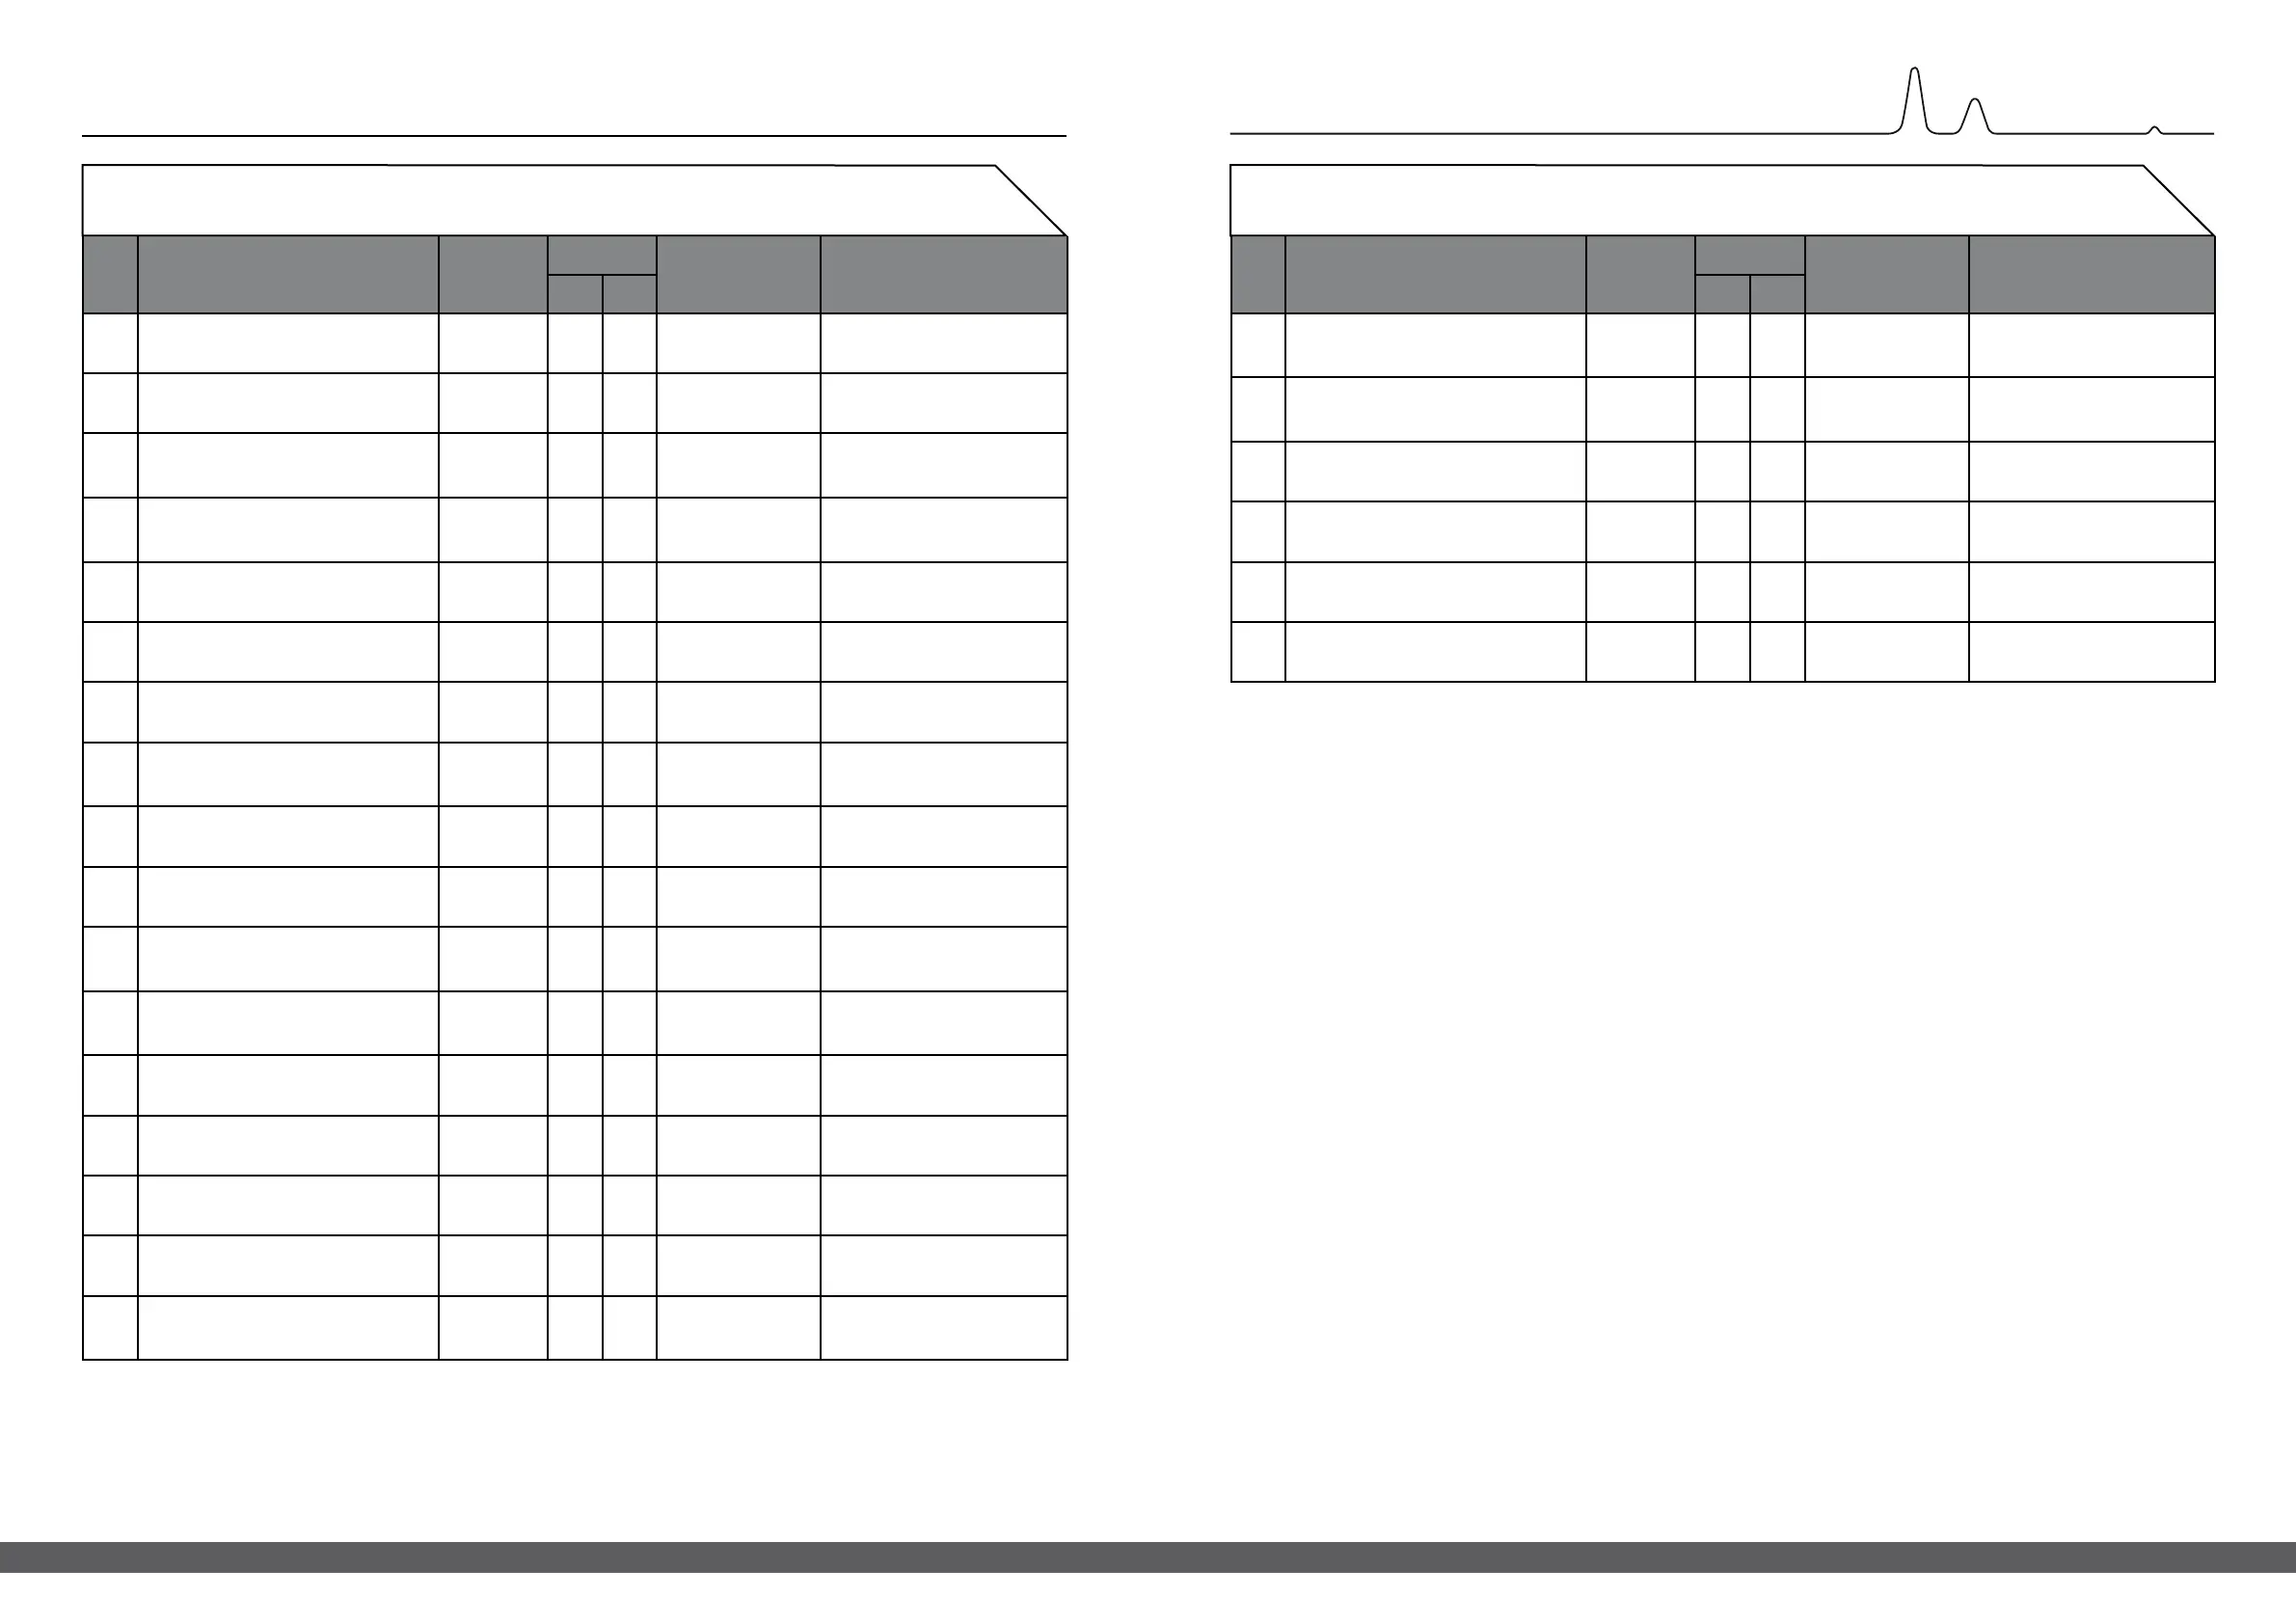
ID Description of installation Reference
in manual
Comply
Attachment
Notes
Yes No
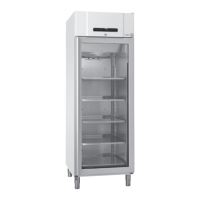
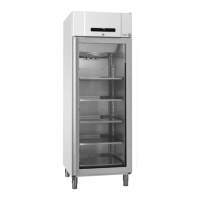
I-1 Ensure the cabinet is installed indoors. page 10
I-2
Ensure the cabinet is installed in a
dry and suciently ventilated area.
page 10
I-3
Ensure the cabinet is not in direct
contact with sunlight or other heat
sources.
page 10
I-4
Ensure that the ambient operating
temperature is within the allowed
range.
page 11
I-5
Ensure that the cabinet is not installed
in a chloric/acidic environment.
page 10
I-6
Ensure that the protective lm on the
cabinet is removed.
page 10
I-7
Ensure that the cabinet is cleaned with
a mild soap solution
page 10
I-8
Ensure that the cabinet has stood
upright for 24 hours if the cabinet has
been laying down.
page 10
I-9
Ensure that the cabinet is levelled if
it is equipped with legs.
page 12
I-10
Ensure a level surface if the cabinet is
equipped with wheels/castors.
page 12
I-11
If equipped with wheels/castors:
Ensure wheels/castors are locked
after positioning
page 12
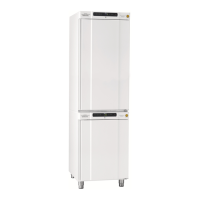
I-12
If equipped with drawers and/or
glass door: Ensure that tilt-bracket is
mounted.
page 16
I-13
Ensure a distance of 15-75 mm
between cabinet and back wall.
page 18
I-14
Ensure that there is minimum a gap of
30 mm between cabinets.
page 18
I-15
Ensure that the upper part of the
cabinet is not covered.
page 19
I-16
Ensure that electrical appliances are
not being used inside the cabinet.
page 19
I-17
Ensure connection from voltage-free
contact to external monitoring system
(optional).
page 20
Model: ________________________ SN: ________________________
ID Description of installation
Reference
in manual
Comply
Attachment Notes
Yes No
I-18
Ensure that the inner doors can
operate in accordance with the
instructions.
N/A
I-19
Ensure the correct electrical
connection (compare local values
with type/nr plate)
page 22
I-20-1
Ensure that the power cord is secured
by the preload cover
page 22
I-20-2
Ensure that the power cord is secured
by the hanger
page 22
I-21
Mark power cord with:
“Do not separate when energized”.
page 22
I-22
Ensure equipotential bonding
(applicable for ATEX Cat.3 Zone 2 areas)
page 24
Model: ________________________ SN: ________________________
Installation Qualication – IQInstallation Qualication – IQ
 Loading...