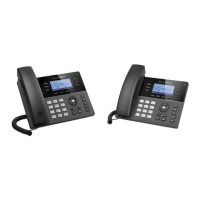
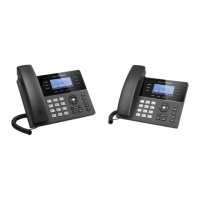
Connecting the GXP1760W to Wi-Fi
There are two methods for connecting the GXP1760W to Wi-Fi network, through the web GUI or using the
keypad menu. Please refer to the following detailed steps:
Using the WebGUI
To connect the GXP1760W to Wifi Network through the web GUI. Please refer to following steps:
1. Access the web GUI using the administrator username and password.
2. Navigate to Network → Wi-Fi Settings and enable the Wi-Fi.
3. Under Access Point(x) fields do the following:
- Specifies the SSID for the desired Wi-Fi network under SSID.
- Configures the Password to access the Wi-Fi network.
- Specifies the Wi-Fi encryption type under Security Type.
4. Press Save and Apply button to save the Wi-Fi settings.
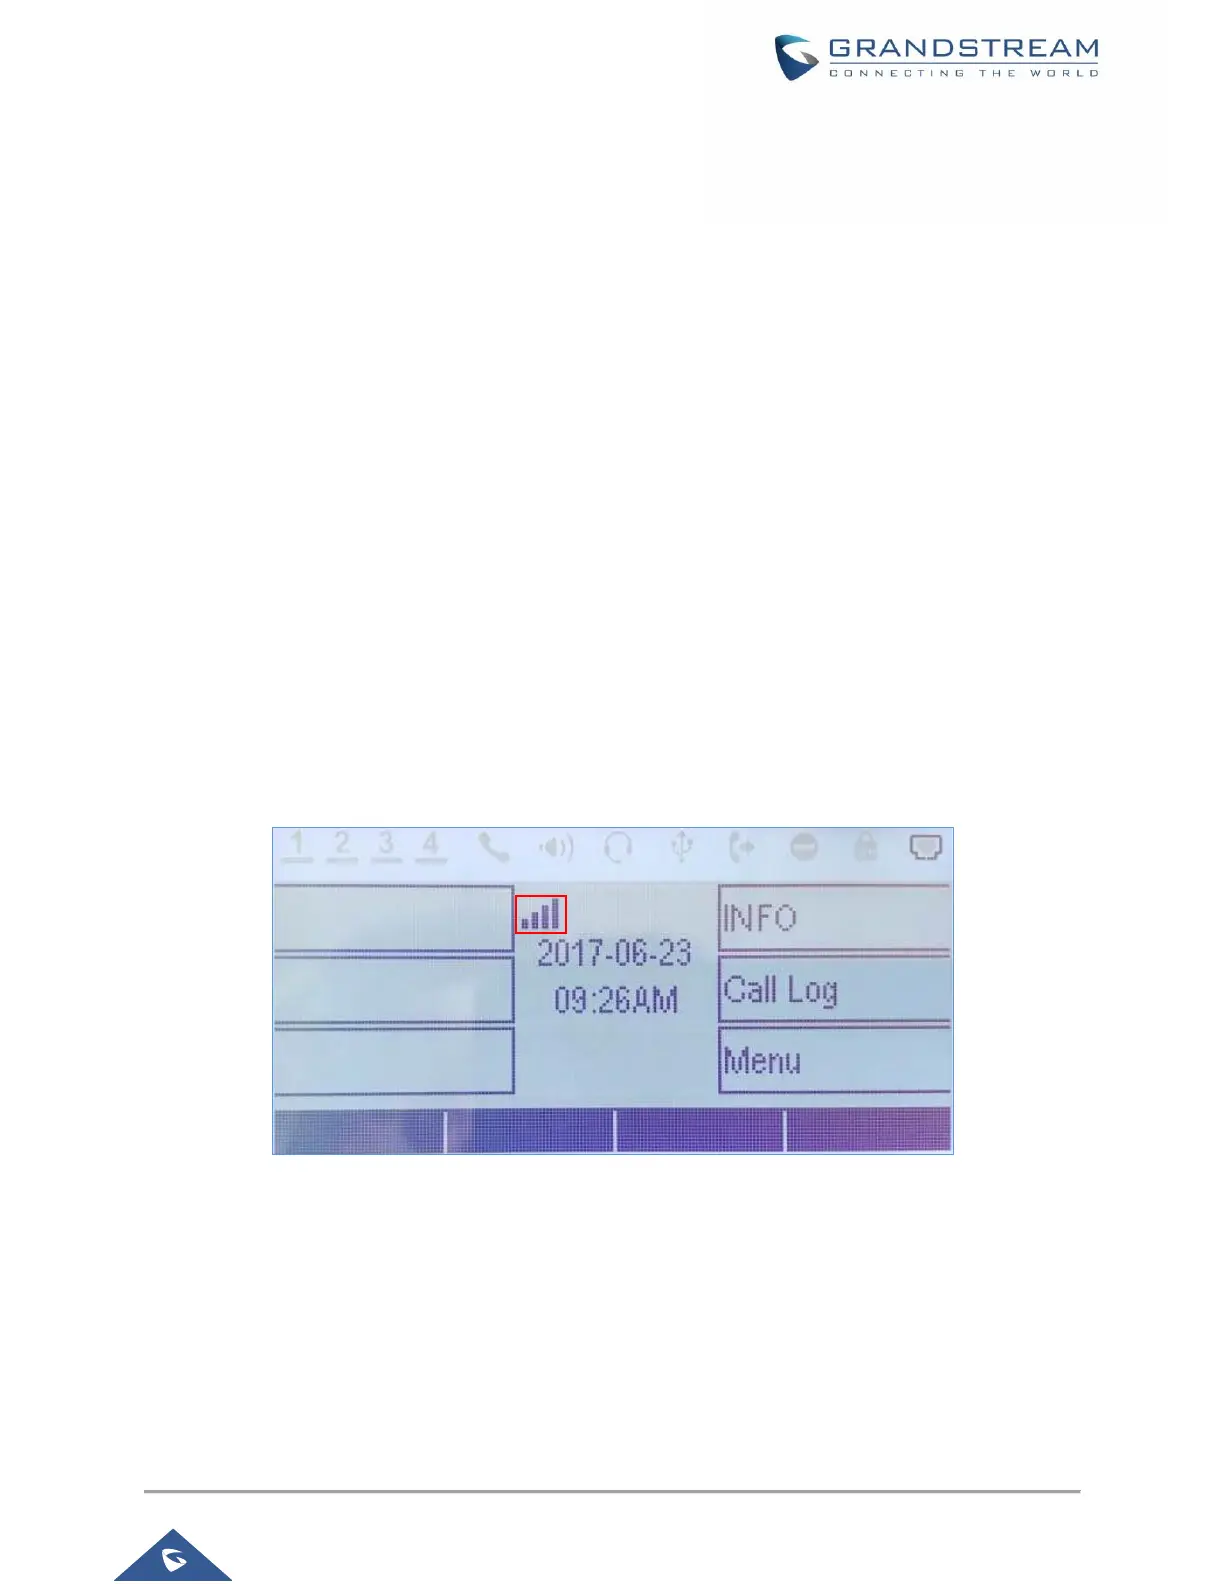
If the Wi-Fi settings are configured correctly, the GXP1760W will connect to the Wi-Fi network automatically
and display Wi-Fi logo on the main LCD menu as displayed on the following figure.
Figure 3: Wi-Fi Signal Icon on the GXP1760W LCD Screen
Using the Keypad Menu
To connect the GXP1760W to Wi-Fi Network through the keypad menu. Please refer to following steps:
1. On LCD menu, navigate to System → Network → Wi-Fi settings and enable Wi-Fi.
2. Select “Scan” and GXP1760W will automatically start scanning within the range.
3. A list of Wi-Fi networks will be displayed. Select the desired network, and if required, enter the

 Loading...