4. Users can manually enter the ACIM settings by selecting the value from dropdown list for each port. Or
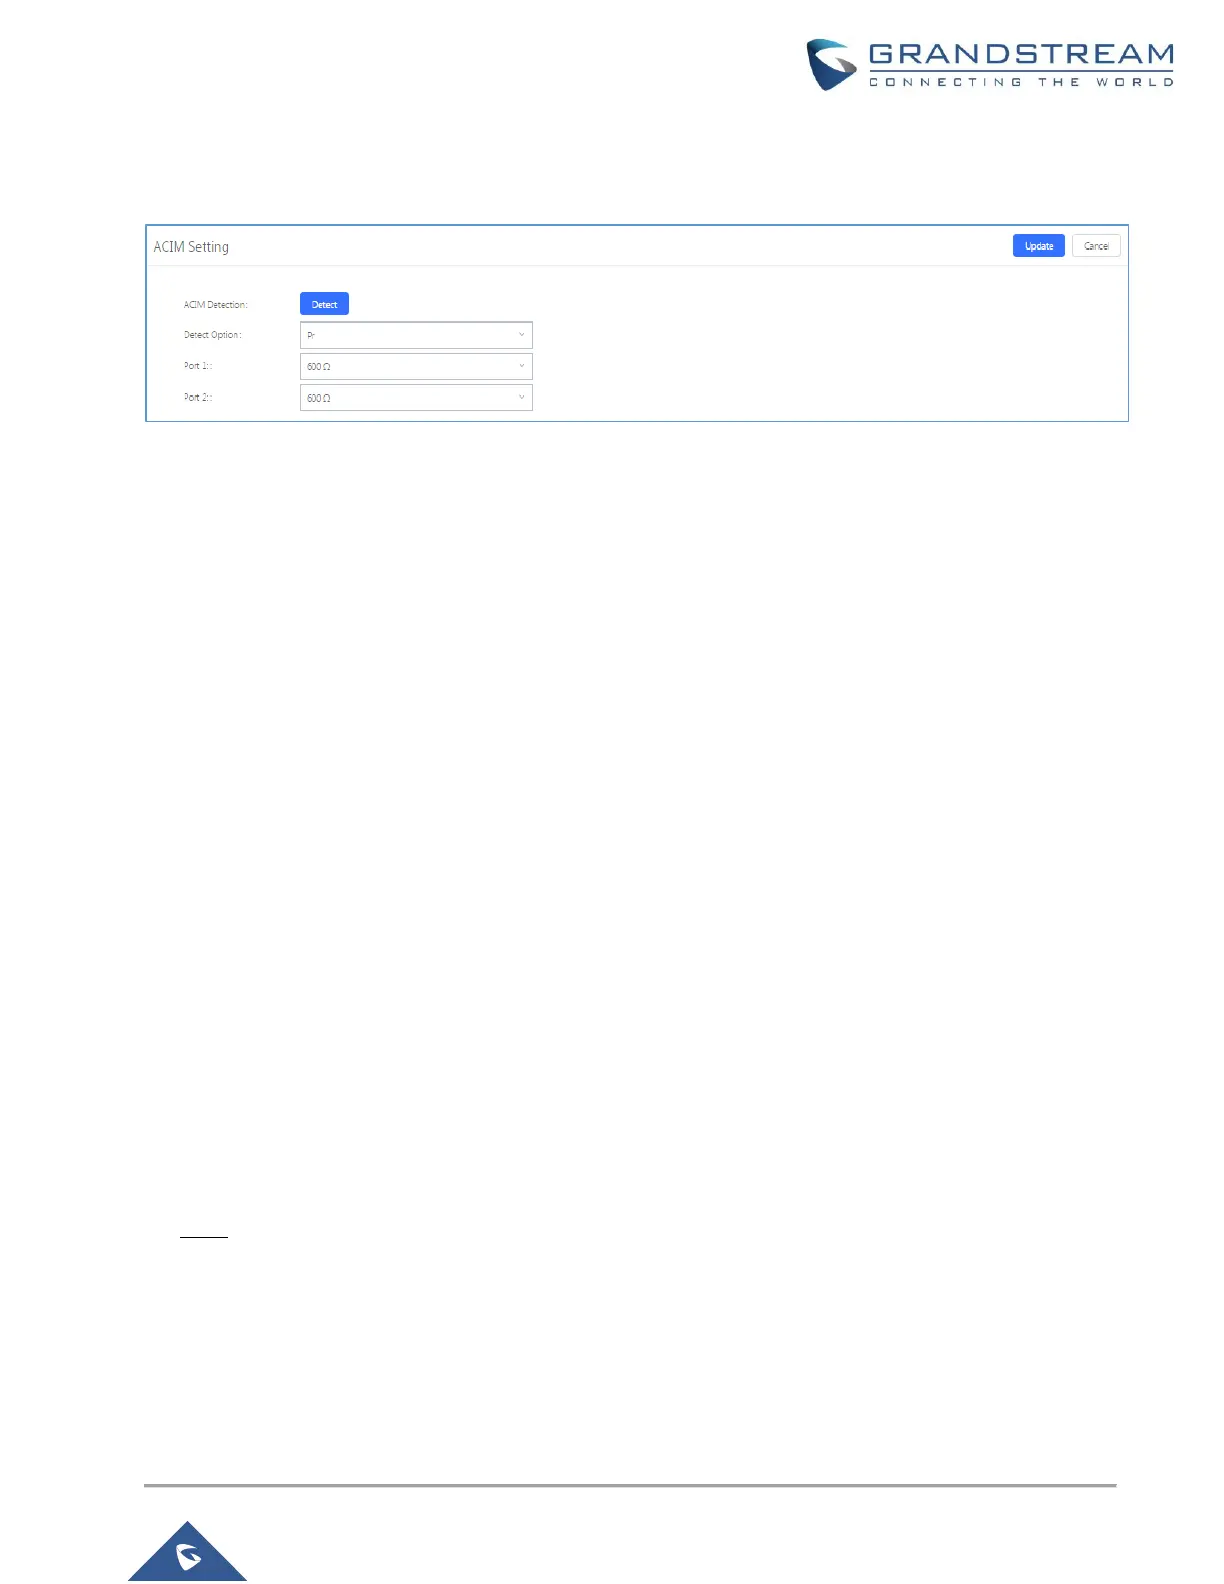
users could choose the detect option (either ERL or Pr) then click on "Detect" to automatically detect
the ACIM value. The detecting value will be automatically filled into the settings.
Figure 14: ACIM Settings
5. Click “Update” to apply the detected ACIM value.
Note: After setting the AC impedance for the connected line to the FXO Port, and notice that audio gains are
still low. Users can increase manually Rx/Tx gains for the Receiving/Transmitting channel of the analog FXO
port. The Rx/Tx audio gains settings can be configured by editing the analog trunk from PBX→Basic/Call
Routes→Analog Trunks. The valid range is from -13.5 (dB) to +12.0 (dB). The default setting is 0.
PSTN Detection
PSTN Detection module can be used to detect and configure following parameters:
• Busy Tone: Depending on PSTN providers/countries/analog PBX, a busy tone signal can be used to
indicate to other party (UCM6xxx) that the call is ended.
• Polarity Reversal: Depending on PSTN providers/countries/analog PBX, a polarity reversal signal can
be used to indicate to other party (UCM6xxx) that the call is ended.
• Current Disconnect which is an interruption of line power from the CO switch/PSTN Provider or analog
PBX to the FXO port, which last for a specific duration depending on your PSTN provider or Co
Switch/PBX
Automatic Detection of PSTN Parameters
The UCM6XXX provides PSTN detection function to help users detect the busy tone, Polarity Reversal and
Current Disconnect by making a call from the PSTN line to another destination. The detecting call will be
answered and up for about 1 minute. Once finished, results will show and can be used for UCM6xxx settings.
1. Edit the analog trunk previously created.
2. In “Edit analog trunk” window, go to "Tone Settings" section.
Note: Tone Country includes a list of countries and their busy and congestion tones. Users can set it to
“Custom” and enter their busy and congestion tones if known.
3. Click on "Detect" to start PSTN detection.
 Loading...