209
Detail program description - Control adjust
Telemetry
The menus comprised under the heading "Telemetry"
can be called up from the default display of the
transmitter mx-20 HoTT by pressing the central
ESC
key of the left touch pad for approx. one second. The
same menus can, like other menus of the transmitter,
also be opened in the multifunction list by pressing the
central SETkey on the right touch pad:
Dual mixer
Basic settings
Fail-safe adjust
Teacher / pupil
Tx. output swap
Telemetry
Swashplate mixer
Basic settings
Fail-safe adjust
Teacher / pupil
Tx. output swap
Telemetry
Basic operation
The operation of the "Telemetry" is essentially the
same as that of the other menus of the transmitter
mx-20 HoTT. The few differences are described in the
following:
You can switch between the individual pages of the
Telemetry menu with the arrow keys of the left
or right touch pad. The corresponding directional
indications can be found at top right of each display
page in the form of angled brackets (<>); see the
following fi gures. If only one angled bracket is visible,
you are on either the fi rst or last respective page. In this
case, changing pages is only possible in the indicated
direction.
Menu lines in which parameters can be changed are
identifi ed with the aforementioned angled bracket (>). By
pressing the arrow keys of the of the left or right
tough pad, the ">" pointer jumps one line forward or one
line back. Lines which you cannot jump to cannot be
changed.
In order to change a parameter, briefl y press the
central
SET key of the right touch pad (the parameter
is represented inversely), change the value within the
permissible adjustment range with the arrow keys of the
right touch pad and adopt the value by pressing the SET
key again. By briefl y pressing the central ESC key of the
left4-way pad, you return to the starting position.
Now select the desired submenu with the arrow keys
of the left or right touch pad. However, if the
message …
CAN‘T
RECEIVE
DATA
OK
… appears instead of the desired submenu after
pressing the central SET key of the right touch
pad, no connection has been established to the
receiver. Therefore, switch on your receiver system
or, if applicable reconnect the addressed receiver as
described on page 68 and 74 or activate it as described
under "Important Notices" on the previous page.
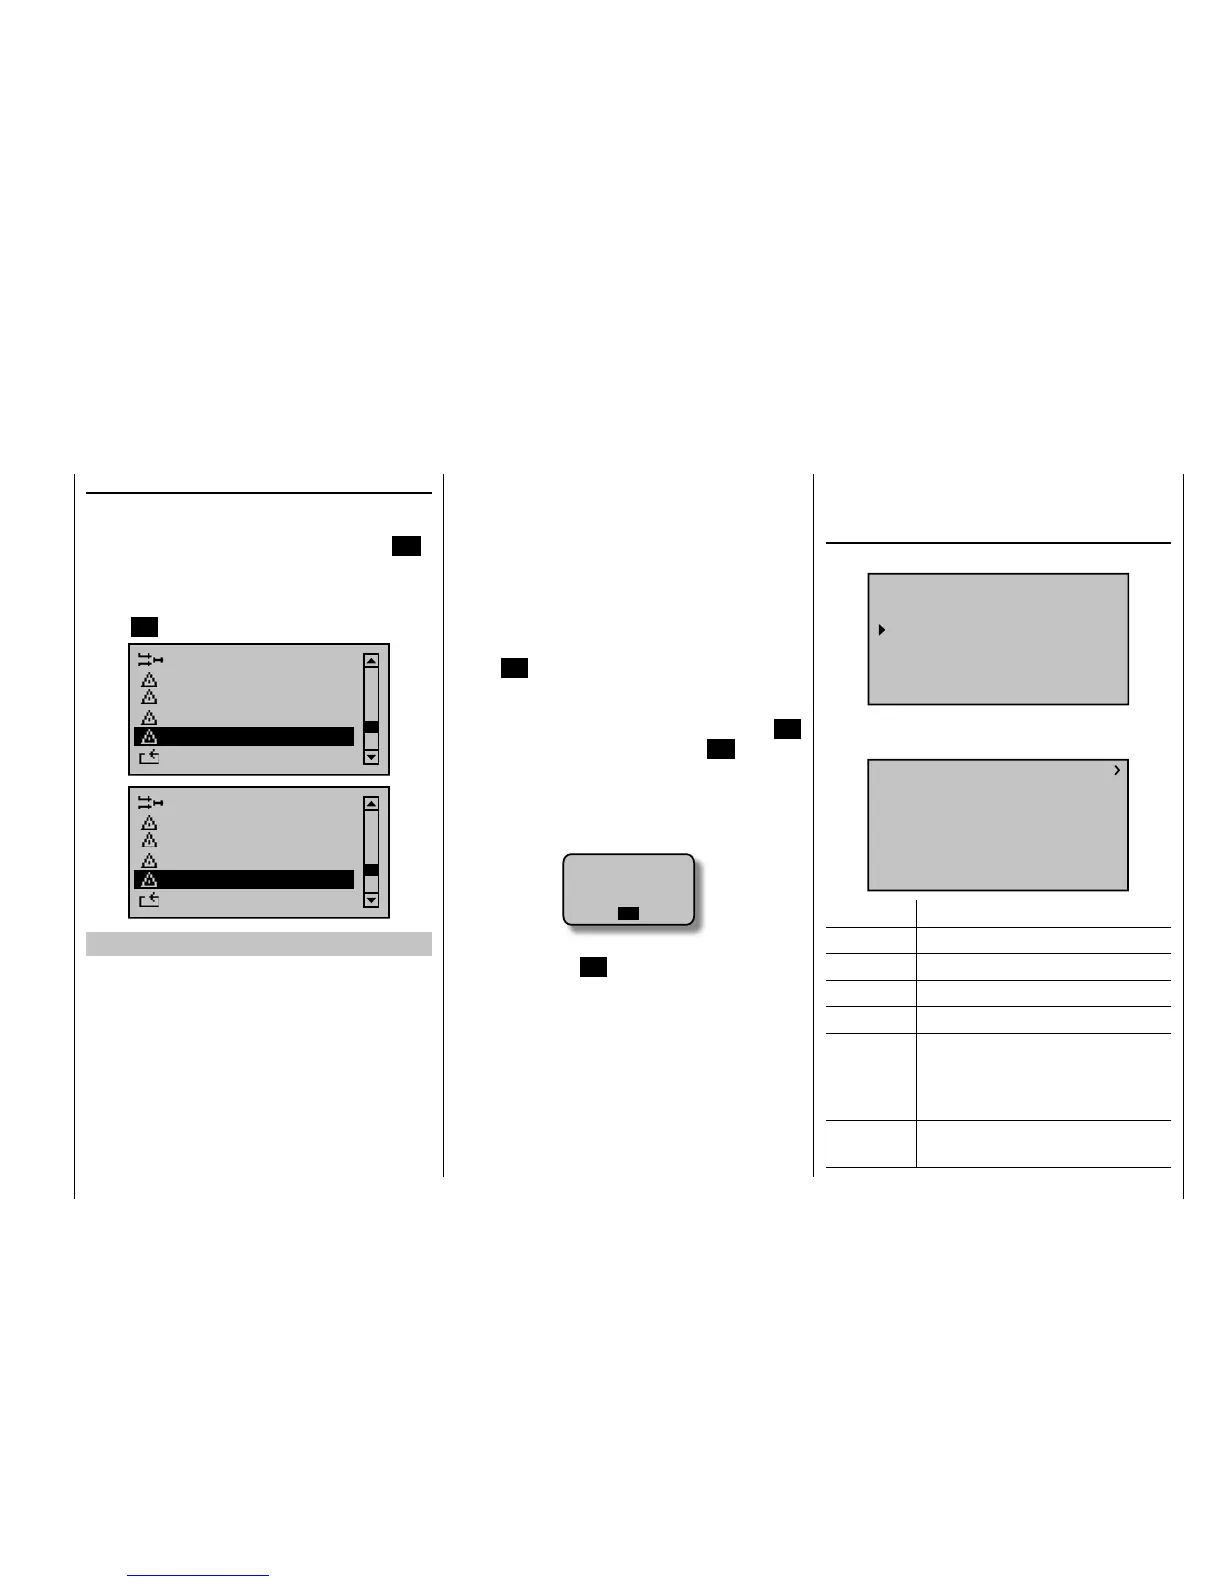
On the fi rst display page of the submenu overwritten
with …
RX DATAVIEW
…
TELEMETRY
SETTING & DATA VIEW
SENSOR SELECT
RF STATUS VIEW
VOICE TRIGGER
TEL.RCV
rcv ch1
… no settings can be made. This page is only provided
for information:
RX DATAVIEW
S–STR100% R–TEM.+28°C
L PACK TIME 00010msec
R-VOLT :05.0V
L.R-VOLT:04.5V
S–QUA100%S–dBM–030dBM
SENSOR1 :00.0V 00°C
SENSOR2 :00.0V 00°C
Value Explanation
S-QUA Signal quality in %
S-dBm Reception power in dBm
S-STR Signal strength in %
R-TEM. Receiver temperature in °C
L PACK TIME Indicates the time in ms in which the
longest data package is lost during the
transmission from the transmitter to the
receiver
R-VOLT Current operating voltage of the
receiver in volts
SETTINGS/DISPLAYS