8
21901443 R02 - 2016 Gravely Atlas JSV3000 / JSV6000 EFI Service Manual
© Copyright Ariens Company
8.37
REAR LOWER SUSPENSION LINK
REMOVAL
1. Properly lift and support the vehicle by the frame.
CAUTION
Do not lift vehicle on the rear axle brace as this will
keep the upper and lower suspension links loaded.
2. Remove the four wheel nuts and remove the rear
wheel.
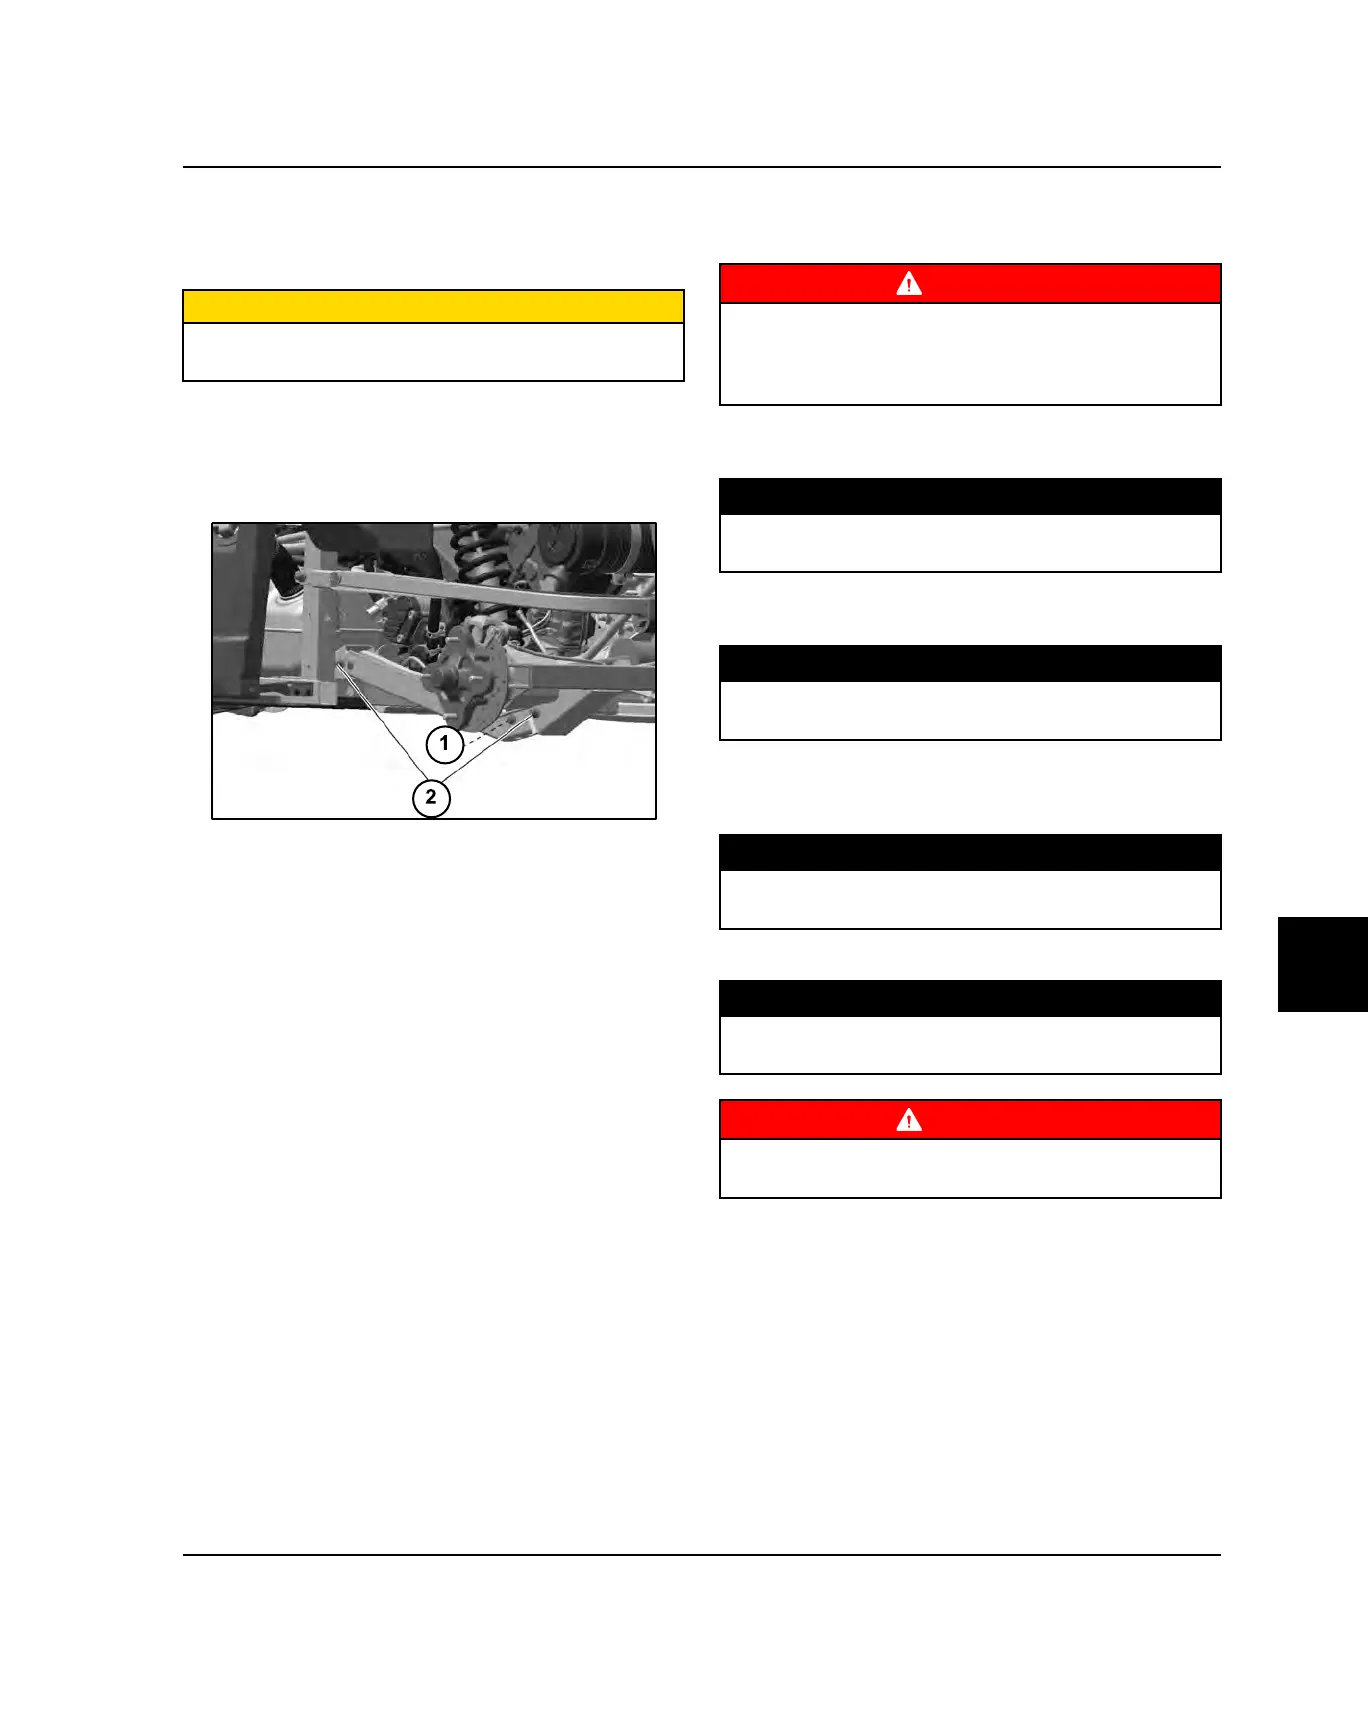
3. Remove the lower shock mounting hardware (Item
1).
4. Remove the lower suspension link to the axle brace
hardware and the lower suspension link to frame
hardware (Item 2). Remove the lower suspension
link.
REAR LOWER SUSPENSION LINK
INSTALLATION
WARNING
The locking agent on the existing bolts was destroyed
during removal. DO NOT reuse old hardware. Serious
injury or death could result if fasteners come loose
during operation.
1. Install the lower suspension link on the frame.
Torque new fasteners to specification.
TORQUE
Lower Suspension Link to Frame:
40 lb-ft (54 Nm)
2. Attach the lower A-arm to the axle brace. Torque new
fastener to specification.
TORQUE
Lower Suspension Link to Axle Brace:
40 lb-ft (54 Nm)
3. Attach the lower portion of the rear shock to the
lower suspension link. Torque new fastener to
specification.
TORQUE
Shock Mounting Bolts:
40 lb-ft (54 Nm)
4. Install wheel and torque wheel nuts to specification.
TORQUE
Wheel Nuts (Steel):
60 lb-ft (81 Nm)
WARNING
Upon repair completion, test vehicle at low speeds
before putting into service.
BODY / STEERING / SUSPENSION

 Loading...