Do you have a question about the Gree GPAC12D and is the answer not in the manual?
Guidelines for the optimal temperature, placement, and conditions for operating the air conditioner.
Crucial safety instructions to prevent hazards during use and maintenance.
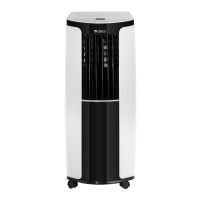
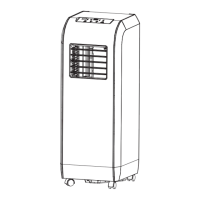
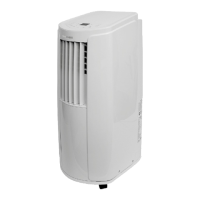
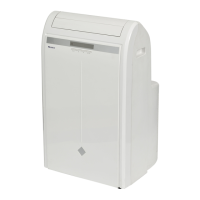
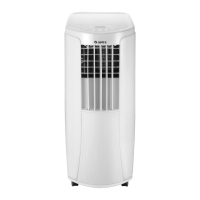
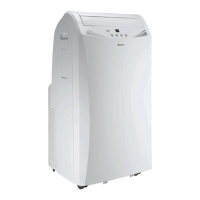
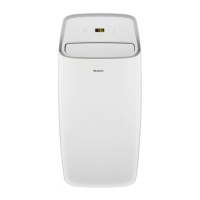
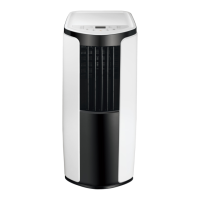
Diagram and list identifying all parts of the air conditioner unit.
Explanation of the control panel layout, buttons, and indicators.
How to use the ON/OFF and +/- buttons on the control panel.
Details on operating modes, fan speed, timer, and sleep features via the panel.
Instructions for changing the direction of air flow using the louvers.
Steps for operating the unit via remote, including signal reception.
Detailed explanation of each button on the remote control and their functions.
Explanation of the icons displayed on the remote control's screen.
Details on using the ON/OFF and MODE buttons on the remote control.
Details on using the temperature adjustment (+/-) and fan speed (FAN) buttons on the remote.
Details on using X-FAN, temperature display (TEMP), and timer buttons on the remote.
Details on Turbo, Sleep, Light buttons, and combination functions like Child Lock.
Sequence of buttons to press for turning on, selecting mode, temperature, and fan speed.
Instructions for replacing batteries in the remote controller.
How to clean the exterior parts of the air conditioner unit.
Procedure for removing, cleaning, and reinstalling the air filters.
Instructions for cleaning the heat discharge pipe.
Checks to perform before the operating season and after it ends.
Steps for proper maintenance during periods of non-use.
Guide to identifying and resolving common malfunctions like unit not operating or poor cooling.
Resolving problems related to no airflow, set temperature adjustment, and odors.
Explanation of normal operational sounds like water flowing or panel expansion.
List of error codes (E5, H8, F1, etc.) and their meanings/solutions.
Phenomena requiring immediate power off and dealer contact (overheating, leakage).
Important warnings regarding governing codes, power cords, and safe installation practices.
Criteria for selecting a suitable location, avoiding heat sources, vapors, and interference.
Safety guidelines for connecting the unit to the power supply, including grounding.
List of included accessories for installation and operation.
List of optional items that can enhance the unit's functionality.
List of necessary tools required for the installation process.
Instructions for assembling and using the wire hook for the power cord.
Procedure for installing a drainage pipe for continuous water removal from the lower port.
Information on the full water alert and how the unit resumes operation.
Procedure for connecting a hose for continuous water removal from the middle port.
Important considerations for proper hose setup and unit placement for drainage.
Connecting rain guards and attaching insect guard net to window panel.
Cutting sponge A and attaching it, then securing the window panel.
Guide for fitting window panels for different widths using adjustment/extension panels.
Closing the window sash against the panel and inserting sponge B.
Recommended step for attaching the bracket for stability.
Connecting rain guards and attaching insect guard net to window panel.
Instructions for attaching the window panel and exhaust cover.
Guide for fitting window panels for different heights using adjustment/extension panels.
Closing the window sash against the panel and inserting sponge B.
Recommended step for attaching the bracket for stability.
Steps for rotating and connecting joints A and B to the heat discharge pipe.
Procedure for inserting the assembled pipe and leading the exhaust hose outdoors.
Optional step for attaching the window adapter to the exhaust cover.
Guidelines for keeping the pipe short, flat, and without curves for efficiency.
Illustrations showing correct and incorrect methods for installing the heat discharge pipe.
Steps for removing joint A and joint B+C from the heat discharge pipe.
Steps to test the unit after installation, checking modes and operation.
Fields to record model, serial number, franchiser, and date of purchase.
Contact details for customer service, including email and website.
| Cooling Capacity | 12000 BTU/h |
|---|---|
| Refrigerant | R410A |
| Power Supply | 220-240V, 50Hz |
| Weight (Outdoor Unit) | 30 kg |
| Heating Capacity | 13000 BTU/h |
| Operating Temperature (Cooling) | 18°C to 43°C |