Boston Scientific (User’s Manual Template 8.5in x 11in Global, 91091755 Rev/Ver. AA), Manual, MB, XPS, Global, 50623316-01A_pretrans
Process Black ΔE ≤5.0 / CMYK ImageProcess Black ΔE ≤5.0 / CMYK Image
17
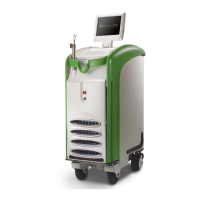
13. To change the aiming beam intensity, display intensity, or audio volume, touch Press for Set-up at the bottom of the main screen.
14. Adjust the desired setting by touching the arrow keys.
15. To return to the main screen, touch Press for Main Menu at the bottom of the screen.
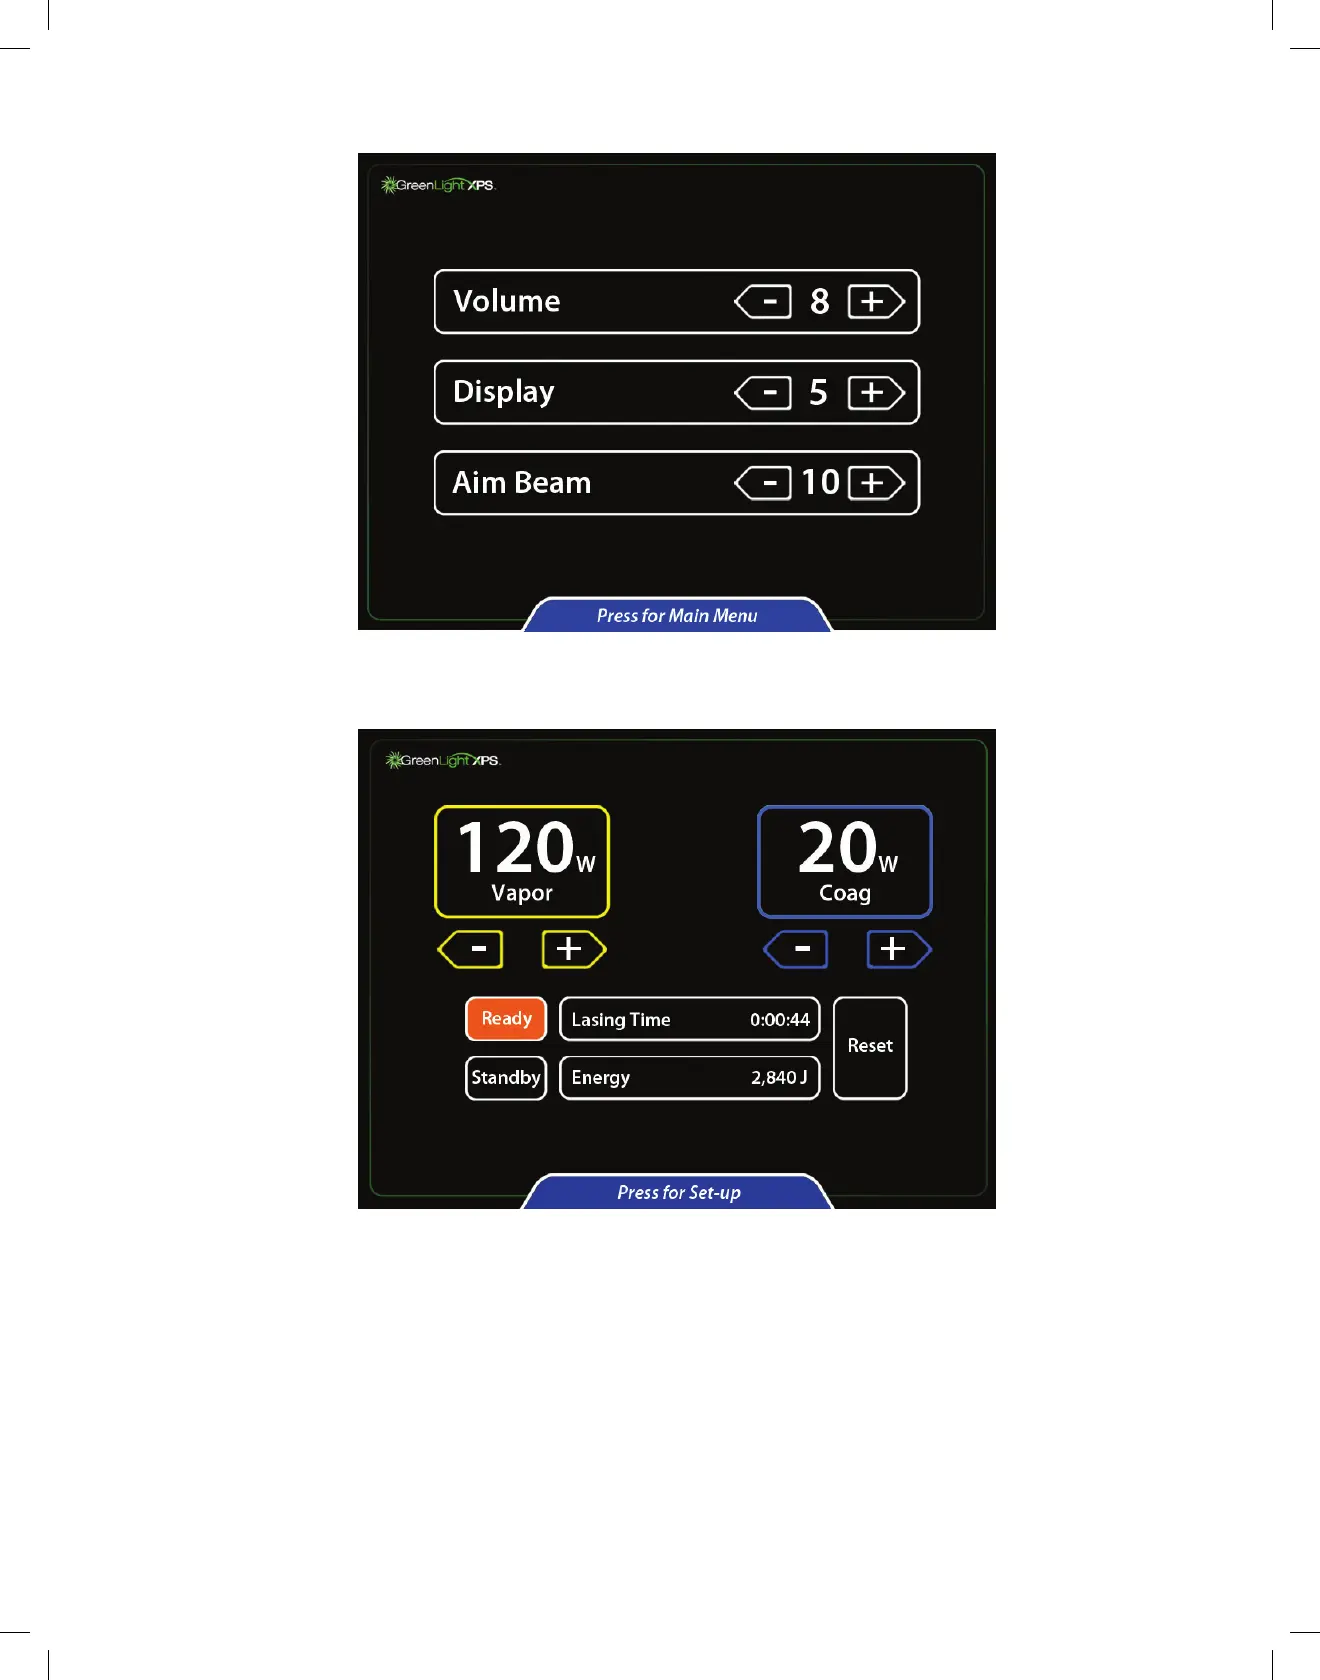
16. Press the Ready button to activate the aiming beam. When the Ready button turns orange, the laser system is ready for use in a procedure.
12.3 Procedure
17. Advance the assembled cystoscope with the visual obturator through the urethra into the bladder using standard technique.
18. Advance the fiber through the fiber port and into the visual field of view. A suction tube can be connected to the outflow port of the
cystoscope to direct outflow irrigation.
19. Rotate the control knob of the fiber to examine the fiber markings. The triangle is contralateral to where the laser beams fires. The triangle
mustbevisibleatalltimeswhilefiringthebeam.Theredoctagonalstopsignisalignedwiththeaimingbeamofthefiber.Donotactivatethe
working beam if the stop sign is centered in the field of view.
20. Advance the fiber to the treatment site. The tip of the fiber should be in clear view and extended beyond the tip of the cystoscope. The
output beam of the fiber is aligned with index of the knob on the distal portion of the fiber.
21. Place the console in Ready mode to enable the footswitch.
22. Observe that the aiming beam is on the tissue targeted for treatment before activating the laser.