Model G0699 (Mfd. Since 5/15)
-75-
6. Move the sliding table all the way forward,
rotate the saw blade so the mark you made in
Step 4 is at location "B", then take the mea-
surement of "B".
— If the difference is equal to or less than
0.004" between the "A" and "B" measure-
ments, the sliding table parallelism to the
saw blade is acceptable and adjustment is
necessary.
— If the difference between the "A" and "B"
measurements is greater than 0.004", the
sliding table parallel adjustment bolts need
to be re-adjusted. Continue with the next
step.
7. Loosen the three sliding table mounting hex
nuts that hold the sliding table in place.
Note: Access two of the hex nuts by remov-
ing the access panels on both sides of the
frame, and the middle hex nut through the 5"
dust port gap in the cabinet side.
9. Make sure the sliding table is up against the
adjustment bolts, then repeat Steps 5, 6 and
8 until the difference between the "A" and "B"
measurements is acceptable.
10. Re-tighten the jam nuts on the adjustment
bolts.
11. Make sure the sliding table is against both
adjustment bolts, then re-tighten the mount-
ing hex nuts to secure the table in place.
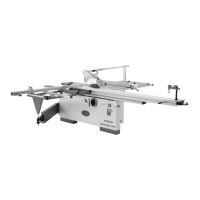
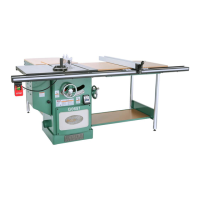
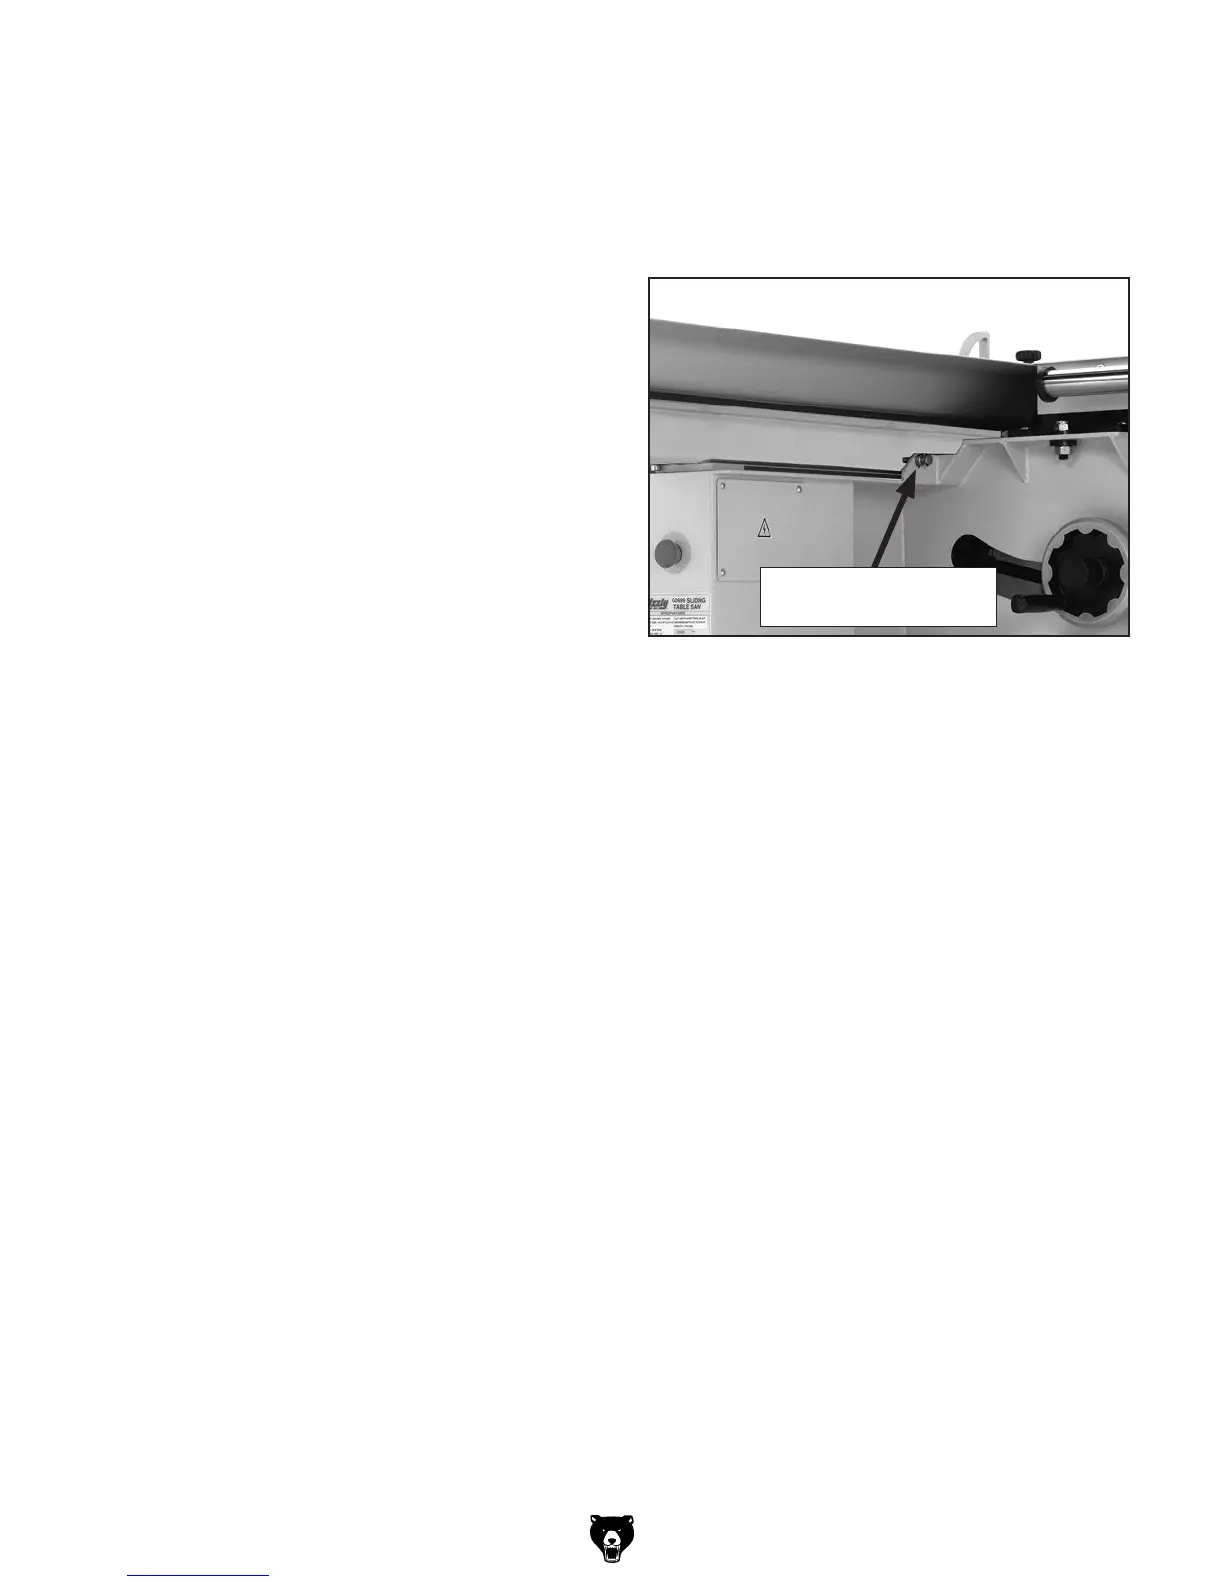
Figure 144. Sliding table parallel adjustment bolt
(1 of 2).
Parallel Adjustment
Bolt & Jam Nut (1 of 2)
8. Loosen the jam nuts on the sliding table par-
allel adjustment bolts (see Figure 144) that
are on both sides of the frame behind the
sliding table, then adjust the bolts in or out in
small increments to change the parallel rela-
tionship of the sliding table to the saw blade.
 Loading...