S
Sharon FarrellAug 20, 2025
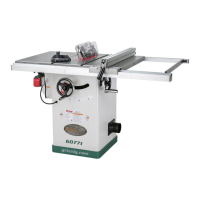
What to do if my Grizzly G0771Z Saw machine does not start or a breaker trips?
- CCynthia MarksAug 20, 2025
If your Grizzly Saw machine doesn't start or a breaker trips, there are several potential causes and solutions: * Ensure the switch disabling key is inserted into the ON/OFF switch. * Replace the fuse if it's blown, and check for any shorts. * If the wall circuit breaker tripped, verify the circuit size is correct or replace a weak breaker. * Confirm the power supply is on and has the correct voltage. * Test the plug/receptacle for good contacts and correct the wiring if necessary. * Correct any miswired motor connections. * Check for and fix broken, disconnected, or corroded wires. * Replace the motor ON/OFF switch if it's faulty. * Test and replace the start capacitor if it's faulty. * Test, repair, or replace the motor if it's at fault.