EasyManua.ls Logo

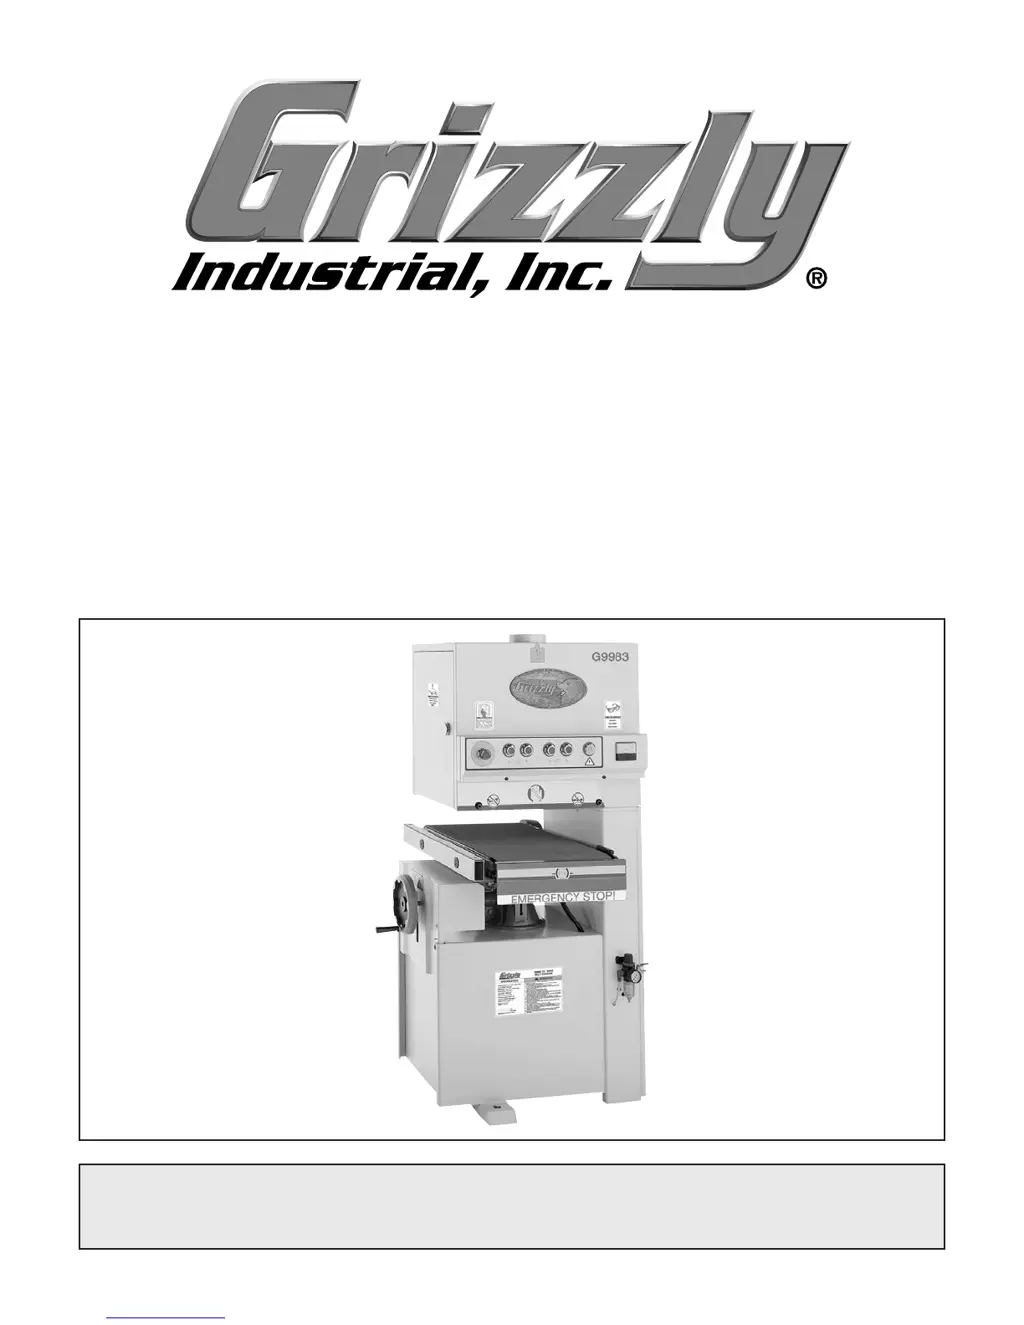
Grizzly G9983 - User Manual

Grizzly G9983
60 pages
Print Icon
To Next Page IconTo Next Page
Loading...
COPYRIGHT © OCTOBER, 2002 BY GRIZZLY INDUSTRIAL, INC., REVISED JUNE, 2013 (TS)
WARNING: NO PORTION OF THIS MANUAL MAY BE REPRODUCED IN ANY SHAPE
OR FORM WITHOUT THE WRITTEN APPROVAL OF GRIZZLY INDUSTRIAL, INC.
#TR4202 PRINTED IN TAIWAN
MODEL G9983
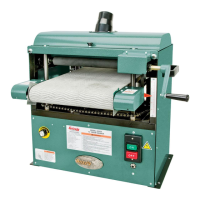
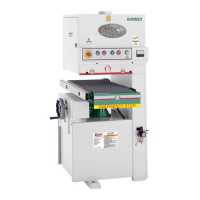
15" OPEN-END
WIDE-BELT SANDER
OWNER'S MANUAL
(For models manufactured since 8/09)

Table of Contents

Other manuals for Grizzly G9983

Questions and Answers

  • T
    Tristan MurphyAug 28, 2025
    How to avoid snipe (uneven material removal) with my Grizzly G9983?
    • K
      Katherine DavisAug 28, 2025
      To avoid snipe, where more material is removed from the end of the workpiece, ensure the workpiece is supported as it exits the Grizzly Sander. Hold the workpiece up or set up an outfeed table. Also, check and adjust the pressure rollers to the correct settings.
  • J
    Jasmine BoyerAug 29, 2025
    What causes the sanding belt on my Grizzly G9983 to run off to one side?
    • M
      Matthew MarshallAug 29, 2025
      If the sanding belt on your Grizzly Sander runs off to one side, stopping the sander, the air eye fork may be clogged; clean the intake hole. The oscillation return valve could be closed; open it. Incorrect oscillation timing can also cause this issue; adjust the oscillation timing.
  • J
    Jessica WilsonAug 29, 2025
    Why are my Grizzly G9983 results poor and non-aggressive?
    • C
      Cynthia MillerAug 30, 2025
      Poor sanding results from your Grizzly Sander may be due to an incorrectly adjusted platen. Adjust the platen to be on the same plane as, or lower than, the bottom surface level of the lower sanding rollers. A sanding belt loaded with sawdust can also cause this, so clean it. If the sanding belt is worn out, replace it.
  • A
    Andrea MurrayAug 30, 2025
    What to do if the sanding belt on my Grizzly Sander will not start?
    • P
      poolekimberlyAug 30, 2025
      If the sanding belt on your Grizzly Sander will not start, first, check if the sanding belt is tensioned and tension the sanding belt. Next, ensure that the limit switches are not engaged by centering the sanding belt. Finally, verify that the emergency stop plate is released.
  • J
    Jonathan MartinezAug 25, 2025
    What to do if my Grizzly G9983 motor won't start and the fuses blow?
    • M
      Matthew KempAug 25, 2025
      If your Grizzly Sander motor won't start and the fuses or circuit breakers blow, there are several potential causes. First, check the power line for proper voltage. Inspect all lead connections on the motor for loose or open connections. Also, inspect the cord or plug for damaged insulation and shorted wires. Check all connections on the motor for loose or shorted terminals or worn insulation. Finally, ensure you have the correct fuses or circuit breakers installed.
  • M
    michelle87Aug 31, 2025
    Why are the edges of the wood rounded after sanding with my Grizzly G9983 Sander?
    • E
      Edward JenkinsSep 1, 2025
      Rounded edges on the wood after sanding with your Grizzly Sander are likely due to an excessive depth of cut. Reduce the depth of cut to avoid this issue.
  • B
    byrdjeremySep 1, 2025
    Why is there uneven thickness across the board after sanding with my Grizzly Sander?
    • B
      Bryan HernandezSep 1, 2025
      Uneven thickness from left to right of the board after sanding with your Grizzly Sander can occur if the feed table is not parallel to the sanding roller; adjust the table. It can also be caused by a worn feed belt; replace the feed belt.
  • E
    Erika WhiteSep 2, 2025
    What causes straight strip of notches on workpiece with my Grizzly G9983 Sander?
    • B
      Briana HooverSep 2, 2025
      A straight strip of notches on the workpiece when using your Grizzly Sander is often caused by dirty or damaged pressure rollers. Clean or repair the pressure rollers to resolve this issue.
  • D
    David MitchellSep 2, 2025
    Why are there snake-shaped marks on the workpiece after using my Grizzly G9983?
    • M
      Matthew SmithSep 3, 2025
      Snake-shaped marks on the workpiece after using your Grizzly Sander indicate that the sanding belt is damaged or dirty. Clean or replace the sanding belt to eliminate these marks.
  • I
    ipetersSep 3, 2025
    What causes lines across the width of the workpiece with my Grizzly G9983?
    • J
      James PerezSep 3, 2025
      Lines across the width of the workpiece when using your Grizzly Sander are typically caused by an open or damaged sanding belt seam. Repair or replace the sanding belt to fix this.

Summary

Introduction

Contact and Manual Information

Provides contact details for Grizzly Technical Support and Documentation Manager, and information on manual accuracy.

Machine Data Sheet

Operation and Drum Specifications

Details on sanding operation parameters like width, thickness, speed, and drum types and sizes.

Platen, Construction, and Other Specs

Information on platen type/size, construction materials, floor-to-table height, and other technical specifications.

Basic Controls and Features

External Features Identification

Identifies external components of the sander using labels from Figure 1.

Control Panel Overview

Details the main power switch, and ON/OFF buttons for the feed and sanding belts as shown in Figure 2.

Access Doors and Components

Left Access Door Components

Lists components found behind the left-hand access door, including limit switch and platen adjustment knob.

Right Access Door Components

Lists components found behind the right-hand access door, such as oscillating roller and air filter.

Section 1: Safety

General Safety Instructions

Provides critical safety instructions, defines safety symbols, and outlines general machinery safety guidelines.

Operational Safety Precautions

Operational Safety Guidelines

Details safe practices for machine operation, including apparel, tool use, and maintenance.

Health and Hazard Warnings

Addresses risks related to hazardous dust, hearing protection, and keeping children/bystanders away.

Wide-Belt Sander Safety

Wide-Belt Sander Specific Safety

Safety advice specific to wide-belt sanders, including kickback, feed rate, and entanglement.

Workpiece Handling and Machine Operation Safety

Guidance on workpiece quantity, inspection, power disconnect, and unattended machine operation.

Section 2: Power Supply

Power Availability and Circuit Requirements

Discusses the need for adequate power supply circuits and specific requirements for 220V operation.

Full-Load Current Rating

Specifies the full-load current draw of the machine and considerations for potential overload.

Electrical Connections and Grounding

Connection Type and Grounding

Details permanent hardwired connections and essential grounding instructions for safety.

Extension Cord Policy

States that extension cords cannot be used with this permanently connected machine.

Section 3: Setup

Unpacking, Inventory, and Setup Needs

Covers procedures for unpacking, checking inventory, and identifying necessary setup items.

Machine Cleanup and Site Considerations

Machine Cleanup Procedure

Step-by-step guide for removing rust preventative coating from the machine.

Site Considerations

Discusses weight load, space allocation, physical environment, electrical installation, and lighting.

Machine Mounting and Floor Bolting

Recommendations for mounting the machine and methods for bolting to concrete floors.

Assembly Procedures

Installing Handwheel Handle and Platen

Instructions for attaching the handwheel handle and inserting the platen into its housing.

Platen Adjustment and Air Hose Connection

Details on setting the platen even with belt rollers and connecting the air hose to the regulator.

Installing and Tensioning Sanding Belt

Steps for installing the sanding belt and adjusting its tension using the belt tension switch.

Pressure Roller Check and Dust Collection

Procedures for checking pressure roller height and setting up the dust collection system.

Power Connection, Disconnection, and Test Run

Covers connecting to power, disconnecting, and performing a test run of the machine.

Recommended Adjustments Checklist

A checklist of recommended adjustments to ensure optimal machine performance.

Section 4: Operations

Operation Overview and Safety

Provides an overview of machine operation and reiterates essential safety precautions.

Choosing Sandpaper and Conveyor Height

Guidance on selecting sandpaper grit and adjusting the conveyor belt height.

Feed Belt Speed and Load Meter Usage

Instructions for changing feed belt speed and interpreting the load meter.

Platen Depth Settings

Details the three basic platen positions and how to adjust them for different finishes.

Section 5: Accessories

Recommended Sanding Accessories

Lists and describes optional accessories like sanding pads, roller tables, sanding belts, and dust collectors.

Section 6: Maintenance

Maintenance Schedule and Cleaning

Outlines a maintenance schedule and procedures for cleaning the machine.

Lubrication and Filter Maintenance

Covers lubrication points and instructions for emptying regulator filters.

Section 7: Service

Troubleshooting Guide

Provides solutions for common symptoms and problems encountered with the machine.

Oscillation Timing Adjustment

Details how to adjust the oscillation timing for balanced side-to-side belt movement.

Oscillation Speed and Return Control

Instructions for controlling oscillation speed and adjusting the oscillation return.

Limit Switches and Pressure Roller Depth

Covers adjustment of limit switches and setting the pressure roller depth.

Pressure Roller Tension Adjustment

Guidance on adjusting pressure roller tension for proper workpiece feed.

Feed Belt Tension and Tracking

Procedures for adjusting feed belt tension and tracking.

V-Belt Tension and Replacement

Information on checking V-belt tension and procedures for replacing V-belts.

Platen Graphite and Air System Maintenance

Instructions for replacing the platen graphite sheet and maintaining the air system.

Replacing Brake Pads

Step-by-step guide for checking and replacing the brake pads and cleaning the rotor.

Section 8: Wiring

Wiring Safety Instructions

Crucial safety warnings and guidelines for working with the machine's electrical wiring.

Electrical Panel Wiring Diagram

Diagram showing the wiring connections within the main electrical panel.

Control Panel Wiring Diagram

Wiring diagram illustrating the connections for the machine's control panel.

Main Motor and Component Wiring

Wiring diagrams for the main motor and other electrical components.

Feed Belt Motor Wiring Diagram

Wiring diagram specific to the feed belt motor connections.

Main Motor Wiring Diagram

Detailed wiring diagram for the main motor assembly.

Section 9: Parts

Accessories Parts List

Lists part numbers and descriptions for optional accessories.

Base and Sanding Motor Parts List

Part numbers and descriptions for the machine's base and sanding motor components.

Conveyor Parts List

Lists part numbers and descriptions for the conveyor system components.

Sanding Belt Drive System Parts List

Part numbers and descriptions for the sanding belt drive system components.

Sanding Cabinet and Air System Parts List

Lists part numbers and descriptions for the sanding cabinet and air system components.

Electrical Cabinet Parts List

Part numbers and descriptions for the electrical cabinet components.

Machine Labels

Safety Labels Information

Information about machine labels, including safety labels and their importance.

Warranty and Returns

Grizzly G9983 Specifications

General IconGeneral
ModelG9983
Disc Diameter9"
Belt Size6" x 48"
Belt Speed1800 FPM
Motor1 HP, 110V/220V, Single-Phase
Voltage110V/220V
Disc Size9"
Table Tilt0-45 Degrees
Table Tilt (Disc)0-45 Degrees

Related product manuals