10
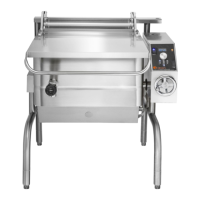
Main (Lower) Control Box
Upper Control Box
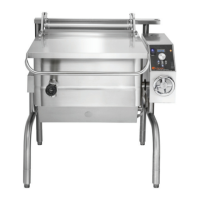
Connect a gauge to check pressure at the gas
manifold.
2. Assembly and Commissioning
2.1 Electrical Supply
Before commissioning the appliance, ensure that the
electrical installation has been performed in
compliance with relevant regulations. See
Paragraph 1.3, above.
WARNING
THIS APPLIANCE MUST BE EARTHED.
2.2 Pre-Commissioning Check
a) Remove literature and packing materials from
the interior and exterior of the unit.
b) Put enough water into the pan to cover the
c) Verify that the rear heat shield panel is in place.
bottom to a depth of 6-12mm. With the pan
body in the horizontal position, note how the
water lies in the pan, to confirm that the pan was
leveled properly during installation.
2.3 Operating the Braising Pan
2.3.1 Lighting Sequence
a) Put water in the pan (6 to 12 mm deep)
b) Check that gas and electricity mains are on.
c) Turn the toggle switch (Main Control Box) to the
“ON” position. The power neon (Main Control
Box) will illuminate.
d) Turn the thermostat (Upper Control Box) to the
desired setting.
e) Observe that the burners light by the lighting of
the heat neon (Main Control Box) (approximately
10-15 seconds).
f) Should the unit fail to light, turn the unit off and
wait for one or two minutes before attempting to
switch it on again. NOTE: Burner “ON” verification
can be confirmed by careful observation through
the Flame Observation Port. See Illustration on
page 6 of this manual for location of this port.
g) Repeat steps b through e.
h) To switch off the unit, put the toggle switch in the
Off position.
i) Turn gas and electricity mains off.
2.3.2 Setting the Gas Pressure
a) During commissioning, a gas pressure check is
essential. Connect a suitable pressure gauge to
the gas manifold to perform this test. The
pressure gauge should be connected to the test
nipple (See photograph above).
b) Turn the gas and electricity mains on.
Fig. 5
Fig. 7
Fig. 6
 Loading...