English (GB)
29
11. Modbus RTU commissioning, step-by-step guides
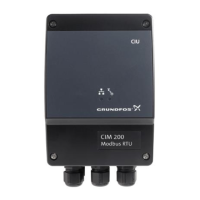
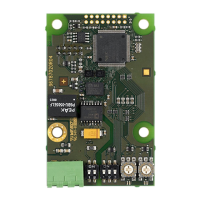
11.1 Hardware setup (CIM 200)
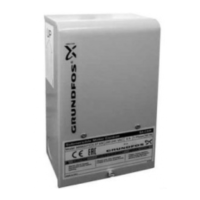
11.2 Hardware setup (CIU 200)
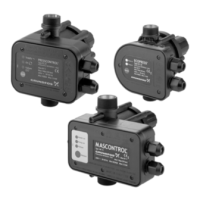
11.3 Hardware setup (CIM 250 GSM call-up)
If the sensor configuration is changed, restart the
CIM/CIU unit to ensure a correct scaling of the
sensor value.
Step Action
1 Install the CIM 200 in the Grundfos pump according to the pump documentation.
2
Complete the pump configuration, e.g. sensor configuration and local mode.
This can be done either on the pump control panel, via the R100 or Grundfos GO Remote or Grundfos PC Tool E-Products.
3 Select the Modbus slave address (1-247).
4 Select the bit rate of the Modbus slave.
5 Select parity and stop bits of the Modbus slave (even parity with 1 stop bit or no parity with 2 stop bits).
6 If necessary, set line termination.
7 Connect the necessary cables from the CIM 200 to the Modbus network.
8
Confirm that the GENIbus LED is constantly green and that the Modbus LED is either off (if no master is actively polling the
slave) or flashing green (indicating error-free communication).
The CIM 200 is now ready to be accessed via the Modbus network.
Step Action
1
Complete the pump configuration, e.g. sensor configuration and local mode.
This can be done either via the R100 or Grundfos GO remote control or Grundfos PC Tool E-Products.
2 Select the Modbus slave address (1-247).
3 Select the transmission speed of the Modbus slave.
4 Select parity and stop bits of the Modbus slave (even parity with 1 stop bit or no parity with 2 stop bits).
5 If necessary, set line termination.
6 Connect the GENIbus cable from the CIU 200 to the E-pump.
7 Connect the necessary cables from the CIU 200 to the Modbus network.
8 Connect the power supply cable to the CIU 200, and switch the unit on.
9
Confirm that the GENIbus LED is constantly green and that the Modbus LED is either off (if no master is actively polling the
slave) or flashing green (indicating error-free communication).
The CIU 200 is now ready to be accessed via the Modbus network.
Step Action
1 Install the CIM 250 in the Grundfos pump according to the pump documentation.
2 Fit a GSM antenna to the CIM module SMA connector. See section 6.1.1 Fitting a GSM antenna.
3 Insert the SIM card in the CIM 250. See section 6.1.2 Inserting the SIM card.
4 Power on the Grundfos E-pump.
5 Observe that LED2 turns steady green (see section 6.2 Status LEDs), indicating that the CIM module is fitted correctly.
6
Observe that LED1 blinks yellow and changes to yellow pulsing after approximately 30 s (see section 6.2 Status LEDs),
indicating that the GSM connection is working.
By making a call-up from a phone the connection can be verified (LED1 turns steady yellow).
7
For configuring the CIM 250 for a call-up connection, follow the instructions in the "CIM 25X SMS commands installation
and operating instructions" (included on CIM/CIU support files CD), section 2.1-3.
8 To verify the GSM settings after completion, the SMS command GSMSETTINGS can be used.
The CIM 250 is now ready to be accessed from a Modbus RTU master via GSM call-up (or via SMS commands).
 Loading...