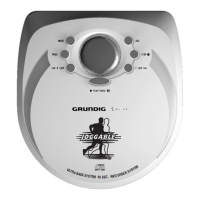
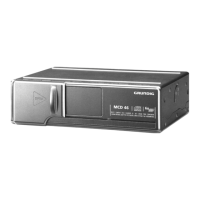
MCD 46 Allgemeiner Teil / General Section
GRUNDIG Service 1 - 5
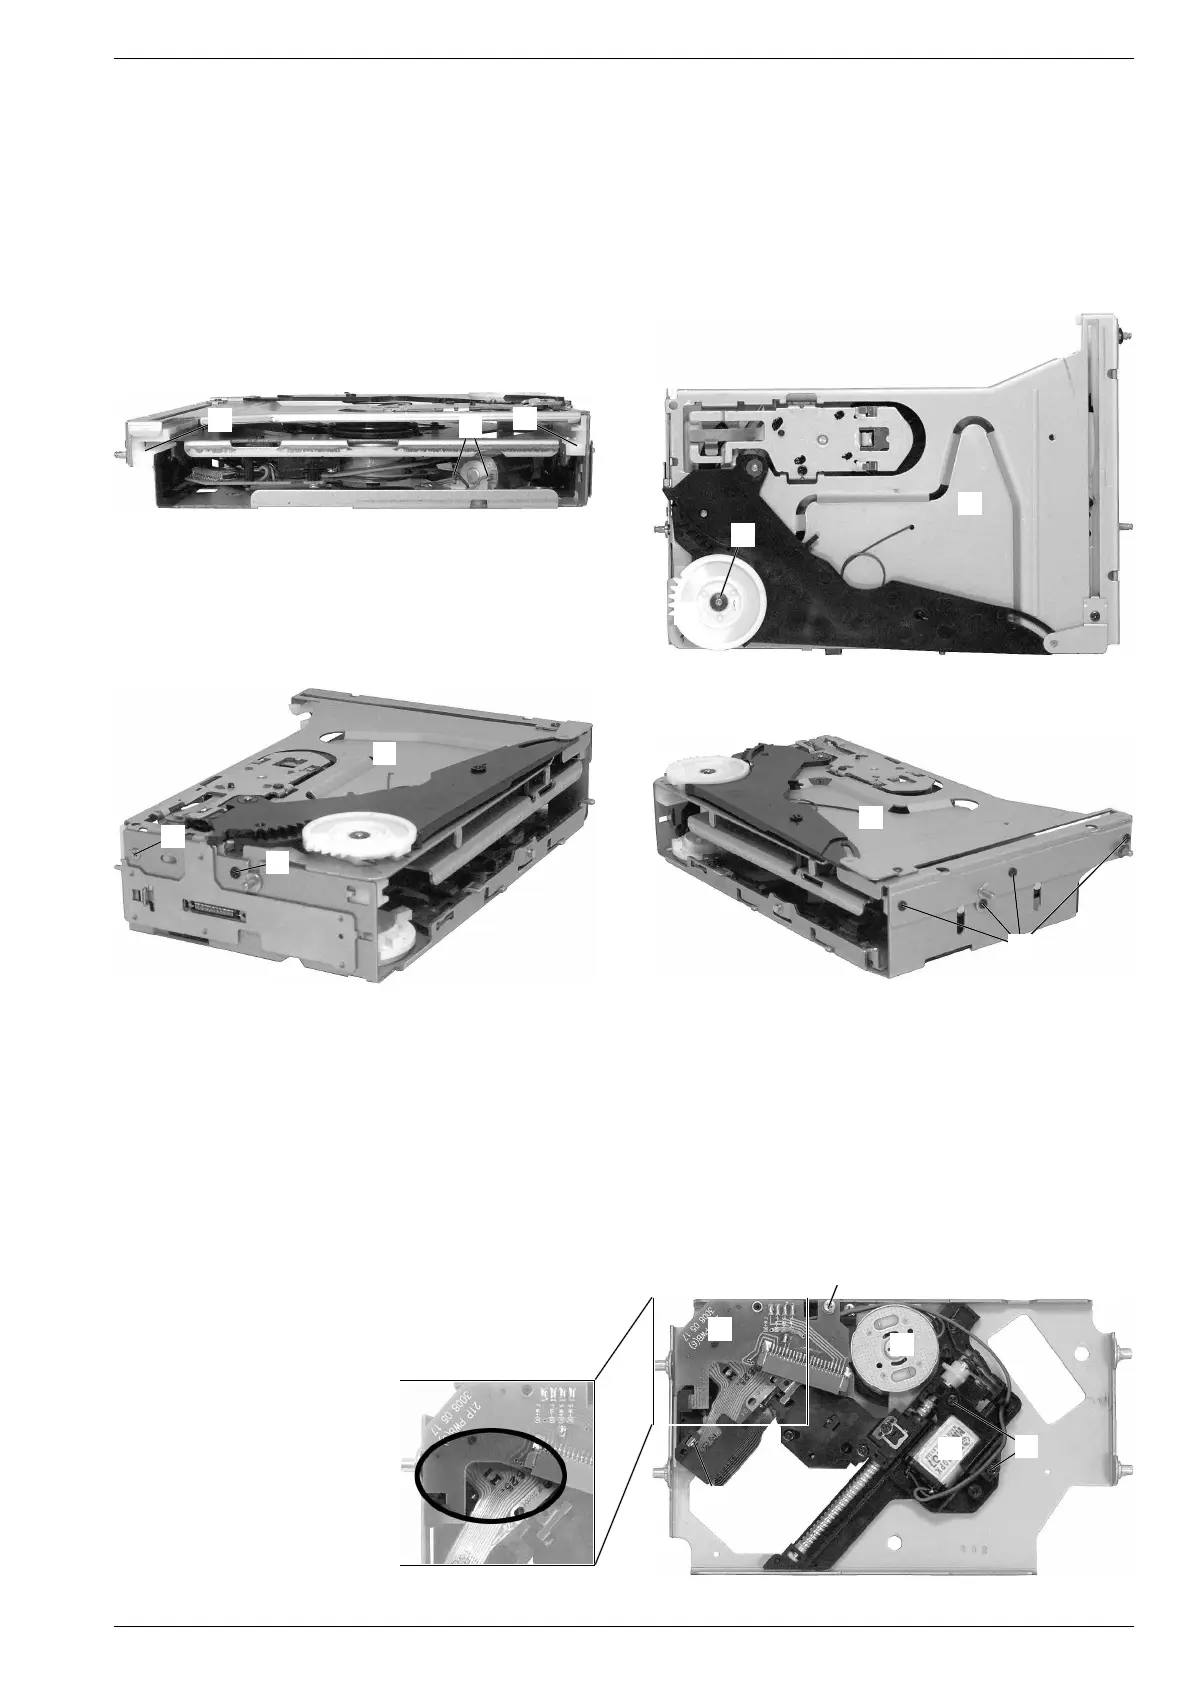
8. Laufwerk ausbauen
- Loading-Einheit ausbauen (Pkt. 7).
- Laufwerk in die obere Position (Play) fahren (vgl. Fig. 14-17). Dazu
an die Motoranschlüsse A (Fig. 14) eine Gleichspannung von ca.
5V anlegen.
- Sicherungsscheibe B abziehen und Zahnrad C herausziehen
(Fig. 15).
- 5 Schrauben D (Fig. 16 und 17) und Schraube E (Fig. 16) heraus-
schrauben und das Oberteil F abnehmen.
- Kunststoffschienen G (Fig. 14) abnehmen.
- Laufwerk herausnehmen.
Fig. 14
A
F
D
9. Pick-Up-Einheit ausbauen
- Laufwerk ausbauen (Pkt. 8).
- Schutzlötstelle (Fig. 18) zulöten.
- Schraube H (Fig. 19) herausschrauben, Leiterplatte I abnehmen
und Flexprintstecker öffnen.
- 2 Schrauben J herausschrauben und Motor K mit Halterung
herausnehmen (Fig. 19).
- Pick-Up-Einheit aus der Führung L (Fig. 19) herausziehen und
entnehmen.
Fig. 17
Fig. 18 Fig. 19
G
G
H
I
K
J
L
M
8. Removing the drive unit
- Remove the loading unit (para 7).
- Move the drive unit to the topmost position (play) (see Fig. 14-17).
To do this apply a DC voltage of abt. 5V to the motor connections A
(Fig. 14).
- Pull off retainer washer B and pull out the gear wheel C (Fig. 15).
- Undo 5 screws D (Fig. 16 and 17) and screw E (Fig. 16) and take
off the cover part F.
- Take off the plastic rails G (Fig. 14).
- Take out the drive unit.
9. Removing the pick up unit
- Remove the drive unit (para 8).
- Close the protective solder joint (Fig. 18).
- Undo screw H (Fig. 19), take off the board I and open flexprint
connector.
- Undo 2 screws J and take out motor K with its holder (Fig. 19).
- Take out the pick up unit off its guide L (Fig. 19).
B
F
C
Fig. 15
F
D
E
Fig. 16