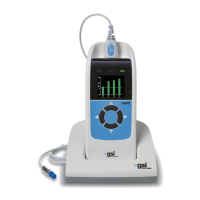
Main Menu
Selecting the Test Protocol
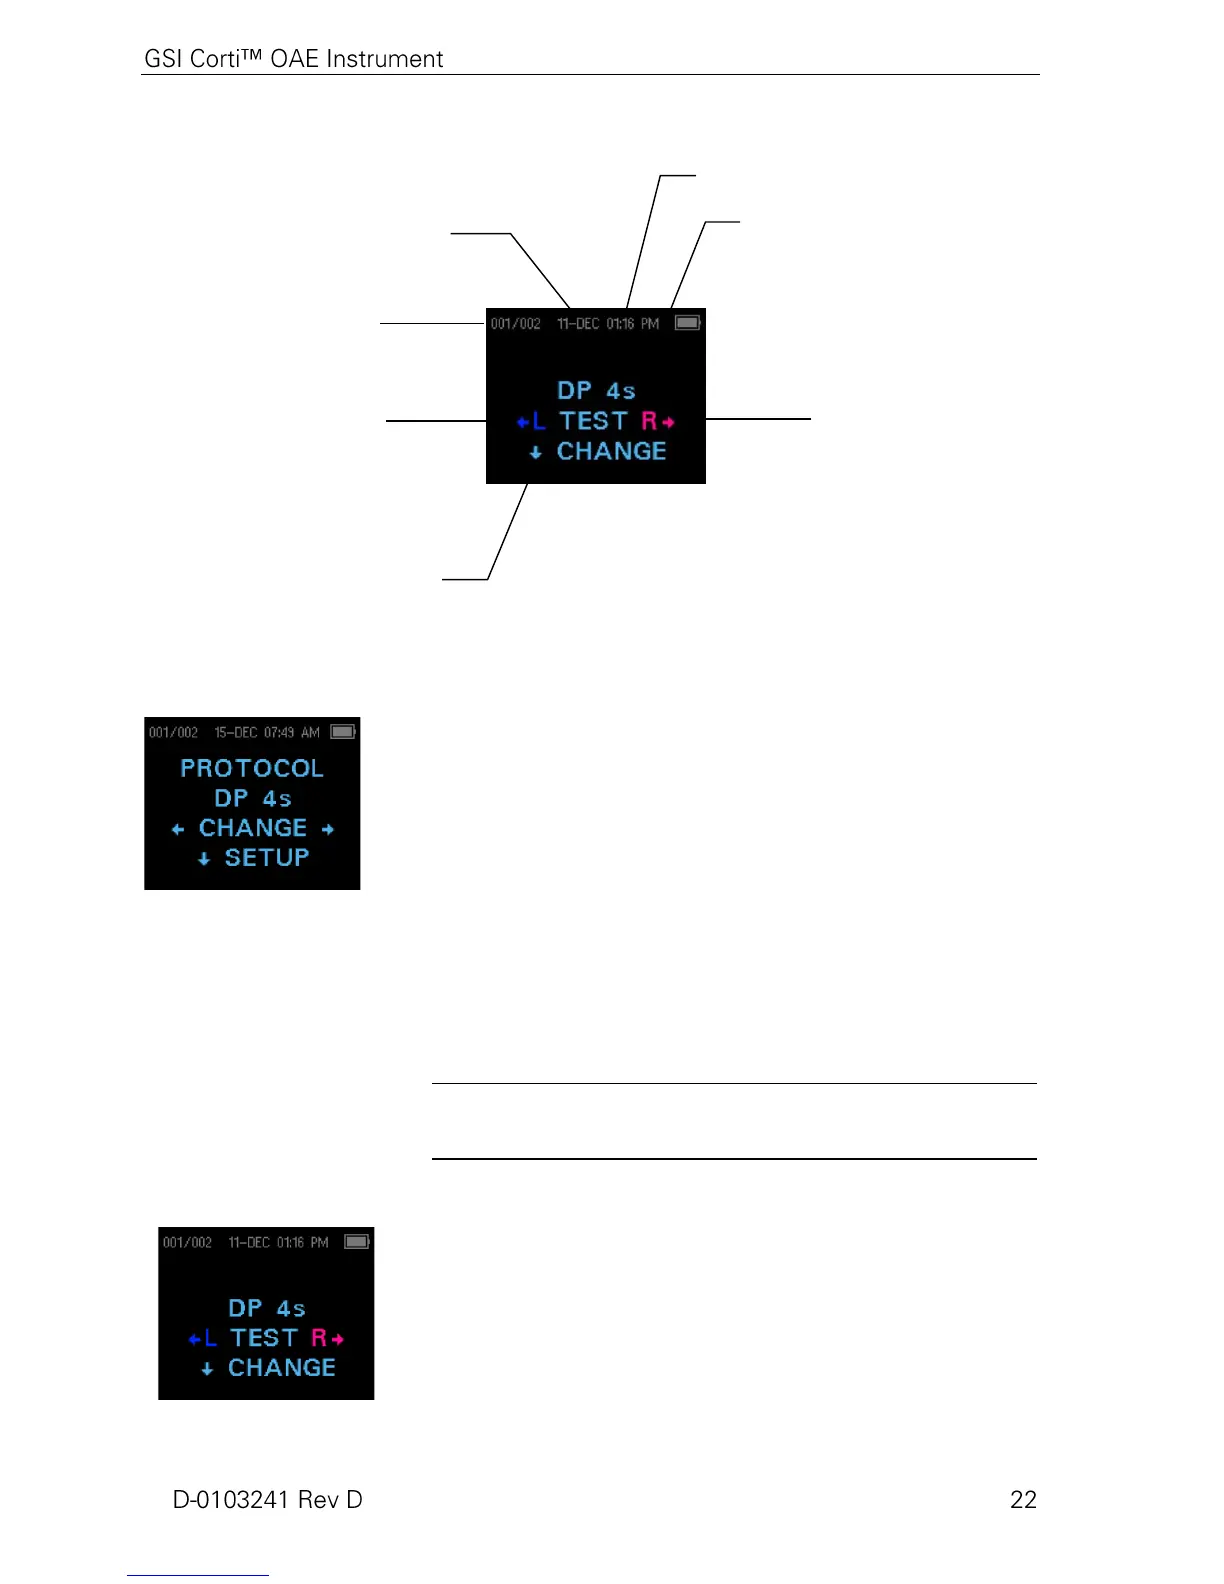
The currently selected protocol is shown on the Main Menu (Display
1). To change the selected protocol press CHANGE at the Main
Menu. The Change Protocol display will appear (Display 2). Use the
CHANGE arrow buttons to change the selected protocol. Press
the up arrow to return to the Main Menu to begin testing. Press the
SETUP to enter the setup menus.
For Diagnostic DPOAE or TEOAE units, there is one default test
protocol and a number of user definable protocols. For Screener
DPOAE or TEOAE units there are 2 fixed protocols. Appendix E
contains complete information on protocol settings. Instructions for
customizing protocols on the Diagnostic units can be found in the
sections Advanced Options for DPOAE Diagnostic Unit on page 35
or Advanced Options for TEOAE Diagnostic Unit on page 38.
NOTE: The default protocols: DP 4s, DP 2s, TE 64s and TE 32s
cannot be customized.
Starting a Test
To obtain a seal and measure emissions, gently insert the eartip into
the patient’s ear canal. It should fit snugly and comfortably. The best
test results are obtained when an eartip is inserted deeply into the ear
canal instead of flush with the ear canal.
To begin a test, insert the probe into the ear and select either the
LEFT or RIGHT arrow key to indicate which ear will be tested.
Ear Test
Change Protocol
and Settings