17.7.17
Elektropneumatic positioner DigiPos
5. Installation
19
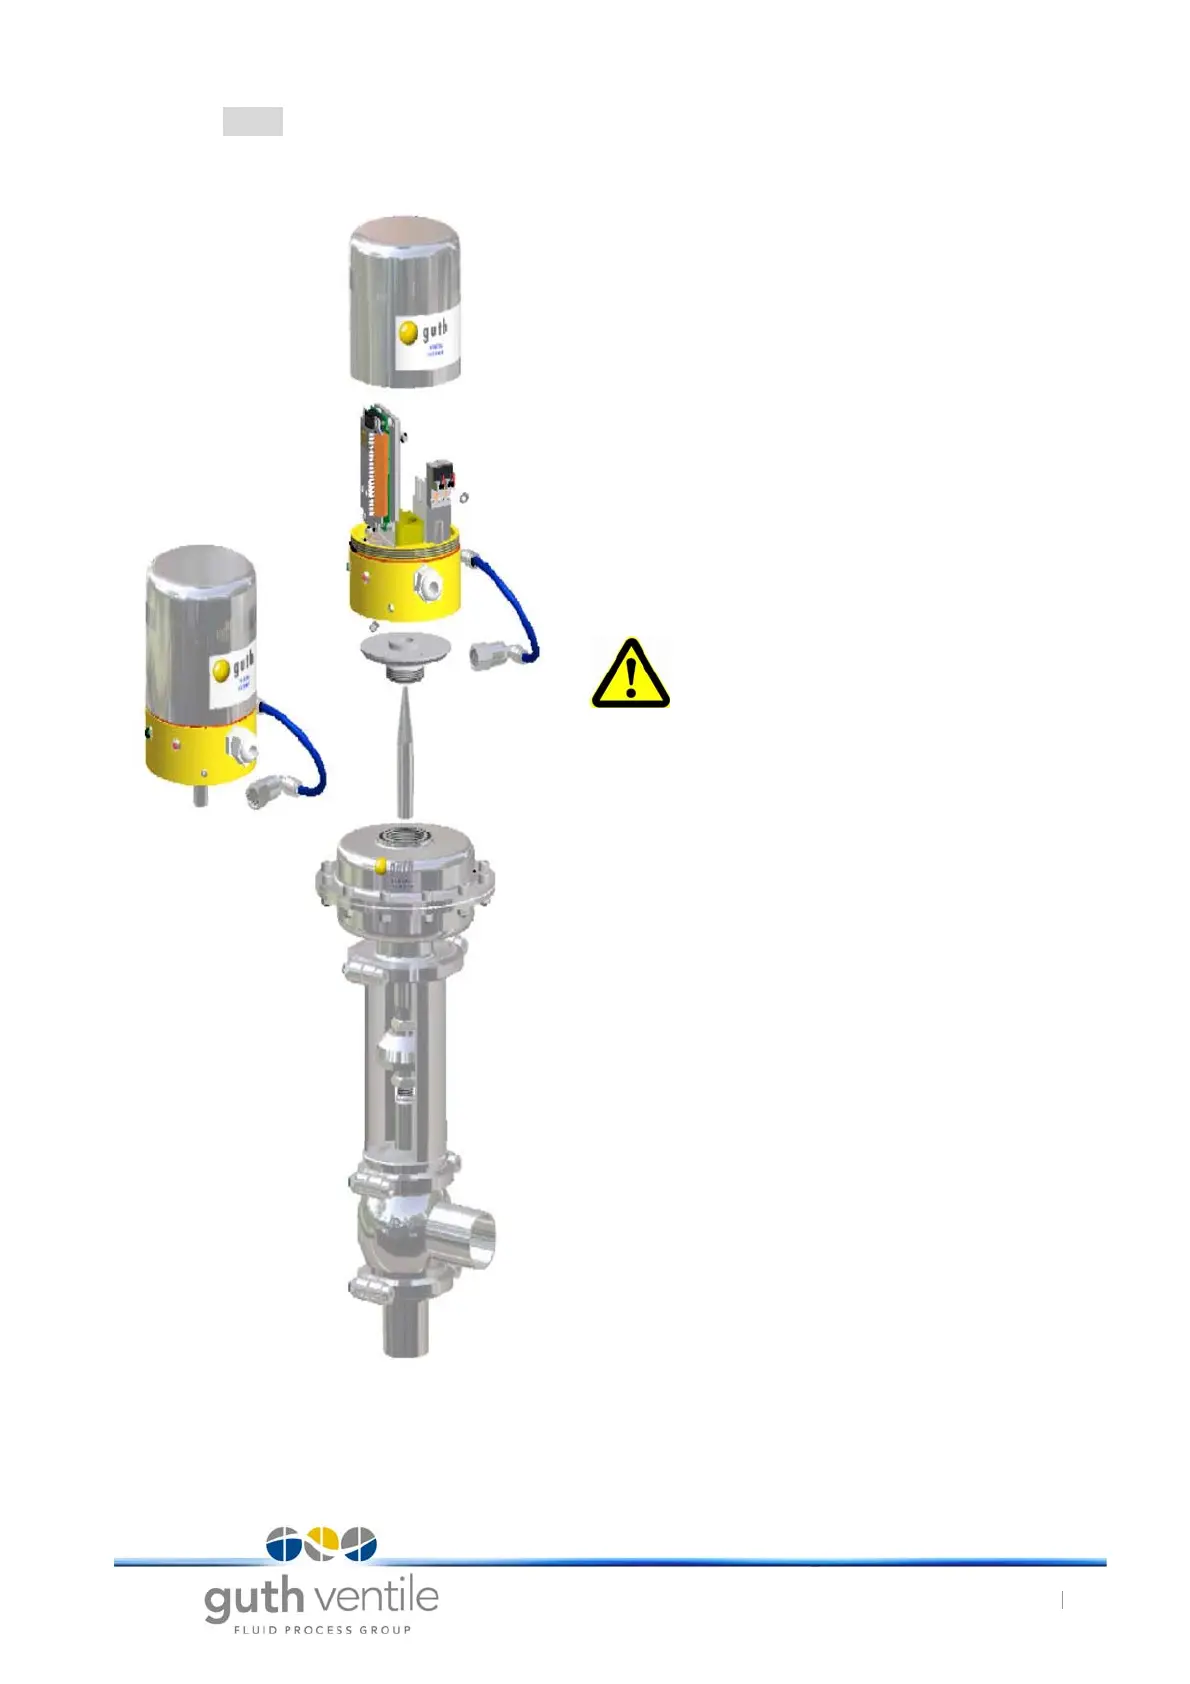
5 . 2 Mounting on a diaphragm actuator
6.
- Connect the supply air line
- Establish the electrical connections
- Apply compressed air
- Screw on the protective cover
- Start commissioning - Chapter 5
5.
Secure the air connection to the actuator and positioner.
(For actuators M1-M4 unscrew the ERMETO-fitting from
the adapter to the drive and attach the L screw directly.
4.
Tighten both stud bolts on the side of the basic body
equally with a hexagon socket screw key.
CAUTION!
Do not overturn the thread by using excessive
force.
3.
Place the DigiPos without the protective cover onto the
actuator and align the control air connection of the basic
body with the air connection of the actuator.
Scope of supply:
Air supply connection: >> without air hose
Actuating air connection: >> already prepared with air
hose
2.
Apply M50 securing cement (Omnifit) to the inner thread
of the liner. (Apply thinly!)
Insert the liner through the clamping ring and screw onto
the actuator spindle (in the actuator) with a suitable tool.
On all actuators except M02 the housing sections of the
actuator must be centred together. To this purpose all
peripheral screws must be released slightly in order to
centre the sections. It may be necessary to use a plastic
hammer for alignment. Subsequently tighten the screws
once more.
1.
Replace the M10/M12 securing nut with the nut (flat ver-
sion).
Screw the clamping ring into the membrane actuator and
tighten with a face spanner.
Fig. 16 Mounting on a diaphragm actuator