GDS-3000 Series User Manual
30
First Time Use
This section describes how to connect a signal,
adjust the scale, and compensate the probe. Before
operating the GDS-3000 in a new environment,
run these steps to make sure the instrument
performs at its full potential.
Follow the procedures on the previous page.
Reset the system by recalling the
factory settings. Press the Default
Setup key on the front panel. For
details, see page 159.
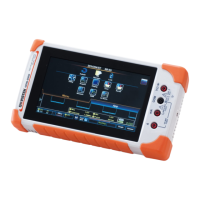
4. Install Optional
Software
The optional software packages
(Power Analysis, Serial Bus Decode)
can be activated.
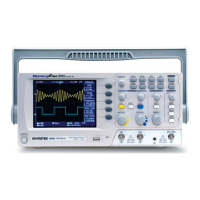
Connect the probe to the CH1 input terminal and
probe compensation signal output (2Vp-p, 1kHz
square wave).
Set the probe attenuation to x10 if the probe has
adjustable attenuation.
VOLTS/DIV VOLTS/DIV VOLTS/DIV VOLTS/DIV
POSITION
POSITION POSITION
TIME/DIV
POSITION
HORIZONTAL
VARIABLE
W
AC
BW
50
W
75
VERTICAL
LEVEL
POSITION
TRIGGER
W
AC
BW
50
W
75
W
AC
BW
50
W
75
W
AC
BW
50
W
75
CH4CH3CH2CH1EXT TRIG
POWER
2V
Window
Split
Select
Zoom
CH1 CH2 CH3 CH4
R
B1
Measure Cursor
Display Help
Test
Save/Recall Utility
Menu
50 %
Force - Trig
Autoset
Single
Run/Stop
Setup
Auto-Range
Default
Acquire
M
B2
MATH
REF
BUS
Off
Menu
Print
Save
 Loading...