10
6. Getting started
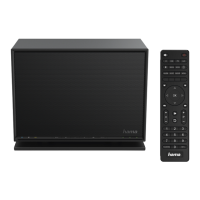
6.1 Remote Control
• Open the battery compartment cover located on the rear
of the remote control.
• Insert the batteries provided, making sure you match the
polarities correctly. The correct polarity is indicated by the
plus and minus symbols in the battery compartment.
6.2 Radio – Connecting and starting up
Connect the network cable to a properly installed and
easily accessible network socket. The power supply unit is
suitable for mains voltages between 100 and 240 V, and
is thus operable on almost any AC power grid. Please note
that a country-specic adapter may be necessary.
You can nd an appropriate selection of Hama products at
www.hama.com.
Note
• Only connect the product to a socket that has been
approved for the device.
• The electrical socket must always be easily accessible.
• When using a mult-socket power strip, make sure
that the sum power draw of all the connected devices
does not exceed its maximum throughput rating.
• If you will not be using the product for a long period
of time, disconnect it from mains power.
Once the product has been connected to mains power,
initialisation takes place. The radio starts up.
To assist you in st-time setup of the radio, a Setup
Wizard is provided.
6.3 Initial setup
When it is rst connected to the power supply, a list of
available languages for the menu is displayed. Proceed as
follows to set your preferred language.
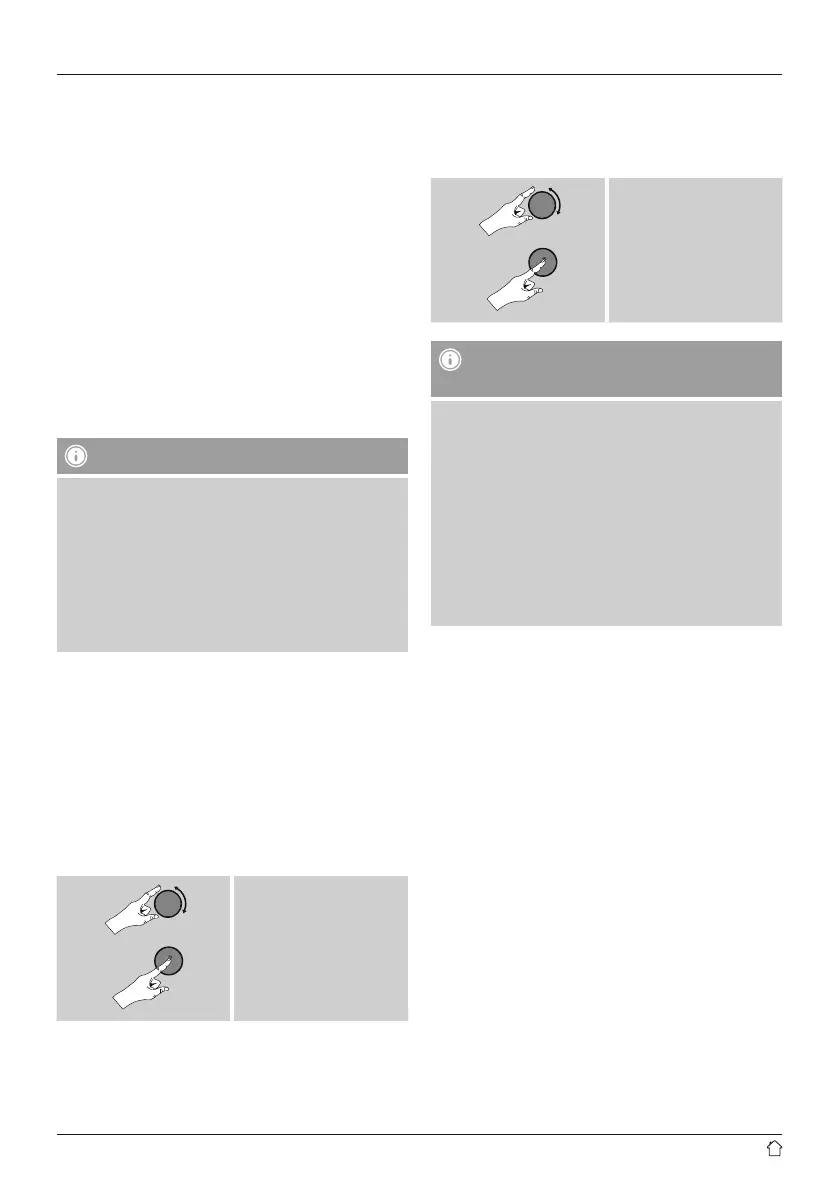
Desired language, for
example German (German)
6.4 Setup wizard
Once a language has been set, the setup wizard offers to
assist you with rst-timesetup. Choose YES to start it or
NO to skip:
YES / JA
NO / NEIN
Note – Starting up with or without the setup
wizard?
• We recommend using the setup wizard (YES) to
quickly and easily con gure the time, date, internet
connection, etc.
• If you wish to skip setup with the setup wizard
anyway, choose NO. All of the settings congured
by the setup wizard can be congured or changed
individually in the System settings menu. Alternatively,
you may restart the setup wizard at any time.
• Next, choose YES or NO to dene whether the setup
wizard should start automatically next time the radio
is started up. You are in the main menu.
Date/ Time
12/24 hours format
• Auto update
• Update from Network
Choose this option to set the time and date
automatically from the internet. Set the timezone
of your current location and, if desired, turn (ON)
automatic adjustment between summer time and
winter time.”
• No Update
The time and date (DD-MM-YYYY) must be set
manually; no automatic calibration takes place.

 Loading...