23
Step 4
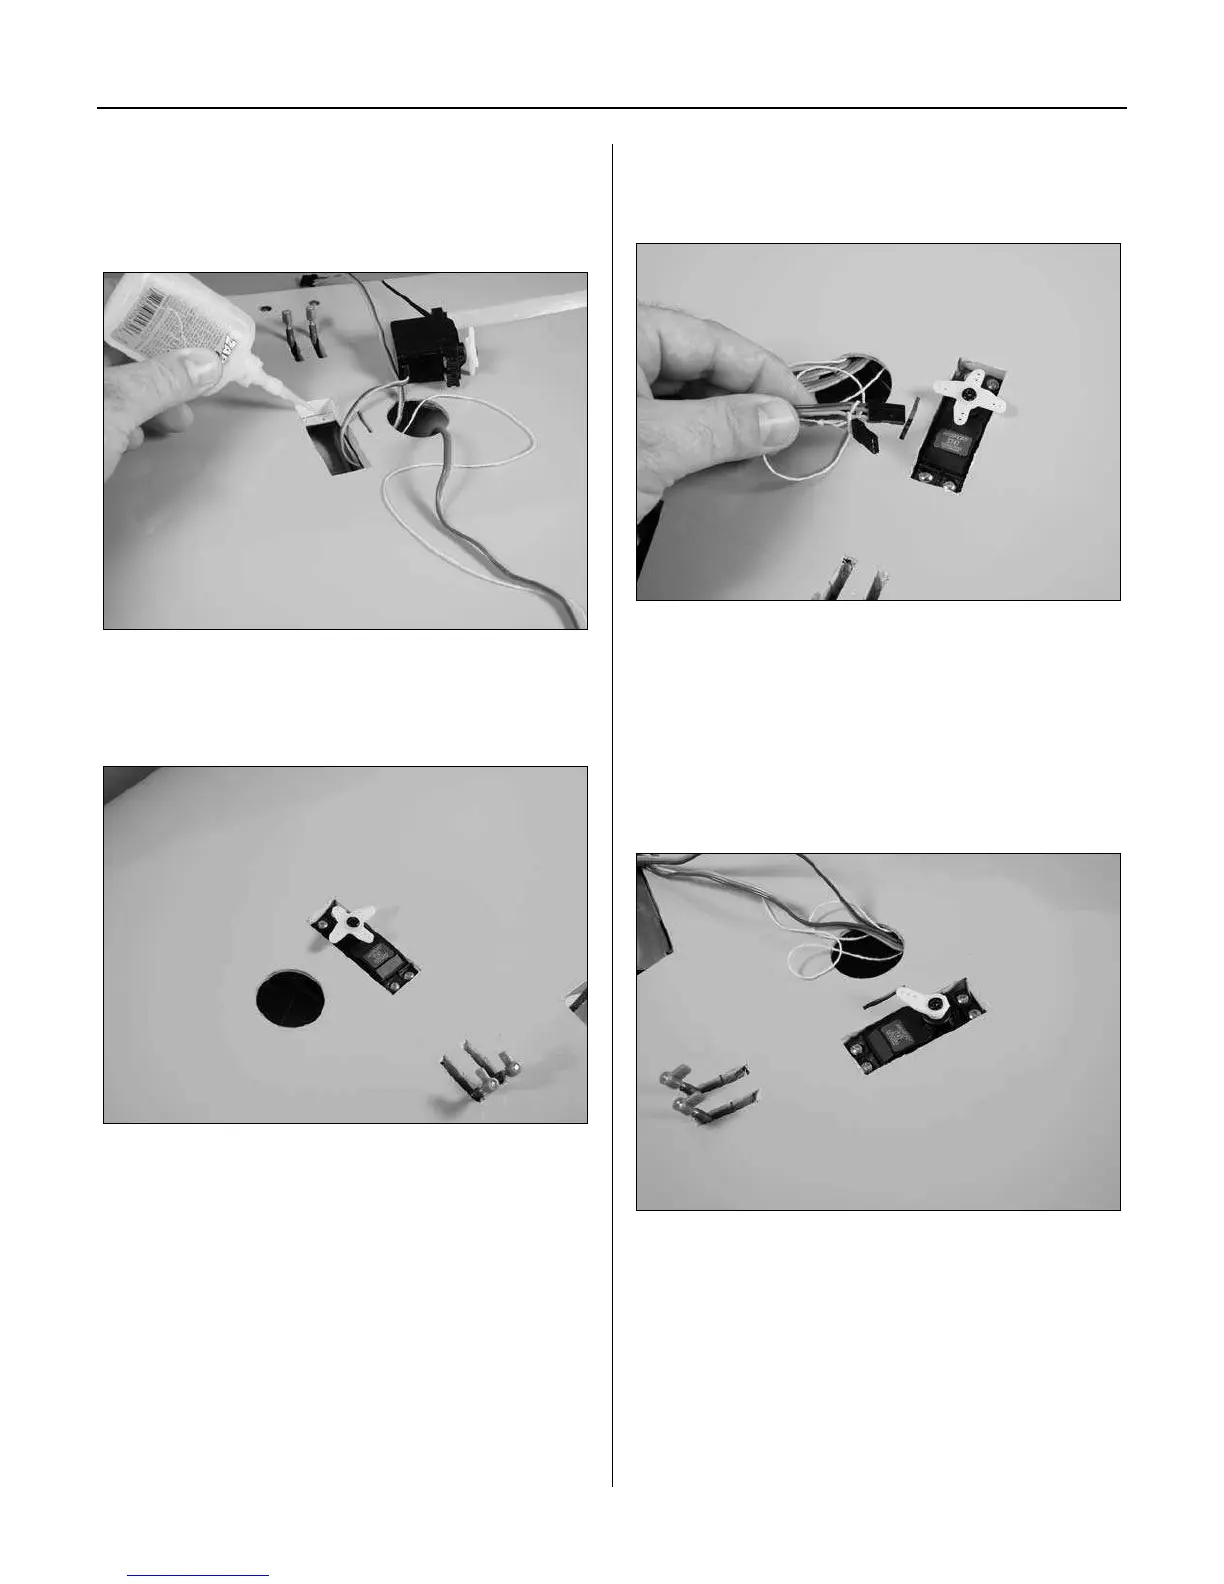
Apply a few drops of thin CA to each of the holes drilled
in the previous step. This will help harden the wood,
making the screws more secure in their placement.
Step 5
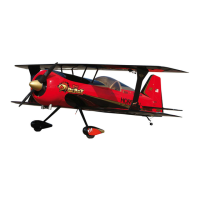
Secure the flap servo in the wing using the hardware
provided with the servo.
Step 6
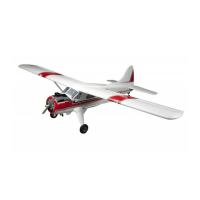
The string will now be attached to the flap servo lead and
to the aileron extension.
Step 7
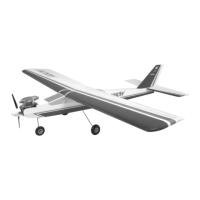
Remove the standard servo arm from your servo and
install the longer 180-degree servo arm included with
the servo. With the flap servo plugged into the receiver,
use the radio system to operate the flap servo. After
determining the up and down positions, set the flap servo
into the up position.
Section 4: Operation Flap Linkage Installation



 To Next Page