22
Required Parts
• Assembled wing panel (right and left)
• Servo w/hardware (2) • Flap linkage (2)
• Pushrod connector (2) • Nylon clevis (4)
• 1/4-inch (4mm) heat shrink tubing
• Y-harness
or
12-inch (305mm) servo extenstion (2)
Required Tools and Adhesives
• Hobby knife • Phillips screwdriver
• Drill bit: 1/16-inch (1.5mm) • Thin CA
• Drill
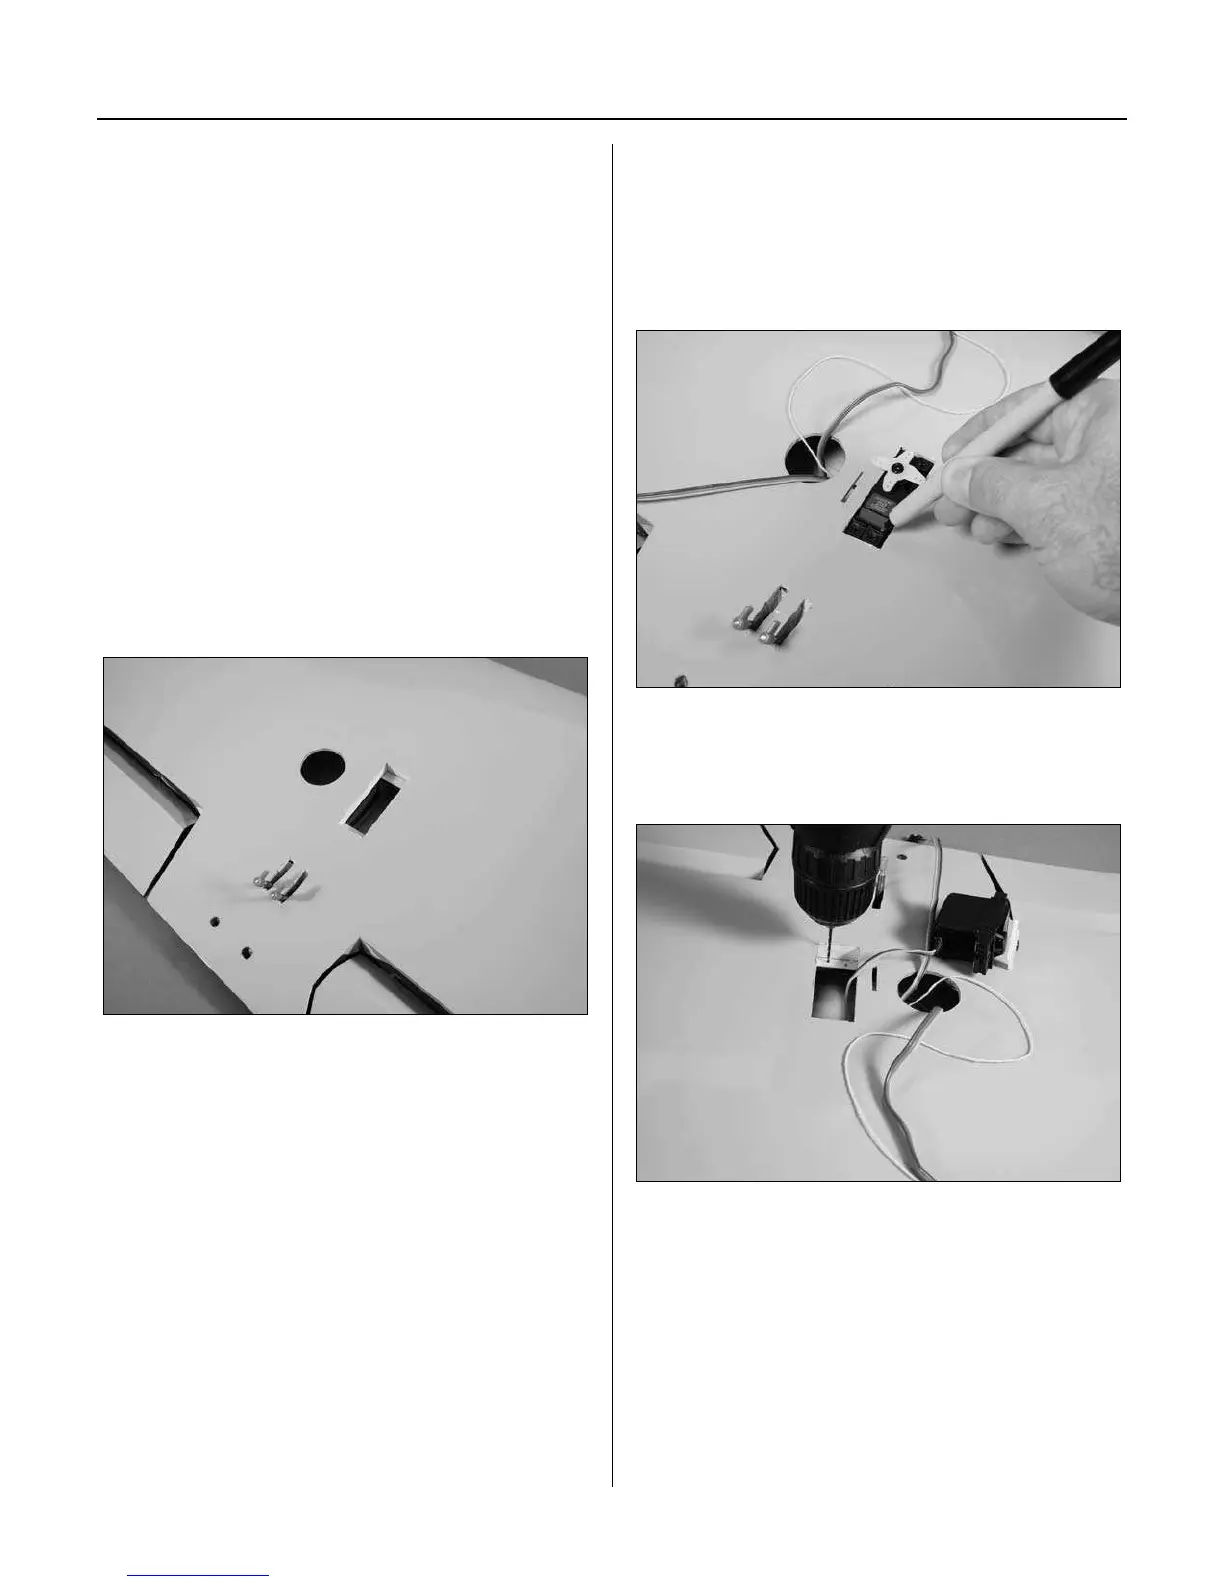
Step 1
Use a sharp hobby knife to remove the covering for the
flap servo from the wing.
Step 2
Position the flap servo in the opening. Route the servo
lead out of the opening where the aileron extension is
located. The horn on the servo will be toward the leading
edge of the wing. Use a felt-tipped pen to mark the
locations for the servo mounting screws.
Step 3
Use a drill and 1/16-inch (1.5mm) drill bit to drill the
locations for the servo mounting screws.
Section 4: Operation Flap Linkage Installation



 To Next Page