3
Using the Manual
This manual is divided into sections to help make assembly easier to understand, and to provide breaks between each
major section. In addition, check boxes have been placed next to each step to keep track of each step completed. Steps
with a single box (
) are performed once, while steps with two boxes ( ) indicate that the step will require
repeating, such as for a right or left wing panel, two servos, etc. Remember to take your time and follow the directions.
Required Tools and Adhesives
Tools
• Felt-tipped pen or pencil • Flat screwdriver
• Adjustable wrench • Drill
• Hobby knife • Masking tape
• Phillips screwdriver (large) • Phillips screwdriver (small)
• Ruler • Sandpaper
• Soldering iron • Solder
• Hex wrench: 3/32-inch, 2mm, 9/64, 3/16, (1.5mm included with kit)
• Drill bit: 1/16-inch (1.5mm), 5/64-inch (2mm), 7/64-inch (3mm), 9/64-inch (3.5mm),
5/32-inch (4mm), 7/32-inch (5.5mm), 1/4-inch (6mm)
Adhesives
• Formula 560 Canopy Glue (PAAPT56) • Pacer Z-42 Threadlock (PAAPT42)
• Thin CA (cyanoacrylate) Glue (PAAPT07) • CA Remover/Debonder (PAAPT16)
• 30-minute epoxy (HAN8002)
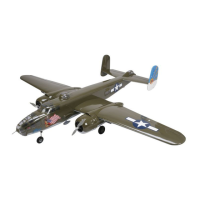
UltraCote Covering Colors
• Olive Drab HANU904 • Light Gray HANU882
• White HANU870 • Sky Blue HANU875
• Dark Yellow HANU889
Before Starting Assembly
Before beginning the assembly of the B-25 Mitchell, remove each part from its bag for inspection. Closely inspect
the fuselage, wing panels, rudders, and stabilizer for damage. If you find any damaged or missing parts, contact the
place of purchase.
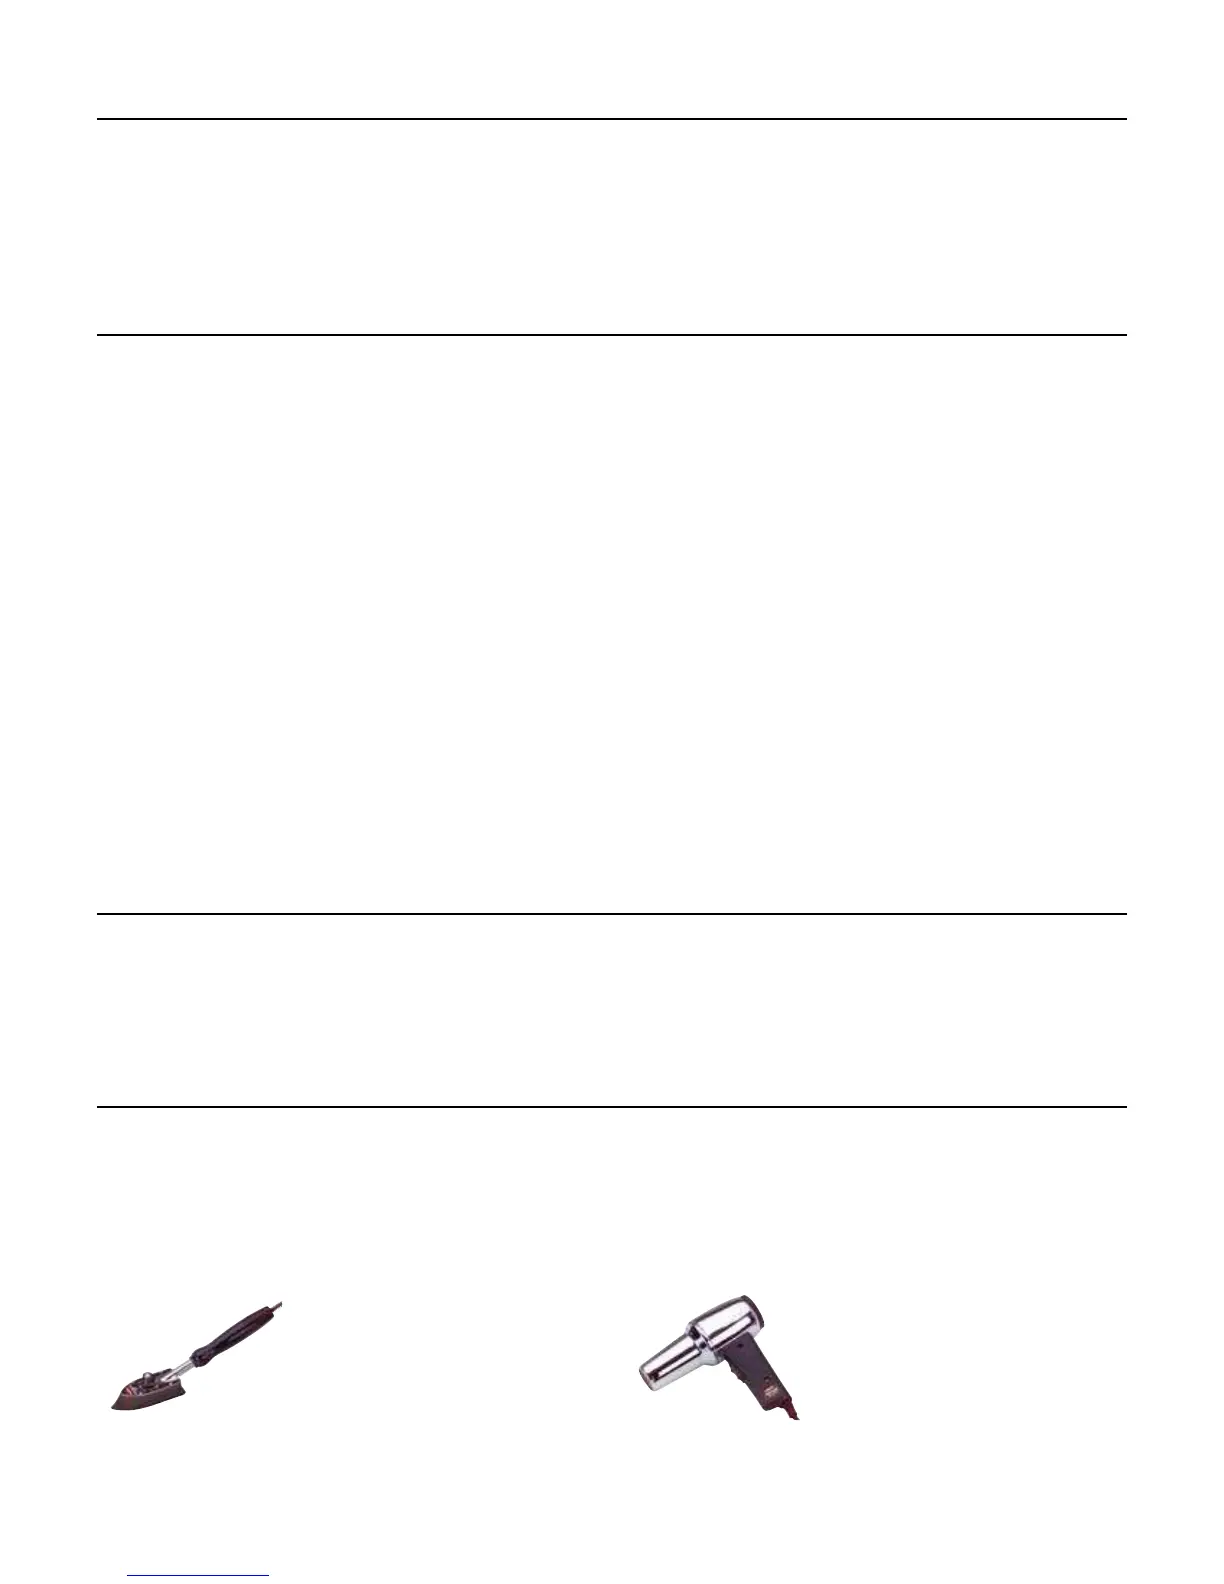
If you find any wrinkles in the covering, use a heat gun or sealing iron to remove them. Use caution while working
around areas where the colors overlap to prevent separating the colors.
HAN100 – Heat Gun
HAN150 – Covering Glove
HAN101 – Sealing Iron
HAN141 – Sealing Iron
Sock