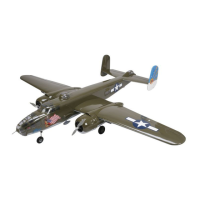
70
Step 7
Use five #2 x 3/8-inch sheet metal screws to attach the
rear canopy to the fuselage and stabilizer. There are two
screws on either side of the fuselage, two on each side
that go into the stabilizer, and one positioned at the front
of the canopy (as referenced from the fuselage). Apply a
few drops of thin CA to each of the holes to harden the
surrounding wood.
Note: Make sure to pre-drill for the screws
using a drill and 1/16-inch (1.5mm) drill
bit to prevent damaging the canopy.
Note: If you chose to permanently glue
the horizontal stabilizer to the fuselage,
then the rear canopy can be glued in
place using R/C 56 canopy glue
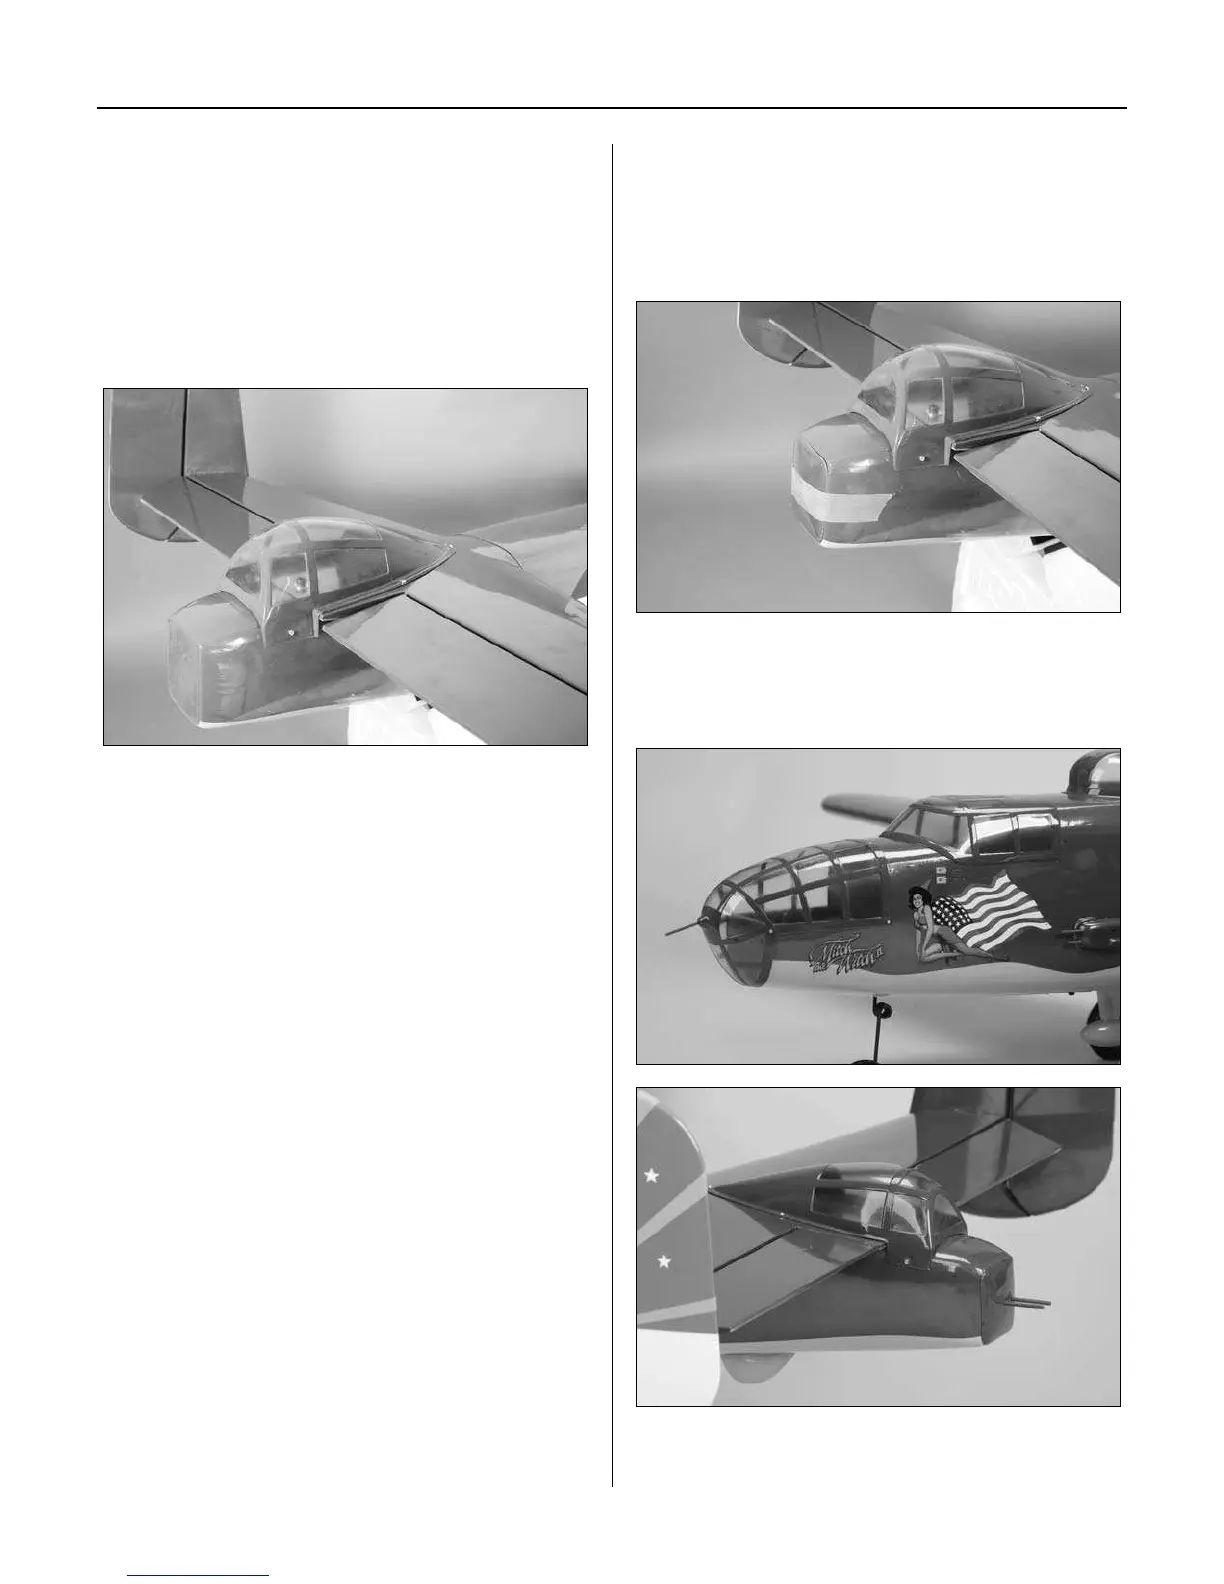
Step 8
Use hobby scissors to trim the rear gun mount. Use
RC-56 canopy glue to secure the mount to the end of the
fuselage. Use tape to hold the mount in position until the
glue fully cures.
Step 9
Install the guns by drilling holes in the appropriate
locations. Glue the guns using RC-56 canopy glue.
Section 14: Receiver, Battery and Scale Accessories