40
• Place the calibration beaker over the EC sensor and dislodge any trapped bubbles. Screw the
beaker into place. Wait for the reading to stabilize. The stability timer will count down and
Confirm will appear.
• Note the temperature and adjust the conductivity value if needed.
• Press Confirm to save the calibration.
• After confirmation, the following messages are displayed: “Storing” and “Calibration completed”.
• Press OK to return to the “Calibration” menu.
• Press ESC twice to return to the main menu.
• Press Measure to return to the measurement screen.
Salinity
The measurement of salinity is based on the Practical Salinity
Scale which uses the EC measurement. If the user has a standard
with known PSU value it may be used to calibrate the conductivity
sensor.
• Select “Salinity” from the “Conductivity calibration” menu.
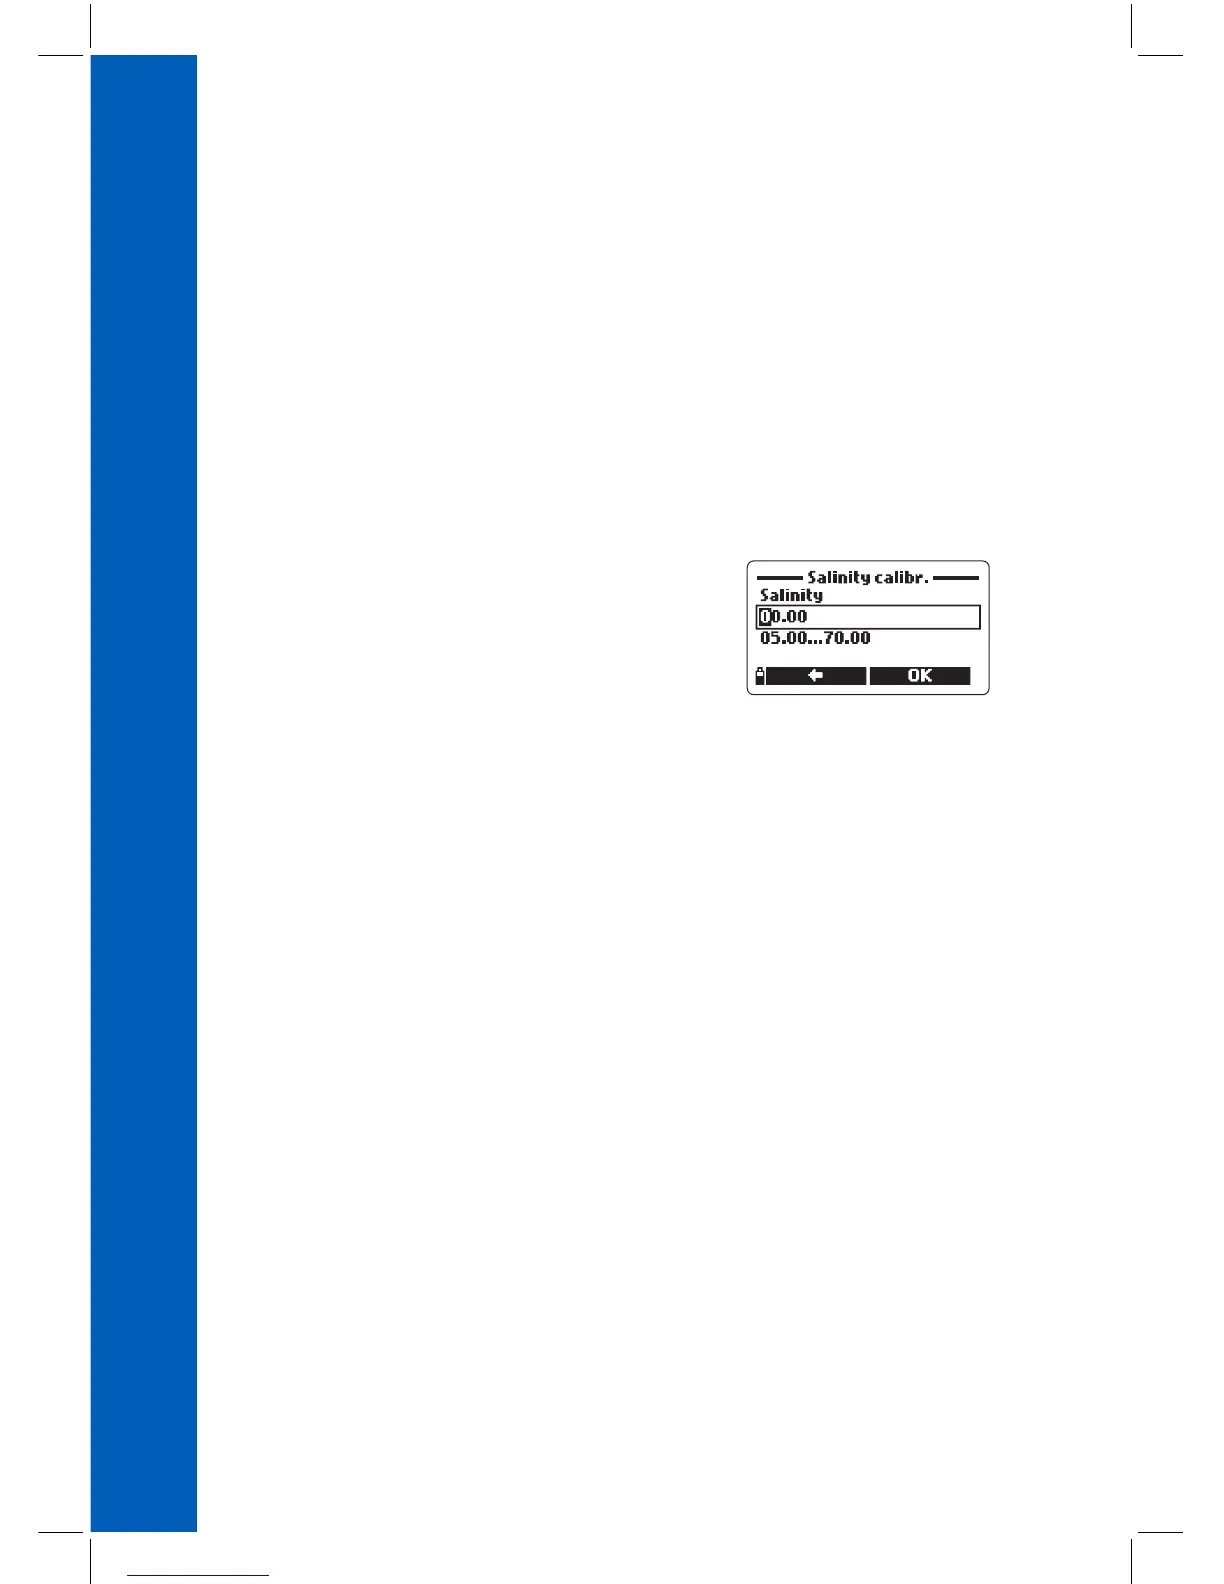
• Use the keypad to enter the known salinity value of the calibra‑
tion solution. Press Accept to confirm.
• Fill the calibration beaker with salinity standard of known value.
• Pour additional standard into a second beaker to be used to rinse the sensor.
• Immerse the sensor into the rinse beaker and raise and lower the beaker to ensure that the EC
sensor channels are filled with fresh standard.
• Place the calibration beaker with standard over the EC sensor and dislodge any trapped gas
bubbles. Screw the beaker into place.
• Wait for the reading to stabilize. The stability timer will count down and Confirm will appear.
• Note the temperature and adjust the salinity value if needed.
• Press Confirm to save the calibration.
• After confirmation, the following messages are displayed: “Storing” and “Calibration completed”.
• Press OK to return to the “Calibration” menu.
• Press ESC twice to return to the main menu.
• Press Measure to return to the measurement screen.
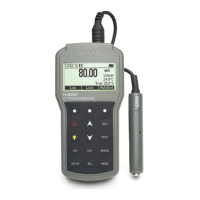
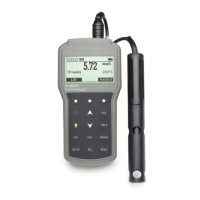
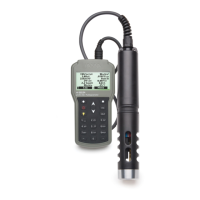
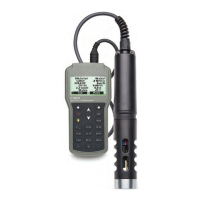
CONDUCTIVITY CALIBRATION (HI98194, HI98195 only)
 Loading...