9
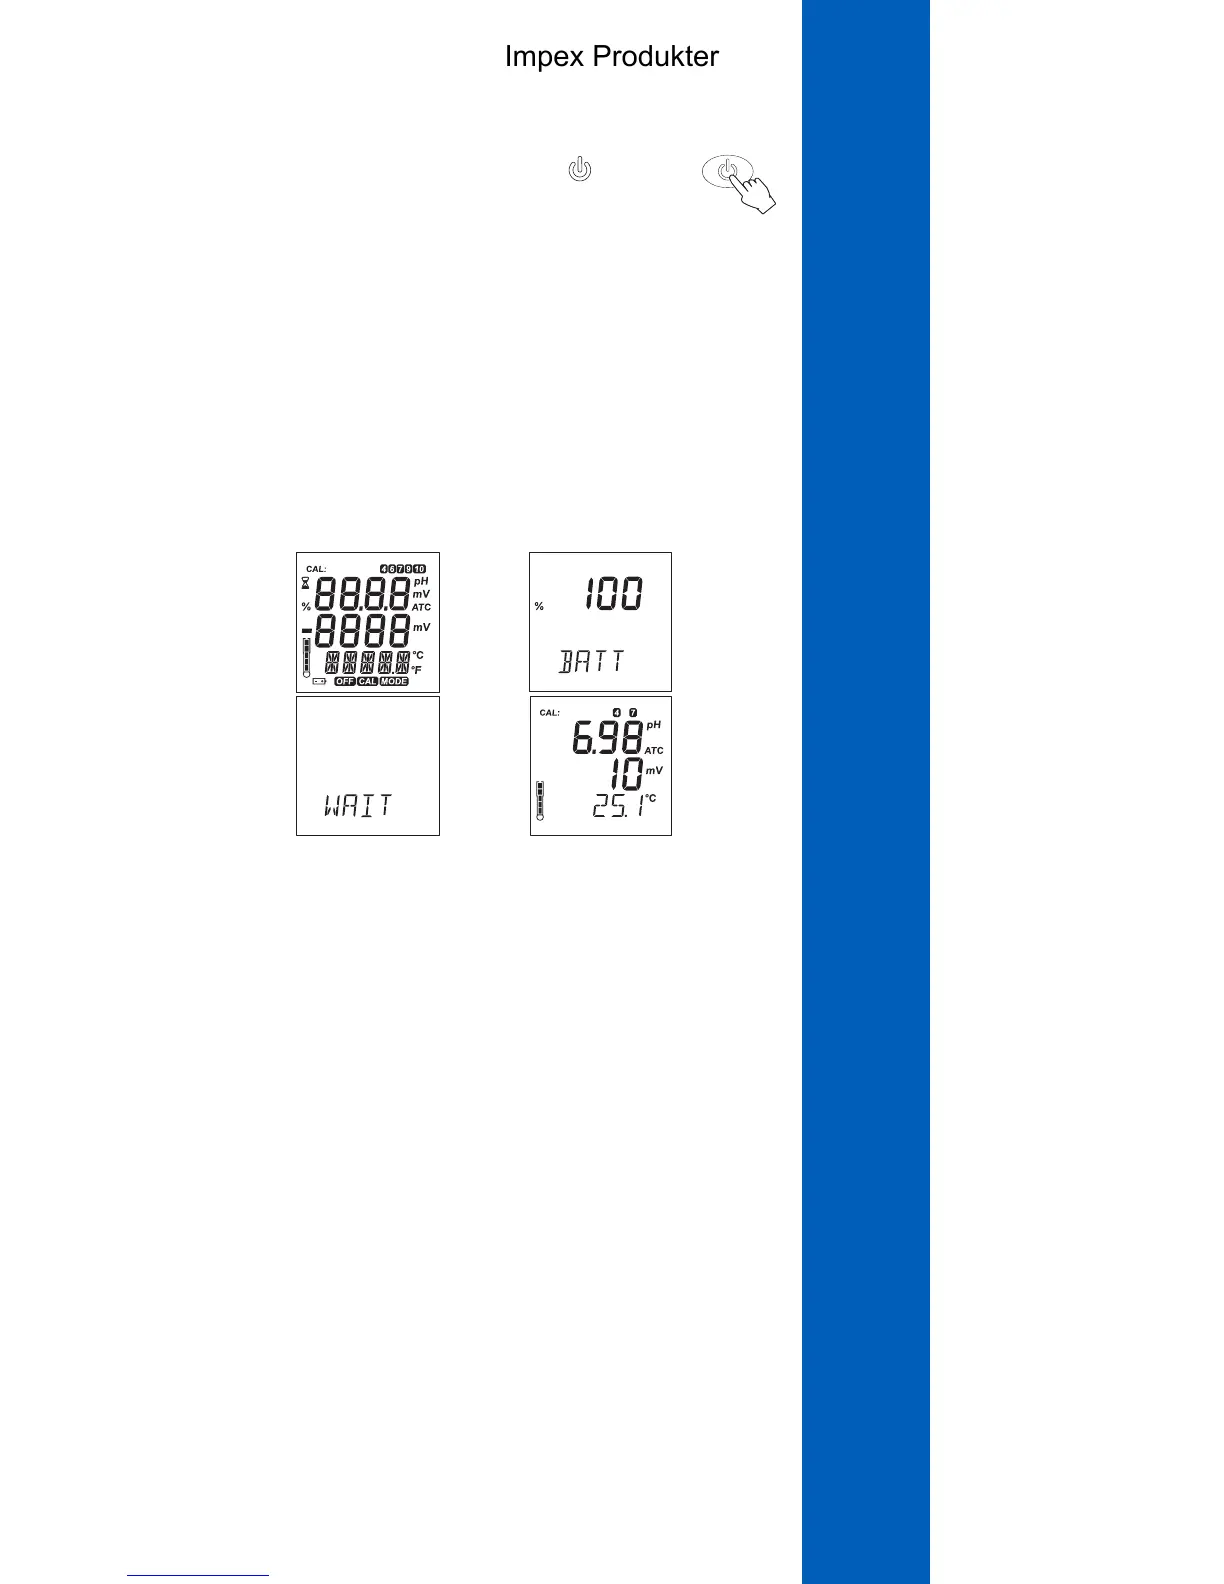
Battery life
Measurement
mode
LCD
check up
→ →
→
Electrode
check
OPERATIONAL GUIDE
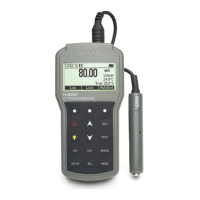
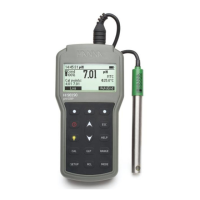
TO TURN THE METER ON
To turn the meter ON, press the button on
the front of the meter. If it does not turn on, make
sure that the batteries are properly installed in their place.
The meter is provided with an active acoustic signal when
a key is pressed.
At start‑up the meter displays all LCD segments for a few
seconds, followed by the percentage indication of the
remaining battery life, displaying “WAIT“ until electrode
check is in process then the meter enters the normal mea‑
surement mode.
Note: The meter detects the presence and the type of the
probe at its input.
- If the probe is not connected the message “NO”
”PROBE“ appears alternatively on the third LCD.
- If the probe is not compatible “WRONG” ”PROBE“
message appears alternatively on the third LCD.
- Compatible pH probes: HI12963, HI10483,
HI12943. If one of these probes are detected
“NoORP“message is displayed at start-up and “---“
message displayed on the secondary LCD while in
measurement mode.
- If the readings are out of range, the nearest range limits
are displayed blinking (E.g. -2.00 pH -5.0 °C).
TO SELECT THE MEASUREMENT RANGE
While in measurement mode, press the SET button to select
pH or pH‑mV measurement on the first LCD line.
Impex Produkter
 Loading...