© 2018Harmar Mobility, LLC • All Rights Reserved
| www.harmar.com
10
Pinnacle SL300
INSTALLATION PROCEDURES
TIP
When the 6-pin footrest and/or the 8-pin chair
cables are connected to the chassis, the black
installation switch on the chassis is disabled
and will not function.
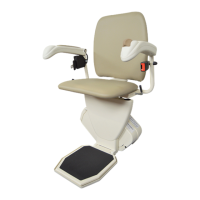
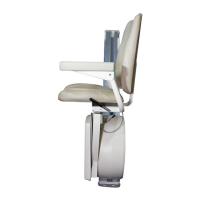
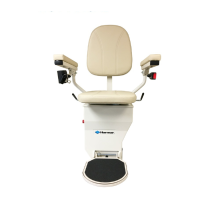
E. FOOTREST & SEAT INSTALLATION
1. Use the installation switch to drive the chassis
down to the bottom step. This will provide a safe
area to install and adjust the footrest. DO NOT drive
the unit into bottom stop.
2. Turn the red “ON/OFF” switch located on the top
of the chassis to the “OFF” position (0).
3. Remove the four (4) screws holding the vertical
seat support shroud in place with a Phillips screw
driver (#3) and set aside.
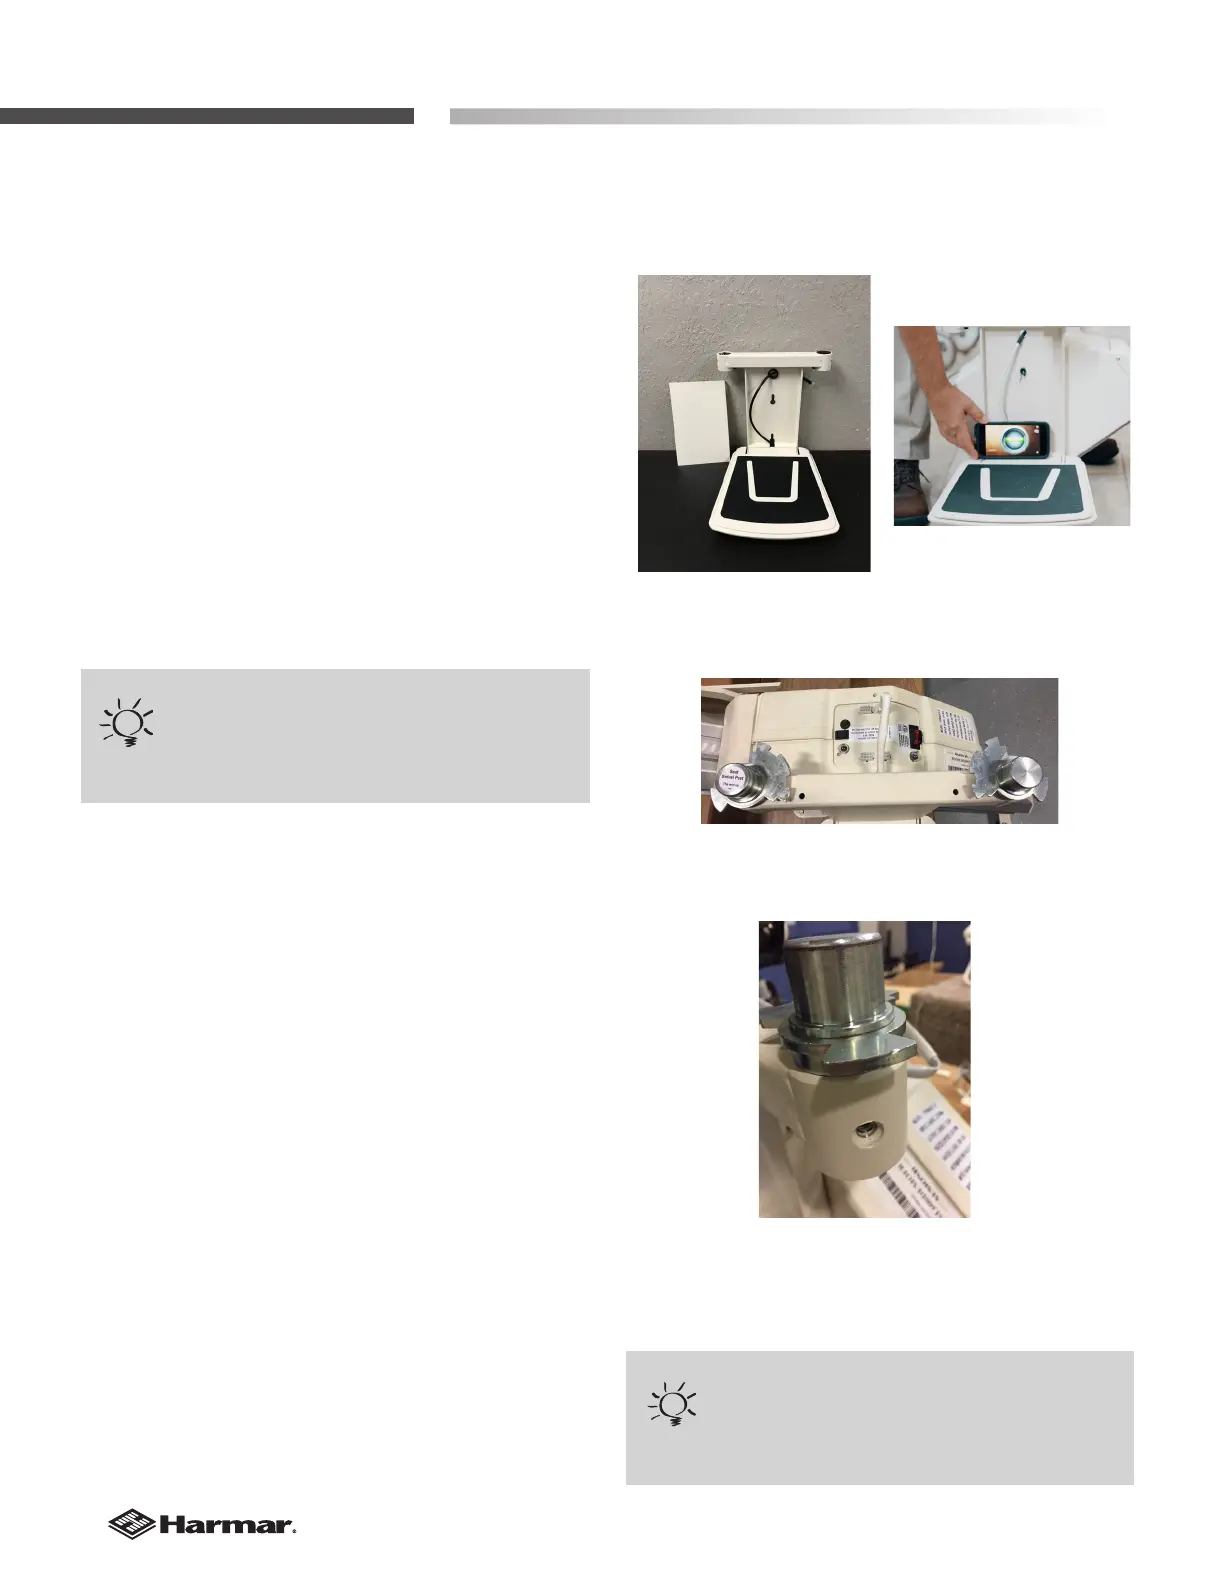
4. Position the footrest onto the two (2) seat-
leveling bolts on the outside of the chassis by
aligning the large opening at the slot ends of the
footrest. [Figure 10-1]
5. Ensure the footrest is fully engaged. Use a level
to level seat and then tighten the 4 bolts on the
front and back of the chassis.
[Figure 10-2]
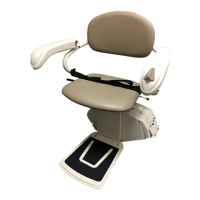
6. If the seat swivel post is not already installed
on the seat base hole closest to the top of the
stairs remove the two (2) screws on the sides of
the supporting using a 5/32" Allen wrench and
reinstall on the proper side [oriented like Figure
10-3]. Be sure to securely tighten the two (2) bolts
[Figure 10-4].
7. Replace the vertical seat support shroud and
secure to vertical seat support with four (4) screws
that were removed in step 3.
Figure 10-1
Figure 10-2
Figure 10-3
Orientation of seat posts left or right.
TIP
If the wrong set of connectors are used, the unit will
work backwards.
Figure 10-4