EN DE
35
3. INSTRUCTIONS FOR INSTALLATION
Table 2. Installation details of the heater
Tabelle 2. Montageinformationen zum Saunaofen
3.1. Before Installation
Before installing the heater, study the instructions
for installation. Check the following points:
• Is the output and type of the heater suitable for
the sauna room? The cubic volumes given in
table 2 should be followed.
• Is the supply voltage suitable for the heater?
• The location is suitable for the heater ( 3.2.).
Note! Only one electrical heater may be installed
in the sauna room.
3. MONTAGEANLEITUNG
3.1. Vor der Montage
Lesen Sie die Montageanleitung, bevor Sie den Sau-
naofen installieren. Überprüfen Sie die folgenden
Punkte:
• Ist der zu montierende Saunaofen in Leistung
und Typ passend für die Saunakabine? Die
Rauminhaltswerte in Tabelle 2 dürfen weder
über noch unterschritten werden.
• Ist die Netzspannung für den Saunaofen geeignet?
• Der Standort ist für den Saunaofen geeignet ( 3.2.).
Achtung! In einer Sauna darf nur ein Saunaofen
installiert werden.
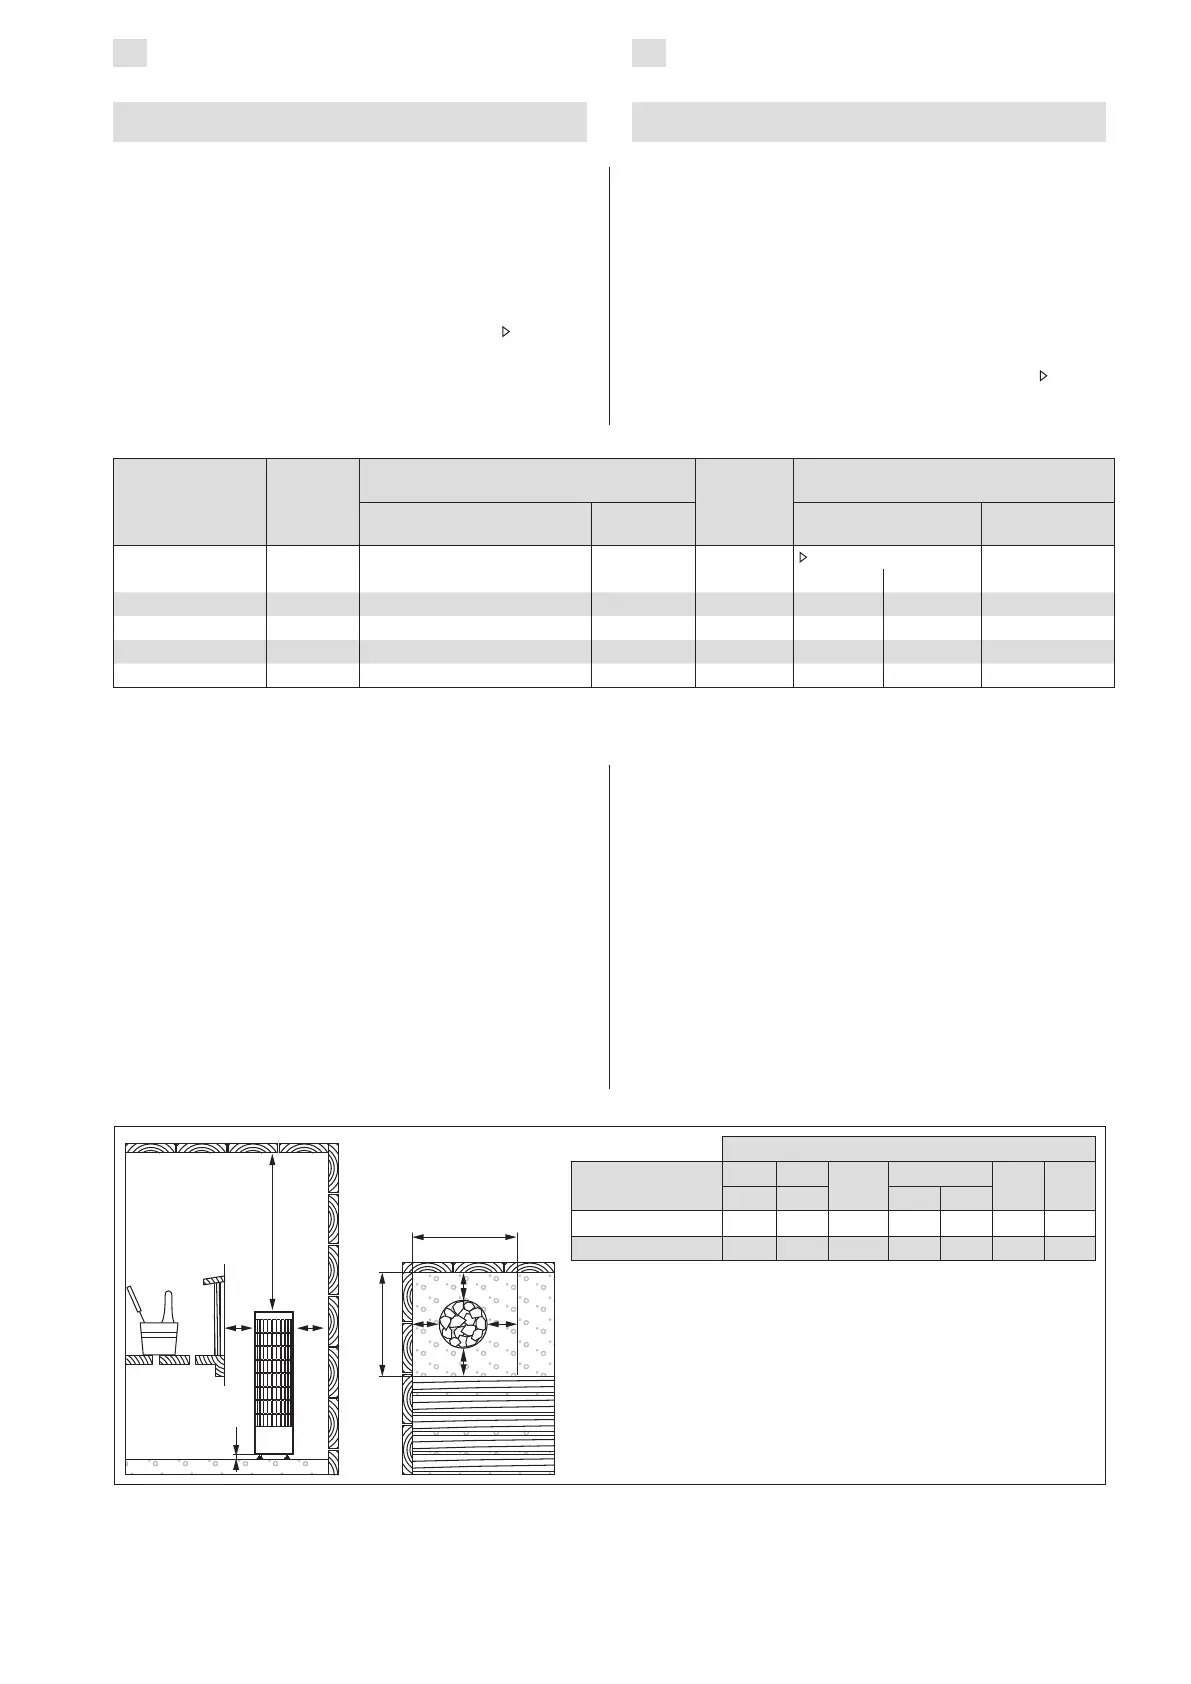
3.2. Place and Safety Distances
The minimum safety distances are described in
figure 6.
• It is absolutely necessary to install the heater
according to these values. Neglecting them
causes a risk of fire.
• Hot pieces of stone can damage floor coverings
and cause a risk of fire. The floor coverings of
the installation place should be heat-resistant.
• If the heater is to be embedded into bench
using the embedding flange, see installation
instructions of the flange before making a hole
in the bench.
3.2. Standort und Sicherheitsabstände
Die Mindest-Sicherheitsabstände werden in Abbil-
dung 6 angegeben.
• Diese Abstände müssen unbedingt eingehal-
ten werden, da eine Abweichung Brandgefahr
verursacht.
• Heiße Steinsplitter aus dem Ofen können mög-
licherweise die Bodenbeläge beschädigen und
die Brandgefahr erhöhen. Aus diesem Grund
sollten unter dem Saunaofen und in dessen
unmittelbarer Nähe nur hitzebeständige Fußbo-
denbeschichtungen verwendet werden.
• Wenn der Saunaofen mit Hilfe von Einbaurahmen
in die Liegen eingesetzt wird, lesen Sie bitte die In-
stallationsanweisungen des Einbaurahmens, bevor
Sie anfangen das Loch zu schneiden.
Heater
Ofen
Output
Leistung
Dimensions
Abmessungen
Stones
Steine
Sauna room
Saunakabine
Width/Depth/Height
Breite/Tiefe/Höhe
Weight
Gewicht
Cubic vol.
Rauminhalt
Height
Höhe
kW
mm kg max. kg
2.3.!
min. m³ max. m³ min. mm
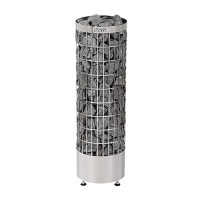
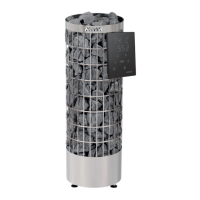
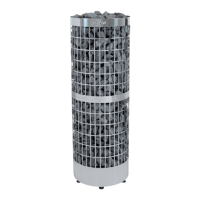
PC70XE 6,8 320/320/930 10 90 6 10 1900
PC70XW 6,8 320/320/930 10 90 6 10 1900
PC90XE 9,0 320/320/930 10 90 8 14 1900
PC90XW 9,0 320/320/930 10 90 8 14 1900
Figure 6. Safety distances (all dimensions in millimeters)
Abbildung 6. Sicherheitsmindestabstände (alle Abmessungen in Millimetern)
min. mm
A B C D E F
3N~ 1N~
PC70XE/XW 100 100 950 30 50 520 520
PC90XE/XW 100 100 950 30 50 520 520
C
D
A B
A A
AA
E
F
min. mm
A B C D E F
3N~ 1N~
PC70XE 100 100 950 30 50 520 520
PC90XE 100 100 950 30 50 520 520
PC70HXE/VHXE 30 100 950 30 50 420 470
PC90HXE/VHXE 30 100 950 30 50 420 470