QuantumX
A2361-3.3_en/de 15
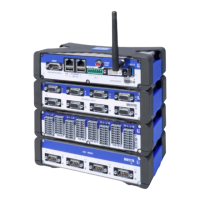
4.1 Connecting module(s) via Ethernet
The modules can be
S connected directly to a PC (see chapter 4.1.1/4.1.2)
S integrated in a client server network (see
chapter 4.1.3)
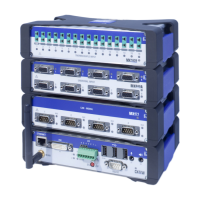
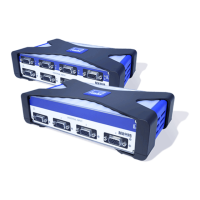
For synchronous measurement of all modules, they need
to be connected using FireWire cable 1-KAB272‐x
(connection X102 to X101 etc.).
Apply a supply voltage of 10V - 30 V (DC) to connection
X104. The supply voltage is looped through to other
modules via the FireWire cable (max. 1.5 A, basic rule:
Max. 3 modules on one supply). An additional voltage
source with the same voltage value is necessary for
more than three modules.
The QuantumX modules support DHCP /APIPA
1)
automatic IP addressing. The PC and the modules must
be set to DHCP to enable this feature to be used.
4.1.1 Ethernet settings: adapt your module's IP
address
Adapt the module's IP address as described below:
S Connect the module via an Ethernet crossover cable
(e.g. 1‐KAB239‐2) to the PC.
Newer PCs have an auto‐crossover function, in this
case you can use patch cables (twisted pair, CAT5,
preferably higher quality).
1)
The Dynamic Host Configuration Protocol (DHCP) enables the network configuration to be
assigned to clients by a server. Automatic Private IP Addressing (APIPA) allows automatic
configuration of network interfaces, if no DHCP server is available.