4 Planning and installation – Installing the heating system
44
8. Place the upper rear cladding (3) into the lower rear cladding and
hang it into the two side claddings with the tabs.
T
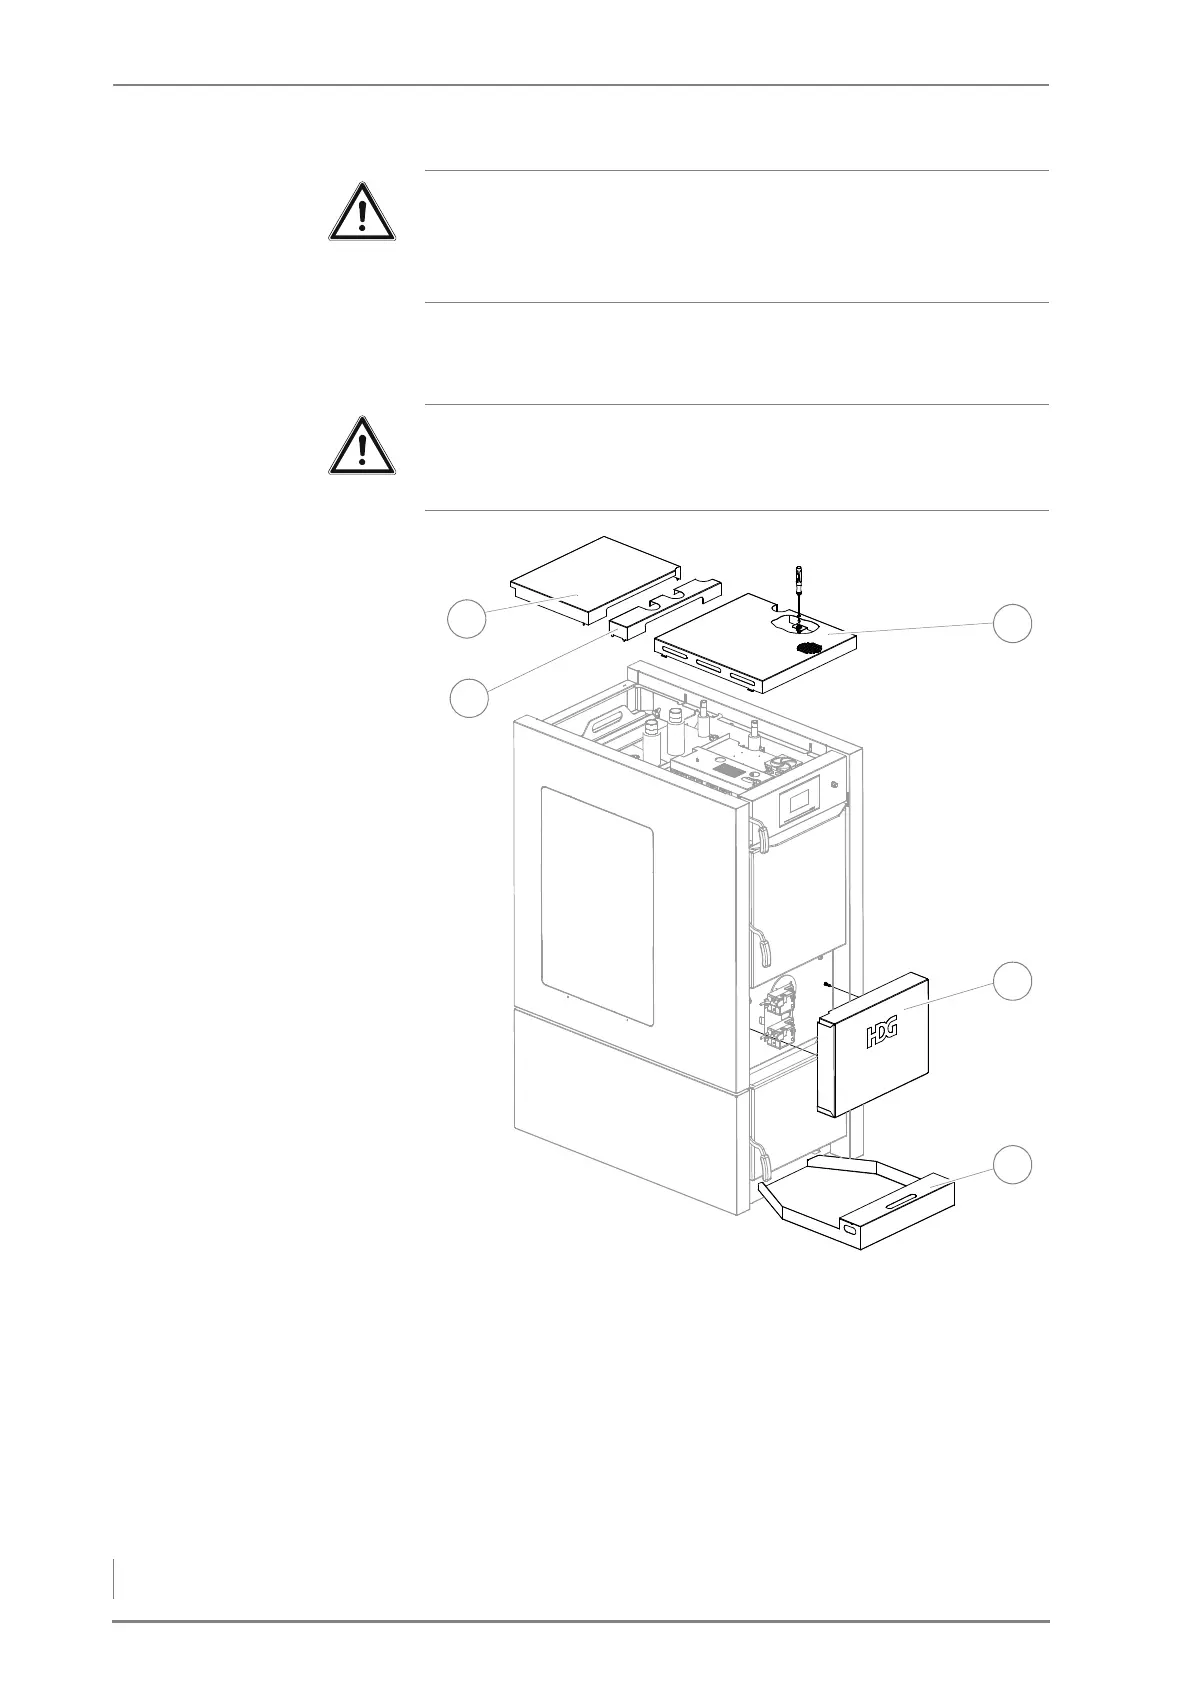
OP AND FRONT CLADDING
9. Put the top rear cover (1) with the tabs into the recesses of the left
and right hand side cladding.
10.Put the top middle cover (2) with the tabs into the recesses of the
left and right hand side cladding.
11.Put the top front cover (3) with the tabs into the recesses of the left
and right hand side cladding and lock it with a flathead
screwdriver.
Important!
Make sure that the cables for the flue gas fan, the lambda sensor
and the flue gas temperature sensor are routed outside the rear
cladding to the recess (1) in the side cladding.
Important!
The supper covers should only be mounted once all lnes and
sensors have been installed and connected.
Figure 4/22 - Installing the top and front cladding