2
204027-01
Wire the light Control
Theseinstructionsshowthesensorwiredtooodlamps.
Thewhite sensor wireisneutral.Theblack sensor
wireishot.Theredwireistheswitched“hot”wire.The
lighting load(500Watts,4.2Amax.incandescentonly)
isplacedacrossthewhiteandred wires.
3.BLACKCONTROL
WIRE&BLACK
JUNCTIONBOXWIRE
1.ALLWHITEWIRES
2.REDCONTROLWIRE
&BLACKLAMPWIRES
Optional:Connectadditional
loadacrossthewhiteandred
wires.Totallightingloadinclud-
inglampheadsonxturemust
notexceed500W(4.2A).
JunctionBox
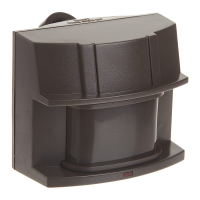
Mount the light
1. Followtheinstructionsthatcamewithyourlightx-
tureformountingandadjustingthelightxture.
2. KeepregularPAR-38lampsatleast1"(25mm)from
thesensor.Halogenlampsshouldbekeptatleast2"
(51mm)fromthesensor.
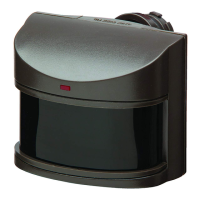
INSTALLATION
Foreavemountonly:
1. Swingthesensorheadtowardstheclampscrew
joint.
Ifthesensorpopsoutoftheballjoint,loosentheclamp
screw and push the sensor back into the ball joint.
Tightentheclampscrewwhendone.
2. Thenrotatethesensorheadclockwise180°sothe
controlsfacedown.
For under eave installation, the sensor head must be
rotatedasshowninthenexttwostepsforproperopera-
tionandtoavoidtheriskofelectricalshock.
Controls
ClampScrew
Controls
Controls
1. Removetheexistinglightxture,ifpresent.
2. Afterscrewingthesensorintothewallplate,connect
thejunctionboxwirestothelightcontrolwiresbytwist-
ingtogetherandsecuringwithwireconnectors.
WARNING: Turn power off at circuit breaker or
fuse.
LampHolders