Heatilator • A36/42C, A36/42CH • Installers Manual • 4017-262 • Rev D • 10/07/13
19
NOTICE: Chimney sections cannot be disassembled once
locked together. Plan ahead!
• Lockchimneysectionsand/oroffsets/returnstogetherby
pushingdownwarduntilthetopsectionmeetsthestop
beadonthelowersection.
• Pullonthetopsectiontomakesureitisfullyengaged
andwillnotseparate.
• Youmayuse#6or#8sheetmetalscrewsnolongerthan
1/2in.(13mm)tofastenchimneysectionstogether.Do
NOTpenetrateinnerue.
WARNING! Risk of Fire! YouMUSTusescrews(pro-
vided)tofastenoffset/returnstochimneysectionsto
keep the chimney parts from twisting. Failure to do so
couldcausere.
• Fasten offset/returns to chimney sections. Insert the
screws(provided)throughthepredrilledholes.DoNOT
penetrateinnerue.
• Secure chimney returns with hanger straps provided;
fastentostudsorjoists.
• Verticalstraightrunsofchimneymustbesupportedevery
35ft(10.7m).
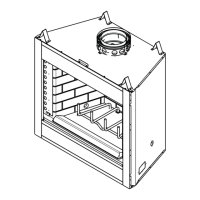
B. Assemble Chimney Sections
Useonlythosecomponentsdescribedinthismanual.
Substituteordamagedchimneycomponentscouldimpair
safeoperationandcauseoverheatingandre.
Attacheitherastraightchimneysectionoranoffsetto
thetopofthereplace(dependingonyourinstallation
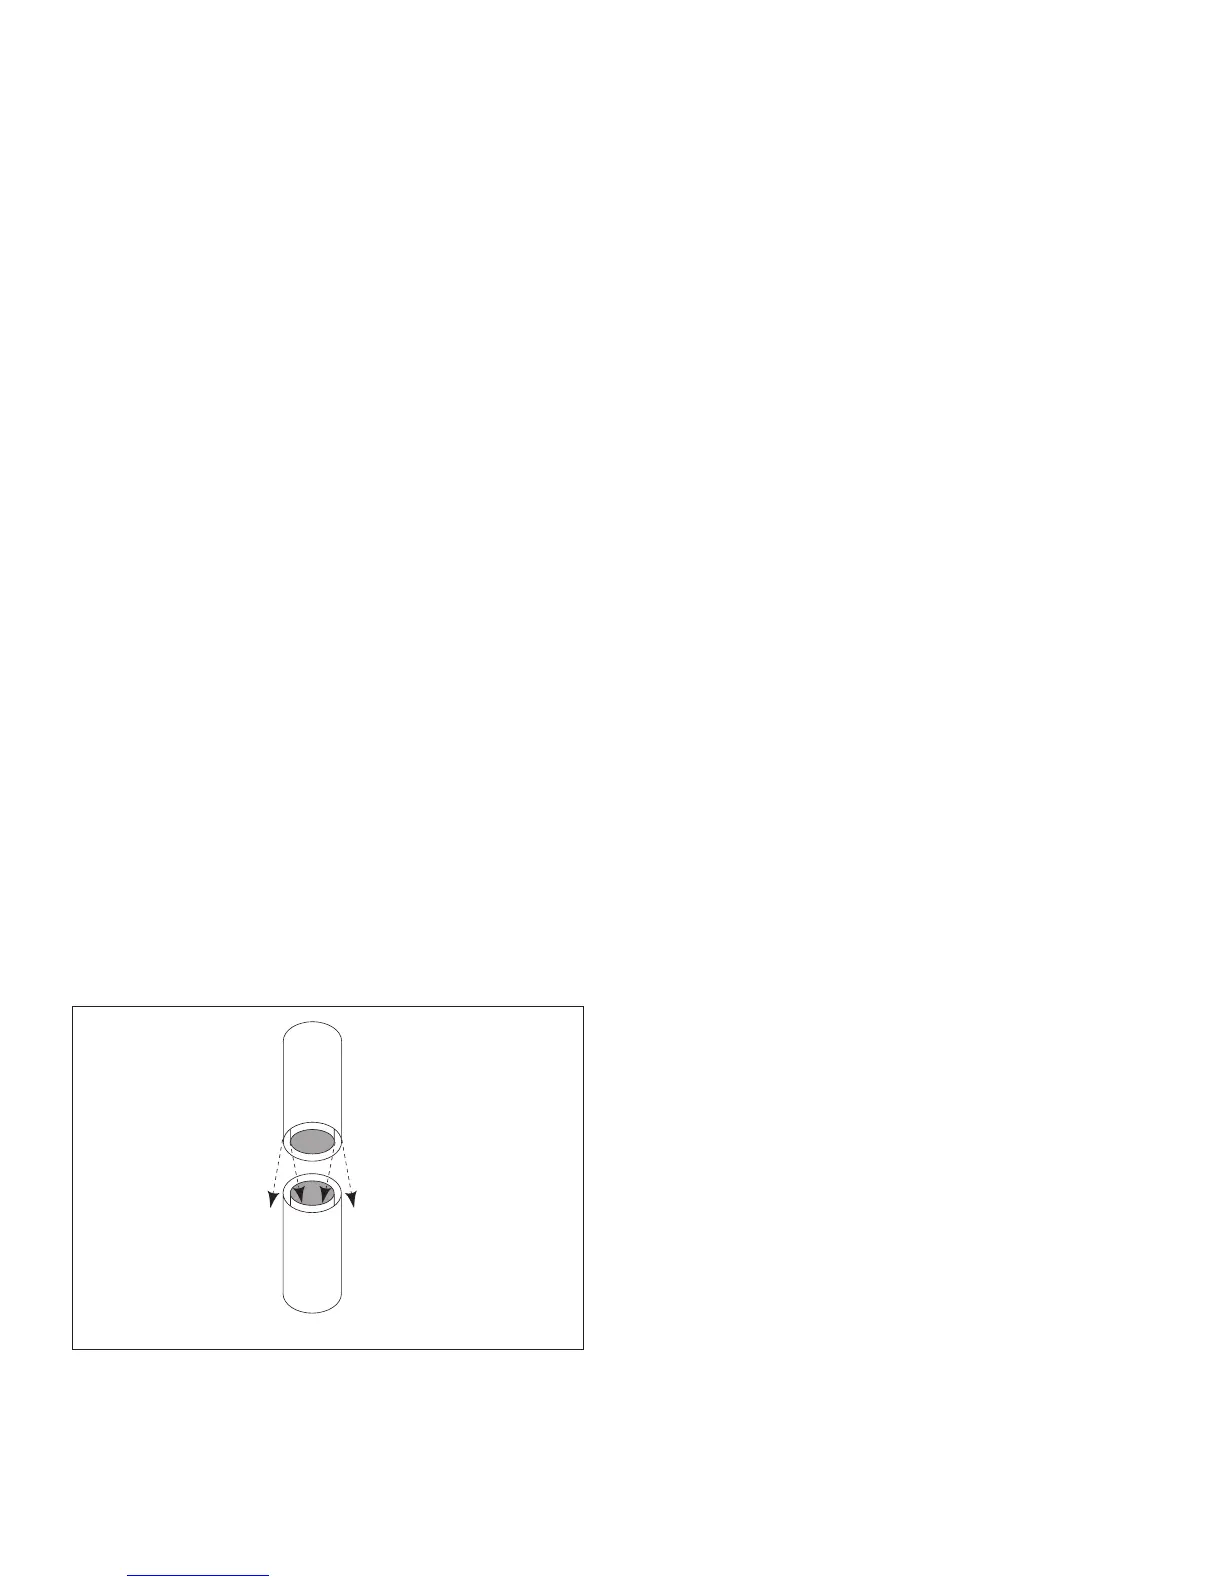
requirement).Chimneysectionsarelockedtogetherby
pushingdownwarduntilthetopsectionmeetsthestop
beadonthelowersection.
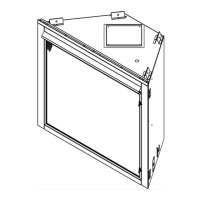
Theinnerueisplacedtotheinsideoftheuesection
belowit.Theoutercasingisplacedoutsidetheoutercas-
ingofthechimneysectionbelowit.SeeFigure5.2.
WARNING! Risk of Fire! DO NOT install substitute or
damaged chimney components.
Figure 5.2 Assembling Chimney Sections