27 / 48
PL
SK
DE
EN
CS
HU
• all types of guards
• all types of appropriate (protective) devices
• start and stop devices
• safety signs and signals
• any kind of information or warning device
• basic equipment and accessories for safe adjustment and/or maintenance
Risks due to sudden movement, instability, etc.
Inappropriate/non-ergonomic design of control/driver position
• risks due to hazardous surroundings (contact of moving parts, exhaust gases, etc.)
• improper/non-ergonomic design/layout of controls
• starting/moving the machine
• movement of pedestrian-controlled machines
UNPACKING
• Carefully check all parts after dismantling the transport box.
• Do not throw away packaging materials until you have not reviewed carefully if they did not
remain a part of the product.
• Parts of the packaging (plastic bags, paper clips, etc.) do not leave within reach of children,
could be a possible source of danger. There is a danger of swallowing or suffocating!
• If you notice transport damage or while unpacking, notify your supplier immediately. Do not
operate the product!
• We recommend save the package for future use. The packaging materials must still be
recycled or disposed of in compliance with the relevant legislation. Sort different parts of
the packaging according to material and hand it to the appropriate collection sites. For
further information contact your local administration.
C Fasteners can become loose during transport in the packaging.
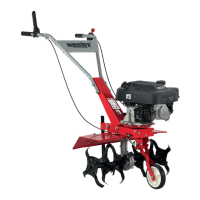
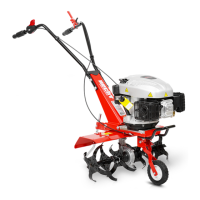
PACKAGE CONTENTS
machine body, handles, a depth regulator,cultivation blades, connecting material, manual
• Standard accessories are subject to change without notice.
• This product requires assembly. The product must be assembled correctly before use.
ASSEMBLY
C It is better to carry out the installation in two persons; the machine is not stable
after unpacking from the box.
SUPPORT WHEEL (FIG. 2)
1. Screw the front support wheel axle (7) to the machine body with the hexagon bolt and nut
(14).
2. Insert the tension spring (15).
COULTERS (FIG. 3)
1. Slide the coulter assembly (6) onto the shaft.
2. Align the hole in the coulter (16) with the hole in the shaft.
3. Insert the pin through the holes and secure it with a cotter pin (17).