27 / 48
PL
SK
DE
EN
CS
HU
5. Slide the plough (or other accessory) into the eye of the bracket and secure it with the locking
pin (Fig. 13).
6. Both straight as well as the longitudinal angles can be adjusted.
7. To adjust the straight angle, loosen the two bolts on the bracket feet, tilt the plough (or
other accessory), and retighten the bolts (Fig. 13 a).
8. The longitudinal angle can be adjusted by loosening/tightening the bolts on the bracket eye
and locking it with lock nuts (Fig. 13 b).
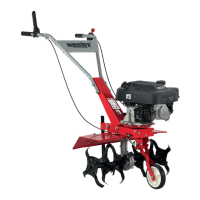
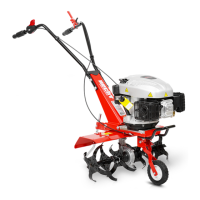
ASSEMBLY OF AUXILIARY WHEELS AND AUXILIARY
PADDLE WHEELS (PIC. 14 + PIC. 15)
WARNING! B
Smaller clearances of auxiliary wheels on a shaft is not harmful. Auxiliary wheels
with tires are not designed to work, only for transporting the machine!
Note: I
For work use the auxiliary steel paddle wheels.
WARNING! B
When moving with the running engine care should be taken with caution. Adjust
throttle lever into position on
at most 1/3.
WARNING! B
When starting press the clutch lever gradually, otherwise the machine may suddenly
jump, there is a risk of injury.
WARNING! B
Remove the plastic fenders when installing auxiliary wheels. Risk of some machine
parts damage!
C You can leave the plastic fenders when installing iron wheels.
1. Put the wheels onto the drive shaft, insert the safety pin and secure with the cotter pin
(Fig. 14, fig. 15).
C Pay attention to correct direction of rotation. When installing the wheels pay
attention to correct direction of rotation. Wheels are not symmetrical, they can
not be freely exchanged left - right. Therefore the wheels must be mounted in
right direction (Fig. 14, Fig. 15).