Translation of the original instructions / Small animal clipper 11
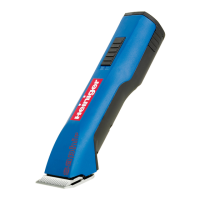
4.5 Charging station
1
2
1 Charging station
2 Power adapter
3 Charging cavity for the clipper with
integrated battery
Fig. 9
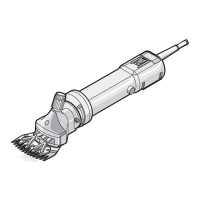
4.6 Battery
2
1
2
1 Interlockbattery
2 Contacts
Fig. 10
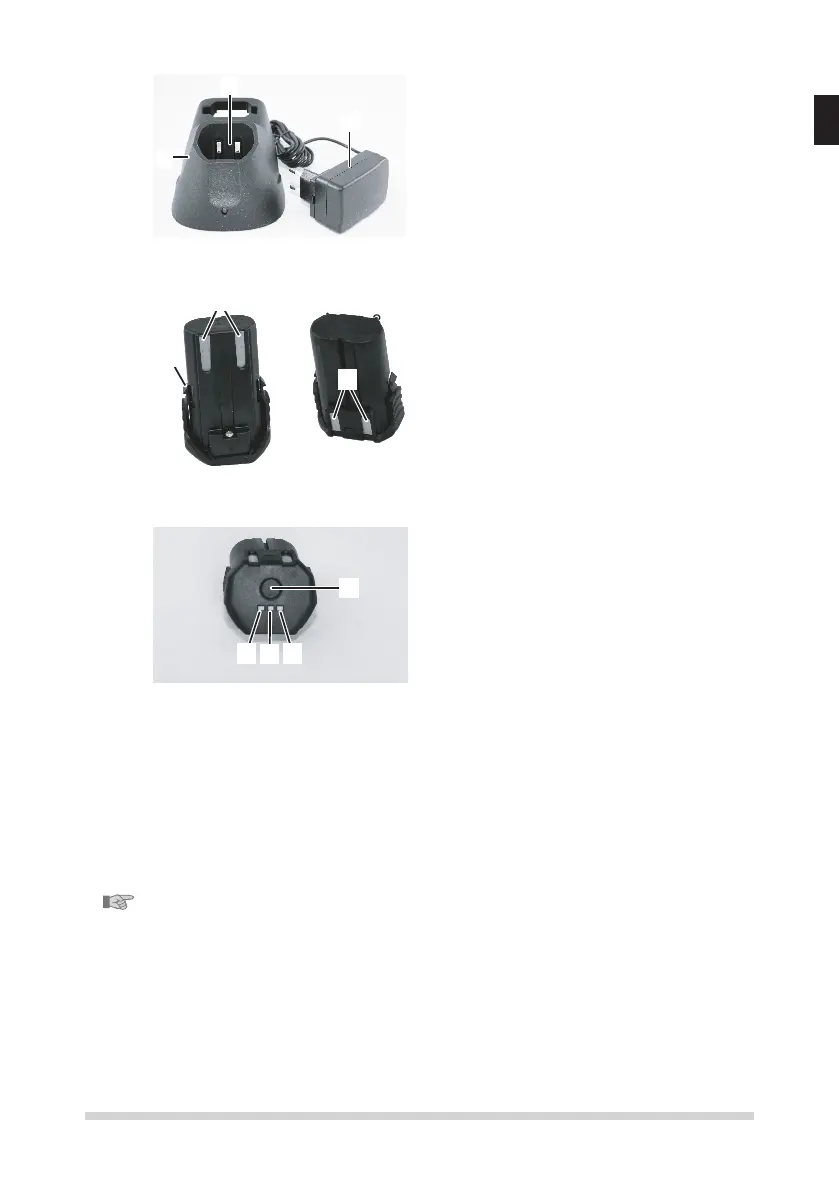
4.7 Charging status display
3
2
1
4
Fig. 11
1. Hold down the button (4) to view the
battery charge level.
y No info displayed: exhausted or faulty
battery
y Blinking display: battery level ca.
0-15% – recharge immediately
y One LED lights up (1): battery level ca.
16-50%
y Two LEDs light up (1 & 2): battery level
ca. 51-80%
y Three LEDs light up (1, 2 & 3): Battery
level ca. > 80 %
5 Transport, packaging and storage
Checkthedeliveryonreceiptimmediatelyoncompletenessanddamage
in transit.
NOTE!
Complain any damage as soon as you discover it. Claims for damages only
may be made within the valid time.
Forthepackaging,justnon-pollutingmaterialisbeingused.
Thepackagingistoprotecttheindividualcomponentsfromtransportdama-
ge, corrosion and other forms of damage prior to use.
 Loading...