12 Translation of the original instructions / Small animal clipper
Store clipper and accessories on the following conditions:
X
Alwaysstoreinthepackagingsuppliedwithit.
X
Do not store outdoor.
X
Store dry and dust-free.
X
Protect against solar irradiation.
X
Avoidmechanicalshocks.
X
Storage temperature: 0 until 40°C.
X
Relativehumidity:max.75%.Whenstoringlongerthan3months,check
periodically the general condition of all parts. If necessary, refresh or
renew the conservation.
6 Operation
WARNING!
Incorrectoperationmaycausedamageonpersonsorobjects.Therefore:
y Do all the steps of operation according to the indications in this instruc-
tion manual.
6.1 Initial start-up
6.1.1 Setting up the charging station
y Observe all technical data according to the operating conditions (3 Tech-
nical Data).
y Theinstallationsurfacemustbeevenandmustdisposeofsufcientsta-
bility and payload.
y The location of installation must be protected against humidity and rain.
y Power outlets in the outer area must be equipped with a residual current
circuitbreaker(FI).
y Theworkplacemustdisposeofsufcientilluminationandventilation.
y The location of installation must be out of reach of children.
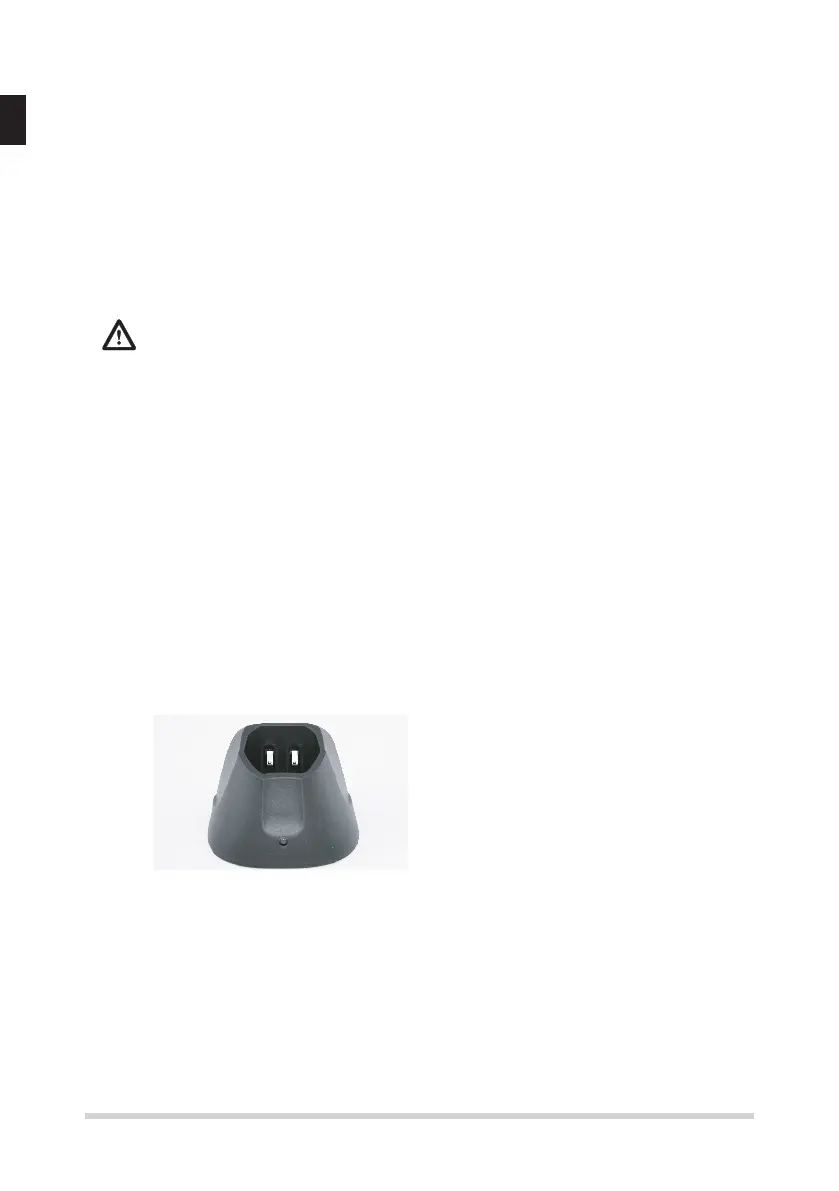
Fig. 12
1. Placethechargingstationonarm,
even, dry, clean and free under-
ground.
2. Plug the charging station in the po-
wer outlet.
3. Place the clipper, with the battery inserted, in the charging station so that
the upper part of the clipper is facing towards you and the contacts on the
clipper are resting against the contacts of the charging station. The part
with the switch is the upper part of the clipper (Fig. 12).
4. During the charging process the LED indicator lamp stays lit red conti-
nuously. Once the charging process is complete the LED indicator lamp
stays lit green continuously. and the clipper is ready to use. This charging
station has an LED indicator lamp.
 Loading...