Translation of the original instructions / Small animal clipper 13
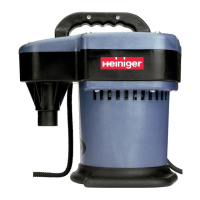
6.1.2 Charge battery
1
2
Fig. 13
1. Test the contacts of the clipper (1)
and the battery (2) for foreign parti-
cles and contamination.
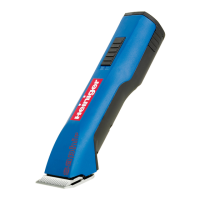
2. Assure, that the switch lever of the
clipper is in OFF-position ("0") (g.
4).
1
2 3
Fig. 14
3. Insert the battery (2) in the clipper
(3), until the battery interlock (1) is
engaged on both sides.
1
2
3
3
Fig. 15
4. Insert the clipper with the inserted
battery (1) or insert just the batte-
ry (2) from above without force into
the charging recess provided on the
charging station.
5. Waiting for the battery charging time
(3specications).
6. Battery is charging. During the char-
ging time the control light is illumina-
ting red (3). As soon as the battery
has been charged to a min. 90%, the
indicator lamp will change to green
and the charging station switch to
“tricklecharging”.
7. Hold the charger rmly with one
hand and pull the clipper (1) or the
battery (2) out with the other.
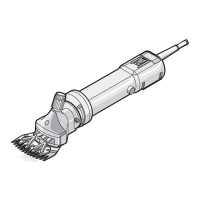
6.1.3 Fitting the clipperhead
1
2
1. If the blade hinge (2) is accidental-
ly closed, lift the latter up using a
screwdriver (1) while simultaneously
pressingthebladeinterlock.
Fig. 16
 Loading...