4
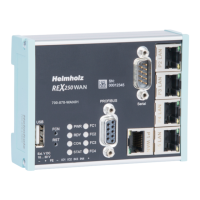
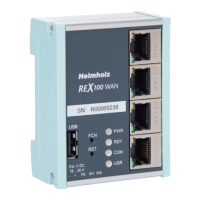
2.4 Power supply and ports
The REX 300 must be supplied with 24 V DC at the wide range input 10 – 30 V
DC. Rigid copper wires with a max. diameter of 1.5 mm² can be clamped onto the
providedconnectorplug.
TheconnectiontothemachinerynetworktakesplaceviatheLANport.Commission-
ingwithaPCalsotakesplaceviatheLANport.A9-pinMPI/PROFIBUSconnectionis
availableforstandardPROFIBUSplugs(notforECOdevices).
The green ON LED lights up when the power supply is switched on. The boot pro-
cess starts following the internal system check (duration of approx. 25 sec.), which
is indicated by the blinking Rdy LED (for approx. 90 sec.). The REX 300 is then ready
for operation.
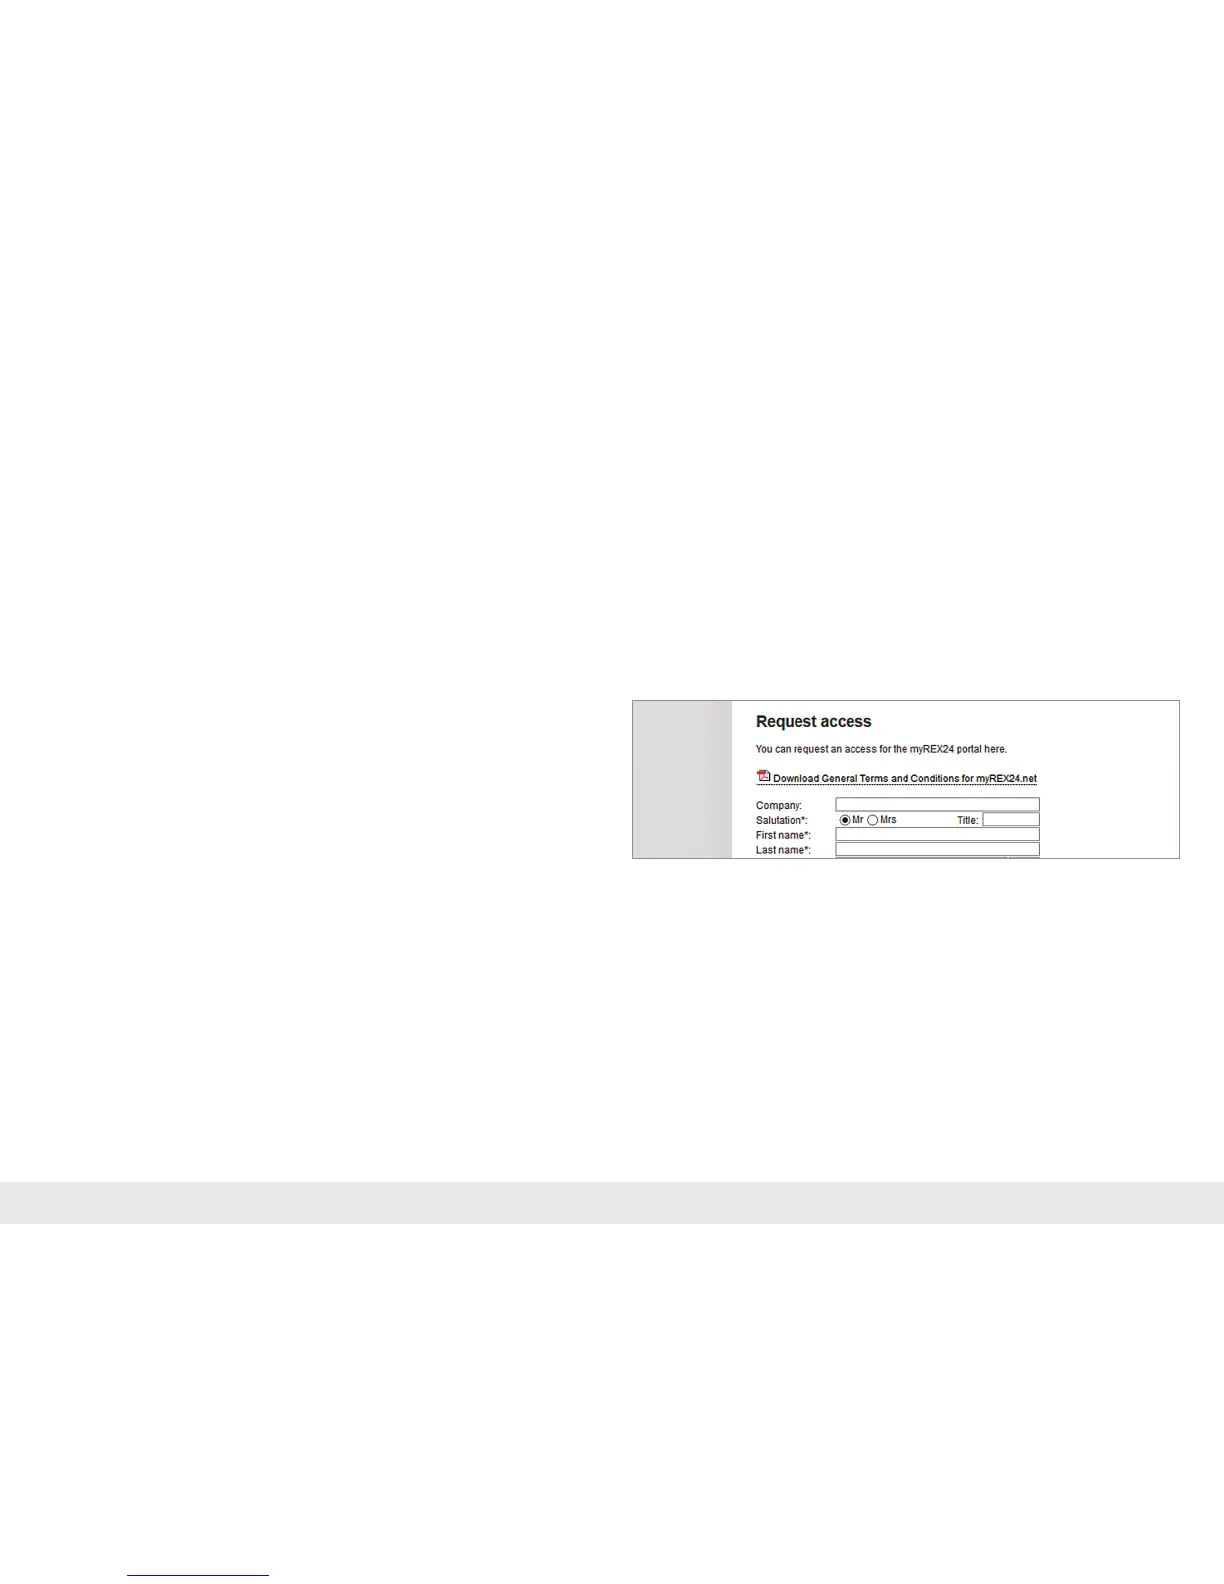
3. Access to the portal
REX300routerscanbefullyconguredusingthemyREX24portal.Asecureconnec-
tionwiththeportalisrequiredtothispurpose:
- For complete hardware project planning of a REX 300 router, the remote client
software shDIALUP must be used in order to establish a VPN connection.
- Alternatively,youcouldalsocreatethecongurationwithanHTTPS-secureddirect
callupfromyourbrowser.ThecallupisrealizedwiththefollowingURL:https://
v2.myREX24.net.
PleasealwaysuseyourmyREX24-V2portalaccessdatatologin.Youcanndfurther
information in the manual for the myREX24-V2 portal.
ThevariouswaystotransferthecongurationyouhavecreatedtotheREX300are
described in this Quick Start Guide.