Model EEE-182
6-10
Checkout:
To avoid electrical shock or property damage, move the
power switch to OFF and disconnect main circuit
breaker, or unplug cord at wall receptacle.
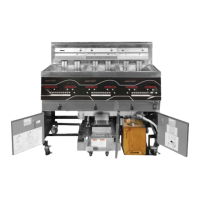
1. Remove control panel and hinge it down.
2. Referring to the decal on the rear of the control panel, locate
the 12-pin probe connector in the upper, right-hand corner.
(An ohm chart is also shown on the decal.)
3. Pull the connector from the panel and using a multimeter,
take an ohm reading on the appropriate Oil Temp pins. If
ohmreadingissignicantlydifferentthanthechart,
continue with replacement instructions.
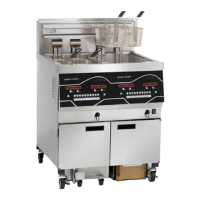
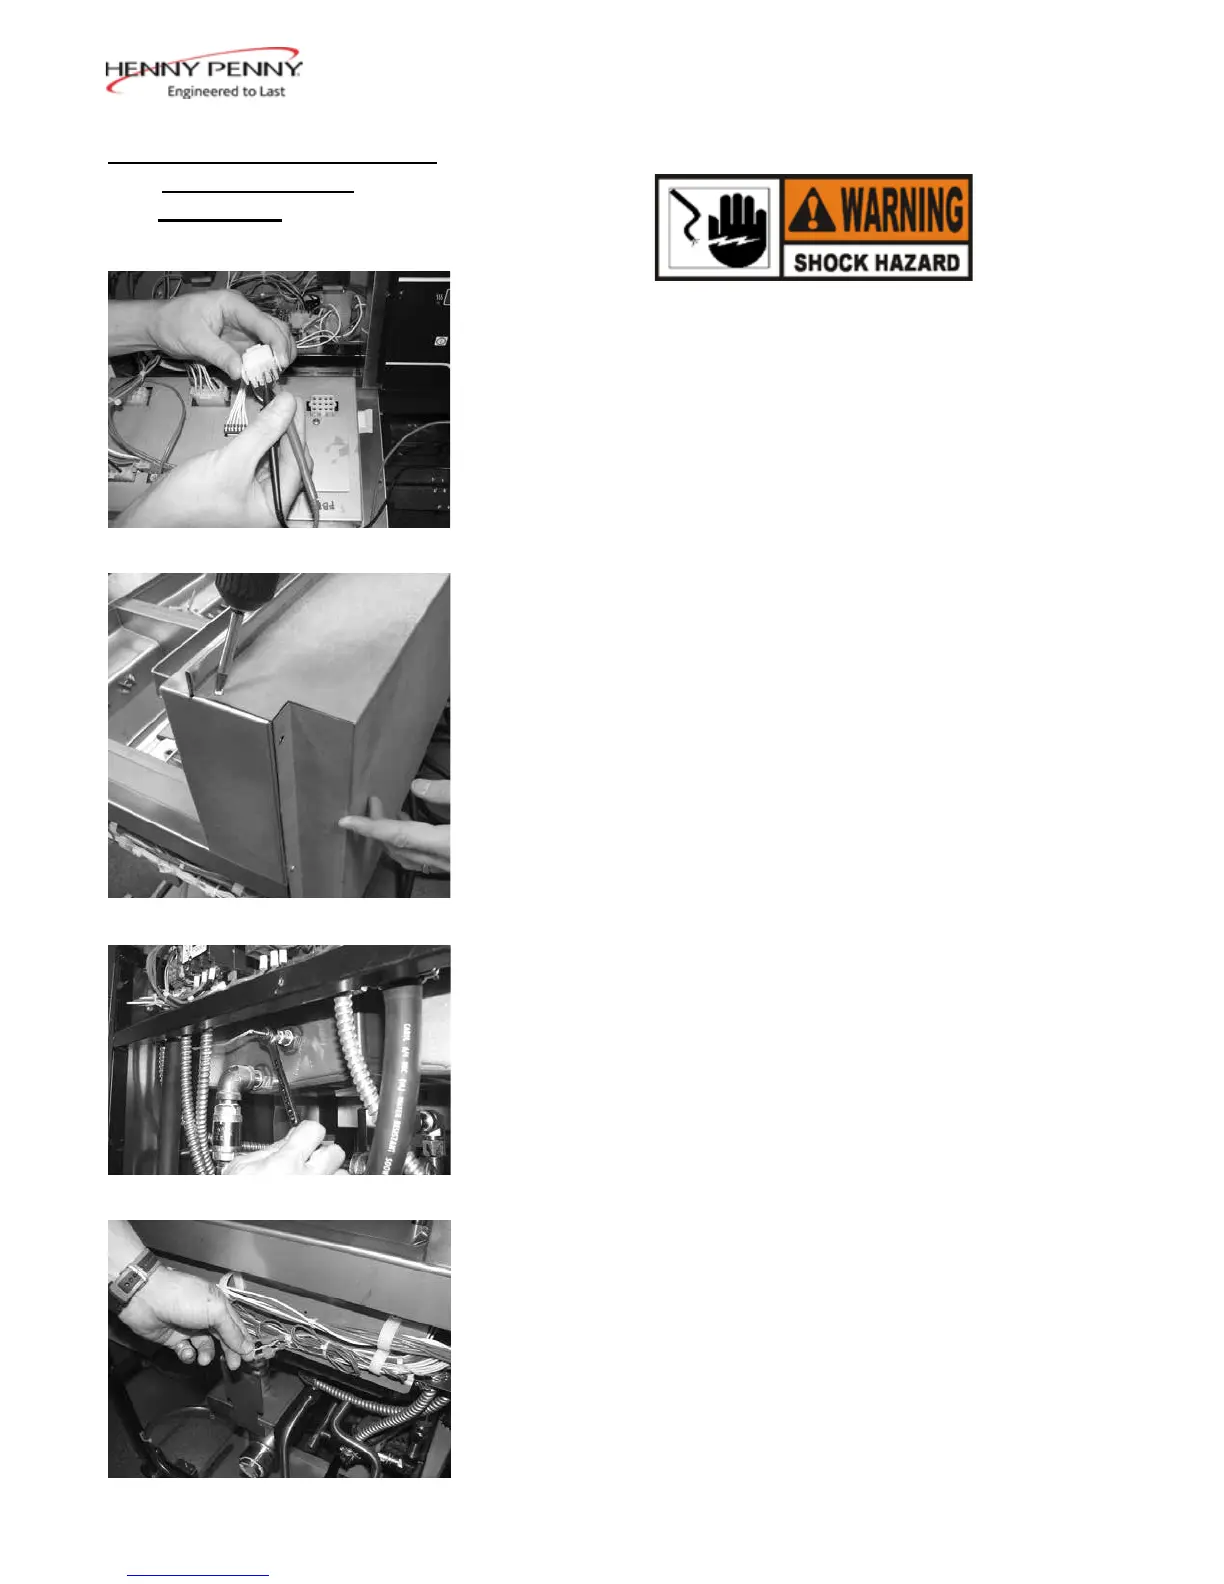
Replacement:
1. Pull-out on the drain valve knob and drain the oil from the
vat.
2. Remove the rear panel (9 screws).
3. Using a 1/2” wrench, remove the nut on the compression
tting,andremovethetemperatureprobefromthevat.
4. Follow the probe wires and disconnect the 2 probe connectors.
(These may be found behind the control panel or behind the
side panels, depending upon which vat is being serviced.)
6-8. TEMPERATURE PROBE
REPLACEMENT
(Continued)
July 2016
 Loading...