R
Rebecca MoodySep 12, 2025
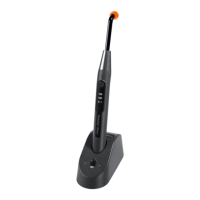
How to insert a battery into Heraeus Kulzer Translux Wave Medical Equipment?
- MMr. Patrick HuertaSep 13, 2025
Insert the battery into the hand piece of your Heraeus Kulzer Medical Equipment.
How to insert a battery into Heraeus Kulzer Translux Wave Medical Equipment?
Insert the battery into the hand piece of your Heraeus Kulzer Medical Equipment.
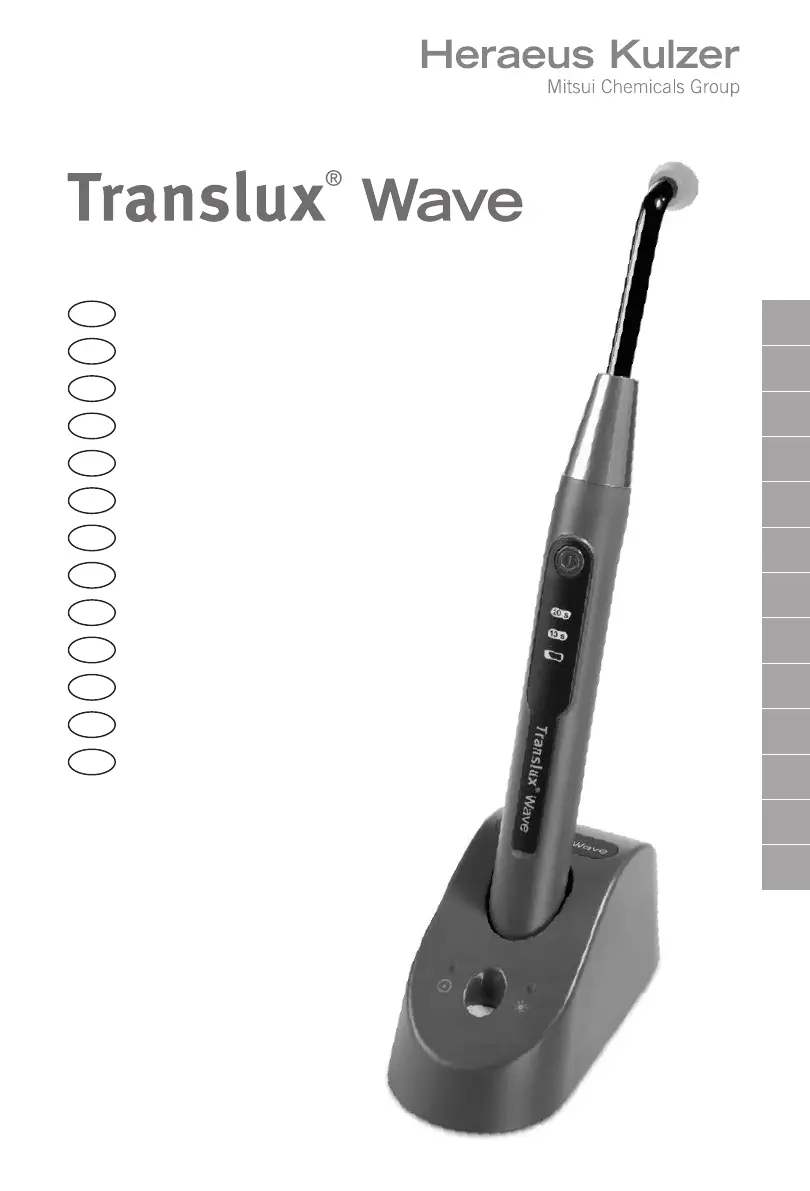
General information about the Translux Wave device.
Formal declaration of compliance with European Union directives.
Manufacturer's confirmation of compliance with relevant standards.
Explanation of safety symbols and their corresponding meanings.
Procedures for checking the unit for damage upon delivery.
Responsibilities and duties of the unit owner and operator.
Recommendation to maintain a logbook for unit maintenance and work.
Details about the Translux Wave's LED light source and components.
General safety guidelines and precautions for operating the unit.
Essential safety rules for proper device operation.
Specific safety measures to prevent hazards and risks.
Critical safety rules for battery handling, charging, and disposal.
Details on battery charging time, operating conditions, and life expectancy.
List of items included in the product package.
Overview of the device's buttons, LEDs, and other controls.
Description of the hand piece components and controls.
Explanation of the alignment key's function for proper charging.
Details of the charging unit's top and bottom views.
Summary of beeps and signals for different functions and error conditions.
Explanation of LED information and radiation class.
Safety guidelines to follow during the device installation process.
Steps for connecting the charging unit to the mains power supply.
Instructions for correctly installing the battery into the hand piece.
Steps for attaching the light guide and protective cone to the hand piece.
Information regarding the initial charging of a new battery.
How to start and stop the light curing exposure cycles.
How to check light intensity using the integrated meter.
Explanation of the automatic sleep mode function for energy saving.
Notes on device behavior during charging and operation.
Symptoms and detection methods for a faulty battery.
How to identify a malfunction in the LED indicator.
What happens when the unit overheats and how to resolve.
Indicates error codes for a defective temperature overload sensor.
Warning signal indicating a low battery charge.
Steps to disassemble parts of the device for cleaning.
Procedures for cleaning and disinfecting the light guide.
How to inspect the light guide before sterilization.
Procedures for cleaning and disinfecting the protective light cone.
How to inspect the protective light cone before sterilization.
How to package the light guide and protective cone for sterilization.
Method and parameters for sterilizing light guide and protective cone.
Specifies steam autoclaving as the approved sterilization method.
Details minimum temperature, exposure time, and dry time for sterilization.
Procedures for cleaning and disinfecting the hand piece.
How to clean the charging contacts on the unit and hand piece.
How to replace damaged or soiled charging unit contacts.
Instructions for proper disposal of the device and its components.
Instructions for proper disposal of the device and its components.
Troubleshooting steps when the charging unit is off.
Issues with hand piece placement in the charging unit.
Problems with activating the light emission.
Interpreting the "2 beeps" signal for low battery.
Issues with light emission start or cycle interruption.
Overheating protection or sensor fault symptoms.
Battery charging errors and diagnosis.
Troubleshooting charging issues for the hand piece.
Diagnosing low light intensity readings.
Device classification and safety standards compliance.
Compliance with medical device safety standards.
Details of the charging unit's power supply and IP rating.
Model, operation mode, light source, and light guide details.
Information on normal and "Soft-Start" exposure cycles.
Approximate time required to charge an empty battery.
Operating and storage conditions for temperature, humidity, pressure.
Information on RF emissions and their electromagnetic environment.
Information on device immunity to electromagnetic fields.
Explains the meaning of symbols found on the unit's identification label.
List of service contacts and locations worldwide for assistance.
| Light Source | LED |
|---|---|
| Light Output | 1200 mW/cm² |
| Light Guide Diameter | 8 mm |
| Curing Time | 5 - 20 seconds |
| Battery Type | Lithium-Ion |
| Category | Curing Light |
| Operating Modes | Pulse |