USER MANUAL | NOVA OCUs
22
7.8 Tethered Control using the optional Control Cable
When equipped, NOVA OCUs also support machine control over cable. This feature requires a dedicated cable, purchased as
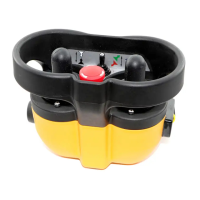
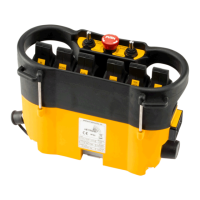
an additional option. The control cable is typically a 10 to 25m cable. This is plugged to the side of the OCU or the front wall
depending on the OCU configuration.
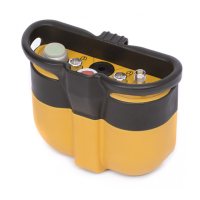
Sure Seal to Sure Seal connector
Amphenol to Amphenol connector
7.8.1
Installing the Control Cable
1. Switch OFF the NOVA OCU. For security reasons, it is also recommended to remove the battery from the OCU.
2. Plug in the dedicated control cable to the OCU. The other end of the control cable must be connected to the dedicated
connector on the MCU or the designated port on the controlled equipment relative to the design of your machine. Make
sure the connectors are securely fastened.
3. Switch on the OCU and press ‘Start’ to establish communication link with the MCU.
7.8.2
Operating the OCU in Cable Control Mode
With cable control cable attached, switch on OCU following the start-up sequence as outlined in Section 4. During start up, the
OCU will automatically recognize that the cable is attached and communicating and thus will switch into cable control mode. This
will turn off all wireless transmission and send/receive all command and feedback signals through the cable. Operating in cable
mode, the OCU automatically shuts down the wireless radio link and powers itself directly from the MCU installed on the machine
side.
The OCU functions seamlessly just like in wireless/radio mode. During cable operation, the OCU does not consume the
battery mounted on it.
7.8.3
Returning OCU to Wireless Control Mode
Power OFF the OCU and disconnect the control cable. Follow the startup sequence outlined in Section 4 to restart the OCU in
the default wireless mode.