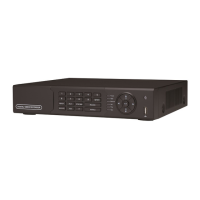
Step1: enter into system configurationalarm configurationsensoralarm handling; refer to Fig 4-19:
Fig 4-19 alarm configuration-sensor-alarm handling
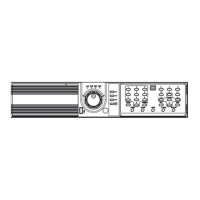
Step2: select hold time, click Trigger button, and a dialog box will pop-up as Fig 4-20:
Fig 4-20 alarm handling-trigger
Step3: tick off Buzzer, there will be triggered buzzer alarm out;
Full screen alarm: when triggered alarm, there will pop up full screen alarm;
To alarm out: tick off the channel, there will be triggered alarm out in the designated channel. Click OK
button to save the setting; click Exit button to exit the current interface.
To record: tick off recoding channels, it will record the camera when alarm triggered. Click OK button to
save the setting; click Exit button to exit the current interface.
To P.T.Z: set linked preset and cruise for alarm. User can select any channel and multi channels as linked
channels. Click OK button to save the setting; click Exit button to exit the current interface.
Step4: user can setup all channels with same parameters, tick off “all”, then to do relevant setup.
Step5: click “default” button to resort default setting; click “apply” button to save the setting; click “exit”
button to exit current interface.
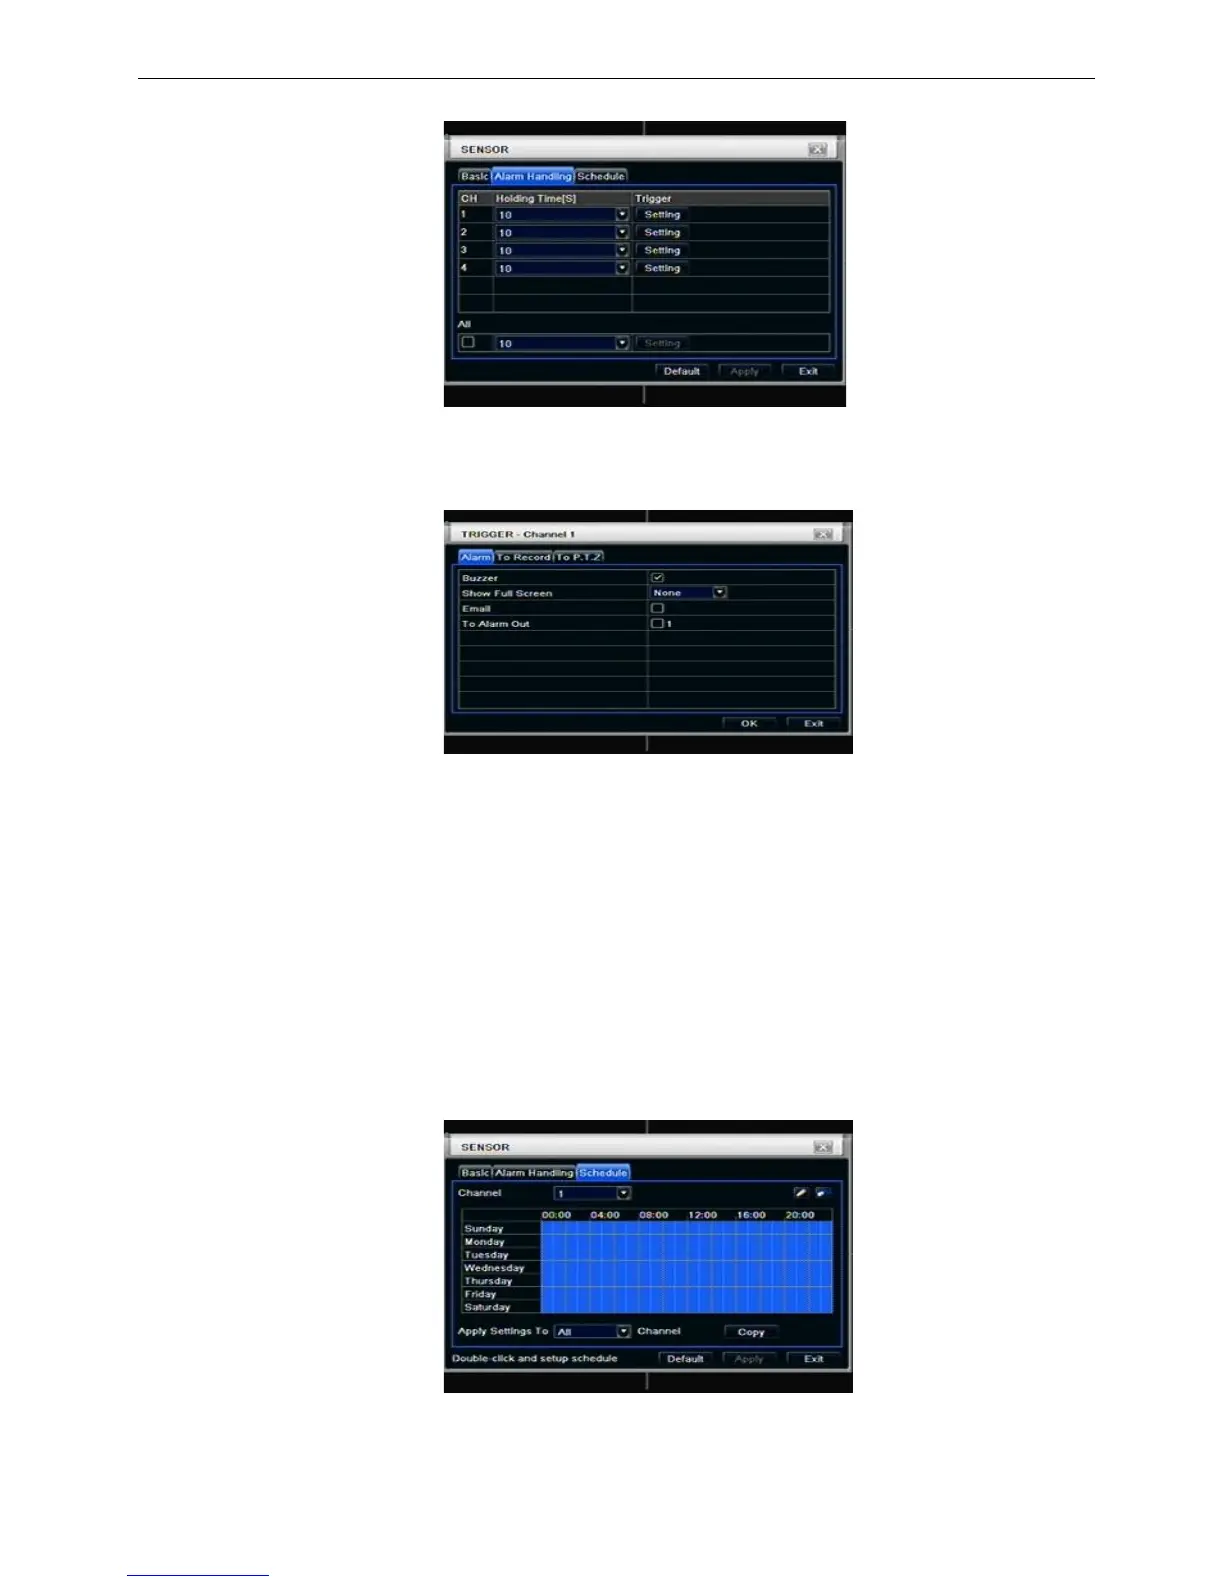
③ Schedule
Step1: enter into system configurationalarm configurationsensorschedule; refer to Fig 4-21:
Fig 4-21 sensor-schedule
Step2: the setup steps of sensor schedule are familiar with schedule; user can refer to 4.4.1 Schedule for
 Loading...