Do you have a question about the HID VertX EVO V2000 and is the answer not in the manual?
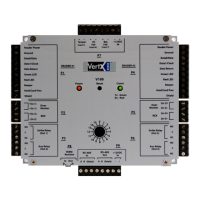
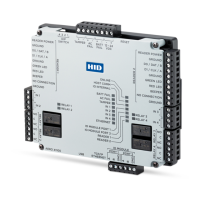
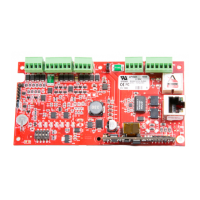
List of components included with the VertX EVO V2000 unit for installation.
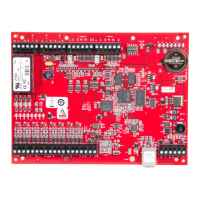
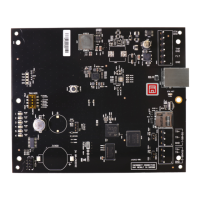
Technical details and operational parameters of the VertX EVO V2000 controller.
Guidelines for selecting and using appropriate cables for connecting the VertX EVO V2000.
Prerequisites and initial steps before beginning the VertX EVO V2000 installation process.
Information regarding the V2000 unit, including battery jumper verification.
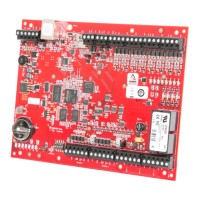
Step-by-step guidance on how to physically mount the VertX EVO V2000 controller securely.
Detailed instructions for connecting network, power, and alarm inputs for the VertX EVO V2000.
Procedures for connecting Wiegand or clock-and-data interfaces for readers to the V2000.
Information on using VertX EVO V2000 output connections for general purpose controls and relays.
Guidelines for analog input connections for functions like REX, door monitor, and general monitoring.
Using the Discovery Application to locate and initially configure VertX controllers on a network.
Method for establishing direct communication with a VertX controller via an Ethernet cable.
Accessing and logging into the VertX controller's Configuration GUI.
Configuring fundamental network connection settings for the controller.
Setting up static TCP/IP addressing for the VertX controller.
Configuring host name and interval for controller communication.
Verifying and saving the applied network and communication settings.
Validating VertX installation, field wiring, and device status after setup.
Viewing and configuring system inputs, outputs, and door characteristics.
Modifying system inputs, outputs, and door characteristics.
Setting the date, time, and time zone for the VertX controller.
Process for updating the firmware on the VertX controller's interface panel.
Safe procedure for replacing the internal battery of the VertX EVO Controllers.
Using the jumper to reset network settings to factory defaults.
Configuring firewall ports to allow TCP data transfer for controller communication.
| Inputs | 8 supervised inputs |
|---|---|
| Reader Interfaces | Wiegand, Clock-and-Data |
| Housing | Metal |
| Communication | RS-485 |
| Power Supply | 12-24 VDC |
| Operating Temperature | -40° to 70° C |
| Humidity | 5% to 95% non-condensing |
| Certifications | UL 294, CE, FCC |