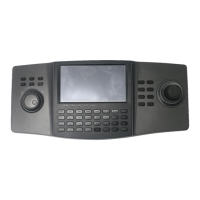
User Manual of the DS-1004K keyboard
14
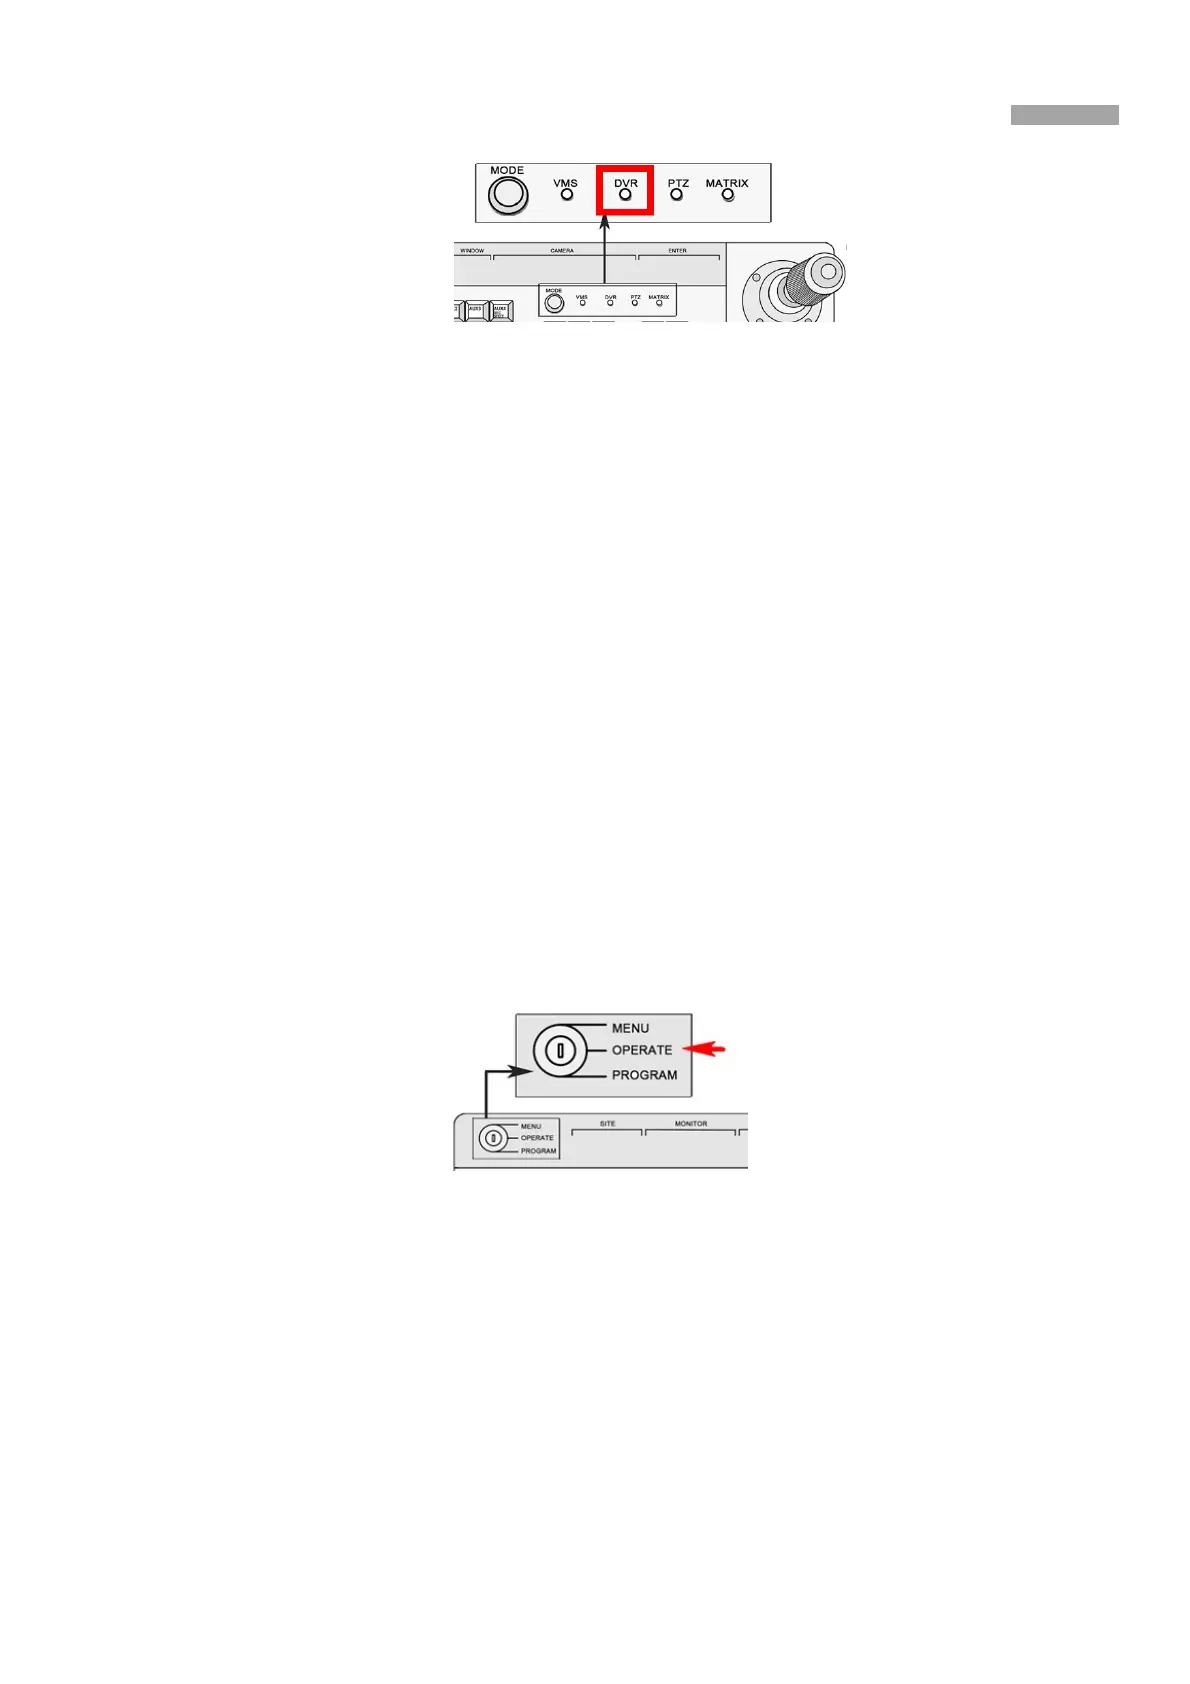
Figure 3-3 Choose MODE as DVR
2.
Press the numeric button and press SITE to connect the DVR.
Note: The keyboard identifies the DVR by SITE value, and the SITE value must be exactly the same with the device
number. E.g. the device number is 1, press the numeric button 1 and press SITE button again.
The keyboard only connects the DVR with device number ranging from 1 to 255.
3.
You can move the joystick up and down to choose value and move the joystick left and right to switch the
parameter to configure. The RS-485 parameters should be exactly the same with those of the DVR you controlled.
The parameters include the baud rate, data bit, stop bit, and parity.
By default, the baud rate is 9600, the data bit is 8, the stop bit is 1 and the parity is none.
4.
When the LED screen shows COPYALL, you can move the joystick to choose YES or NO.
If you choose YES, those parameters such as baud rate you set will be copied to all the DVRs you controlled by the
keyboard.
5.
Press Enter button to confirm your settings.
Now you can turn the key to the OPERATE item to control the DVR.
Operating DVR by Keyboard
The keyboard, once connected, functions as the front panel of the DVR. You can refer to the front panel button description to see the
function of each button. See the below information for complicated operation.
Before you start:
To control DVR, make sure that the key is turned to the OPERATE mode.
Figure 3-4 Turn the Key to OPERATE
In live view mode, press numeric button to enter the corresponding one-channel live view. The NEXT and LAST button to
choose the next or previous channel. When you open the menu, the NEXT and LAST button can be used to select the next
or previous item.
In the OPERATE mode the PLAY/AUTO button functions as the PLAY/AUTO button on the DVR front panel. Press it to
play the record file within the 5 minutes of current channel. If you want to play back more record files, you should enter the
main menu and choose Playback.
CLEAR button functions as an ESC button.

 Loading...