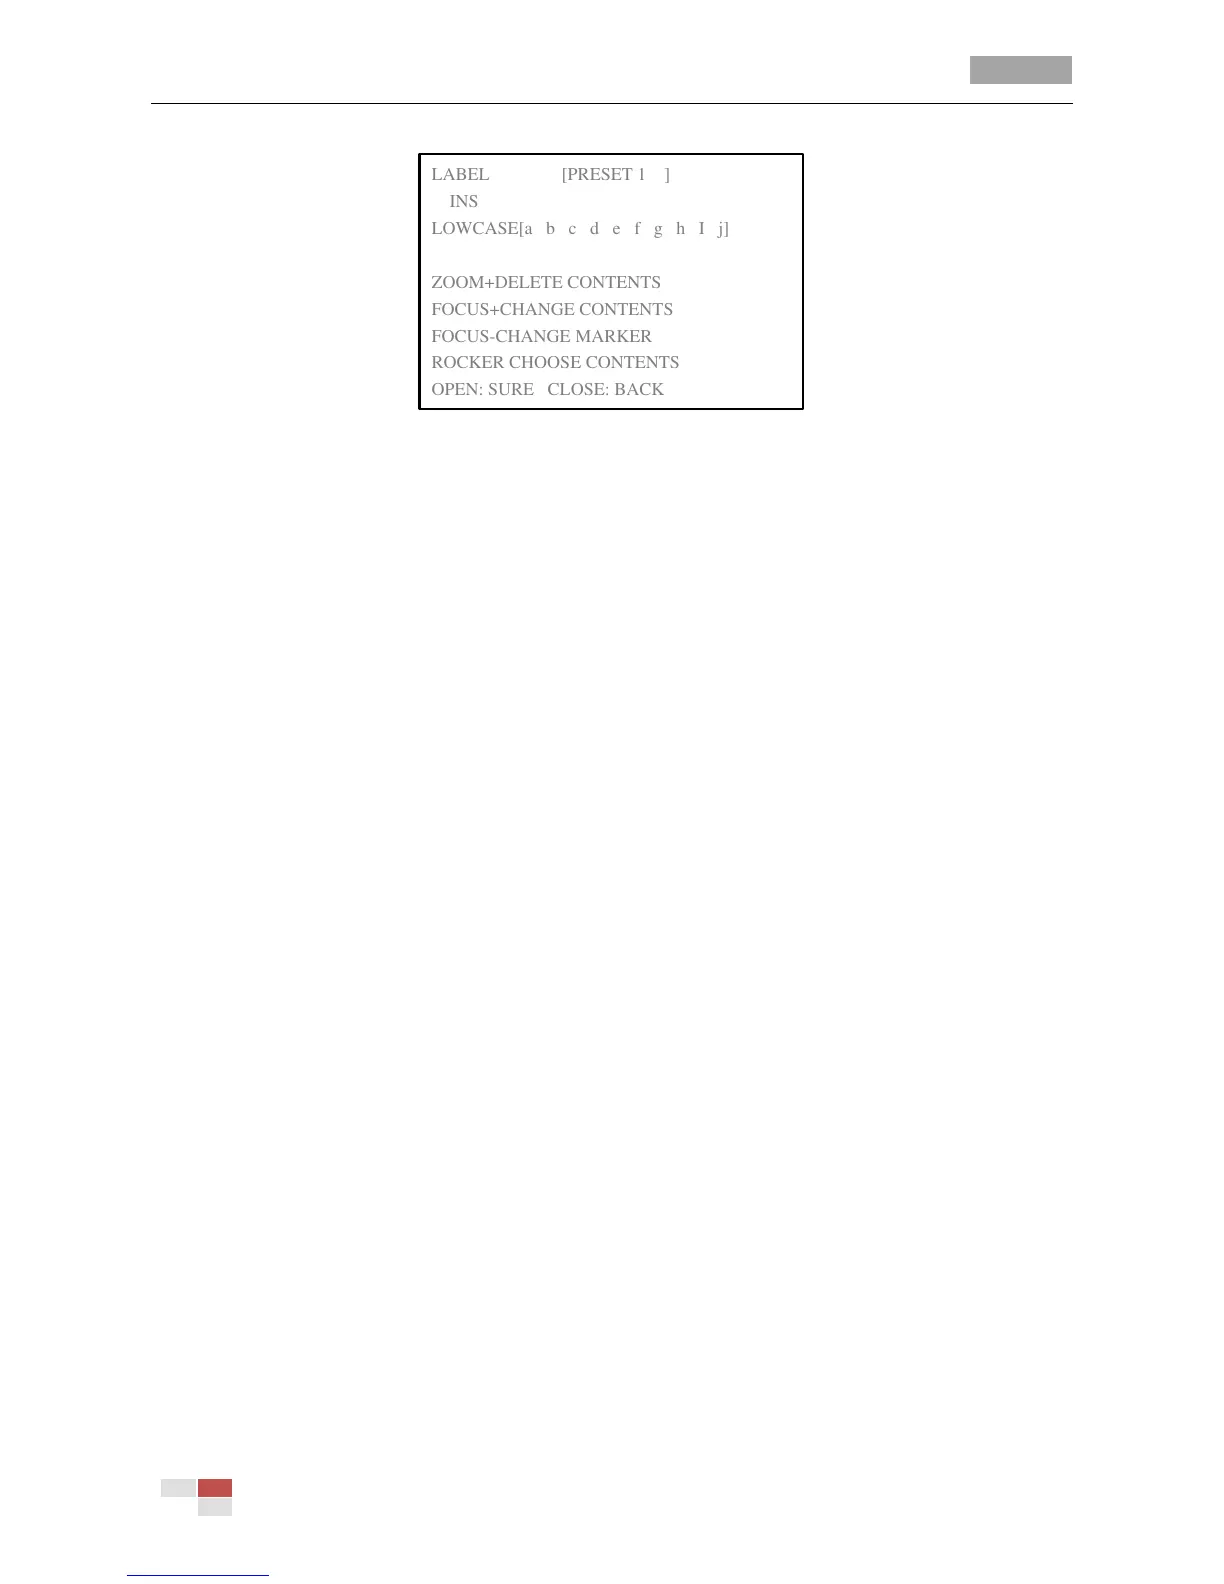
Figure 3-15 Edit the Preset Label(2)
4. Set the preset position.
Move the cursor to PRESET PTZ and click IRIS+ to edit the preset position. Use the direction
buttons to move the speed dome to find the desired scene/position, and then press IRIS+ to
confirm the settings and return to the previous menu, or press IRIS- to cancel.
Note: The preset position settings will be restricted by the limit stops if they are defined.
TASK 2: Clear the preset settings.
Move the cursor to CLEAR PRESET and click IRIS+ to clear the settings of the current preset.
TASK 3: Call the presets.
You can select the preset number from the drop-down preset list in the control panel of the DVR
through a web browser, and click the arrow to call a user-defined preset.
3.4.3 Configuring Patrols
Purpose:
A patrol is a memorized series of preset function. It can be set and previewed on the patrol settings
interface.
Task 1: Set a patrol.
Steps:
1. Move the cursor to enter patrol configuration submenu:
MAIN MENUS > DOME SETTINGS > PATROLS
2. Choose the patrol number.
Steps:
(1) Move the cursor to PATROLS NUM and click IRIS+ to enter edit mode.
(2) Click the up and down direction buttons to select the number of the patrol which is to be
configured.
(3) Click IRIS+ again to confirm and exit edit mode of this column.
Note: You can configure up to 8 patrols.
 Loading...